


Mechanical Assembly
Part 2
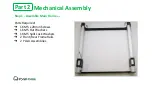
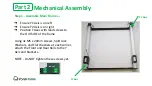
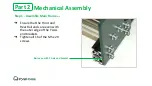
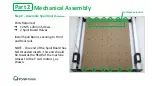
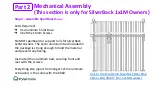
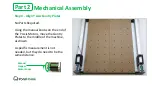
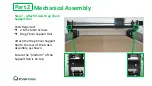
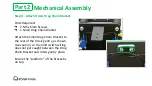
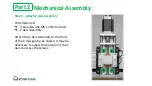
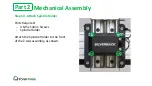
Step 1 - Assemble Main Frame
2/4
➔
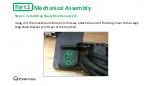
Ensure Y1 Axis is on left
➔
Ensure Y2 Axis is on right
➔
Position Y Axes with lead screws to
the OUTSIDE of the frame
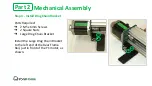
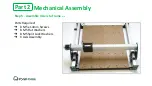
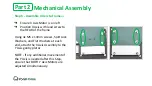
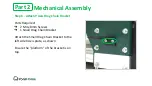
Using 4x M5 x 20mm screws, Split Lock
Washers, and Flat Washers at each corner,
attach the Front and Rear Rails to the Y
Axis end brackets.
NOTE - Do NOT tighten these screws yet.
Y1 Axis
Y2 Axis
Содержание SILVERBACK 6060
Страница 1: ...YORA SILVERBACK BENCHTOP CNC ROUTER 6060 USER MANUAL Version 1 3 April 2022...
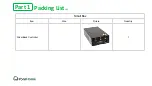
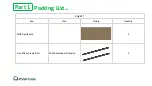
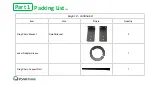
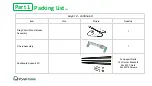
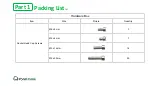
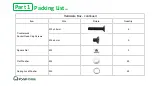
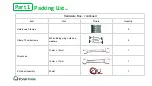
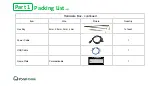
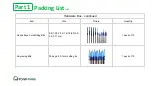
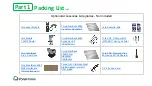
Страница 7: ...Packing List1 12 Part 1 Small Box Item Size Picture Quantity SilverBack Controller 1...
Страница 41: ...Mechanical Assembly Part 2 Step 12 Install Wiring Connections 2 5 Rear of X Axis Assembly X Limit...
Страница 63: ...Machine Setup Part 4 Step 10 Z Probe setup The SilverBack does have a Z Probe Click on the blue Yes button...
Страница 84: ...WWW FACEBOOK COM GROUPS YORAHOME CNC WWW YORAHOME COM SUPPORT YORAHOME COM...