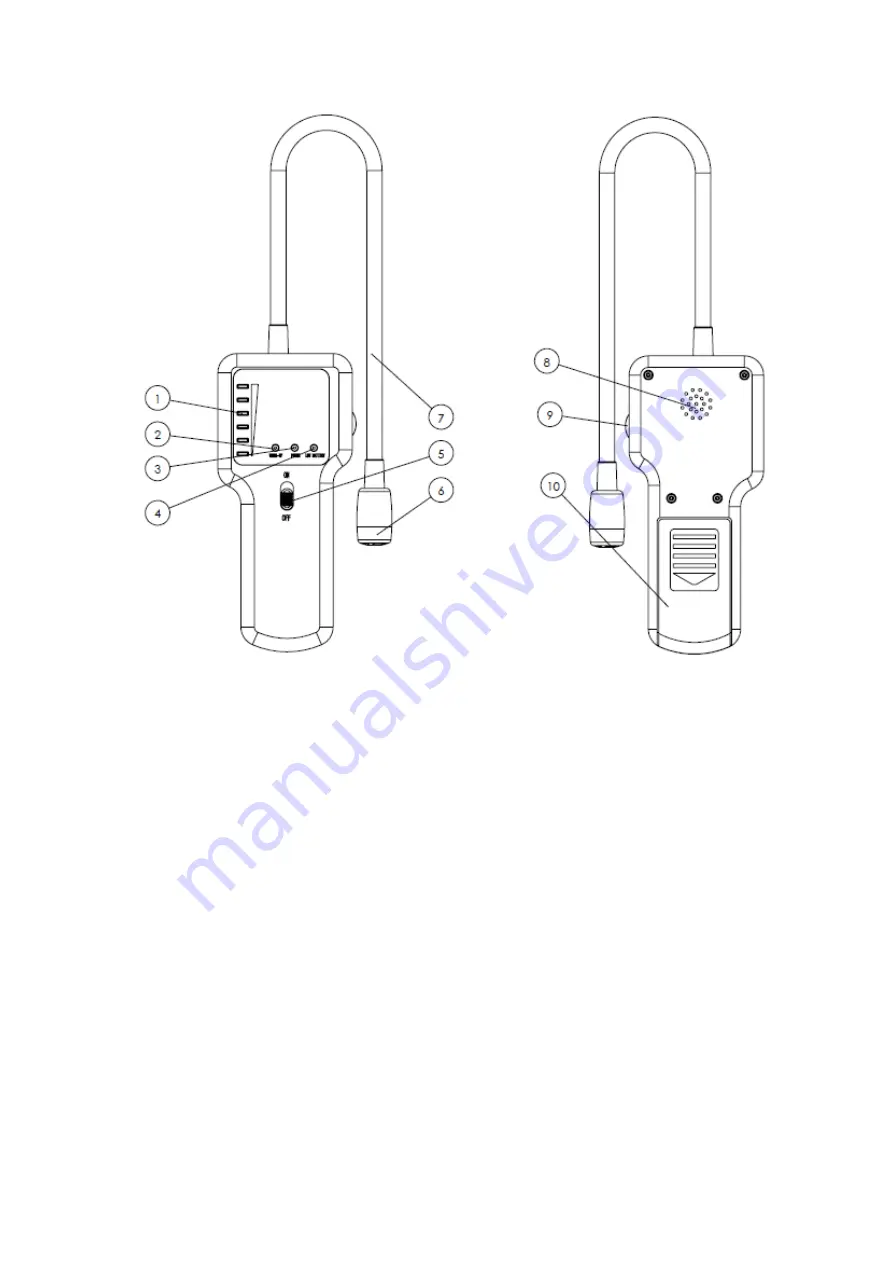
Operation
1. Warm up before use in a location with clean & fresh air. Switch the ON/OFF to power on the
detector. The yellow
Warm-up Indicator
will be lit for approximately 10 seconds; please wait
until light turns off before use. The green
Power Indicator
will remain on while device is
powered.
Note:
Each time the detector is turned on, the device will need to warm-up for 10 seconds prior
to use.
2. After 10 seconds, the yellow
Warm-up Indicator
will turn off and detector is ready for use. Use
the side dial to adjust the sensitivity until the first, bottom LED is at the threshold of lighting up
and the high frequency ticking just starts to sound. If the knob is already rotated too far to the (+),
the alarm will sound a false alarm once the warm-up process is complete. In this case, rotate the
knob toward the (-) until the first LED is lit or about to be lit to correct sensitivity.
3. Trace the sensor around the source of the suspected leakage. The detector will produce an
increasing frequency ticking tone when gas is detected at increasing concentrations. A decreased
tone occurs when gas concentration changes from high to low. Also, the 6 gas level indicators will
change accordingly.
4. You can rotate the sensitivity dial toward (-) to reset to a lower sensitivity level to allow
localization of any leak. You will notice a slowdown of the ticking rate and turning off of
corresponding gas level indicators.
5. Red low battery indicator will be illuminated when only 0.5 hours of operation time is left;
replace batteries when possible.
Combustible Gas


