Appendix
51
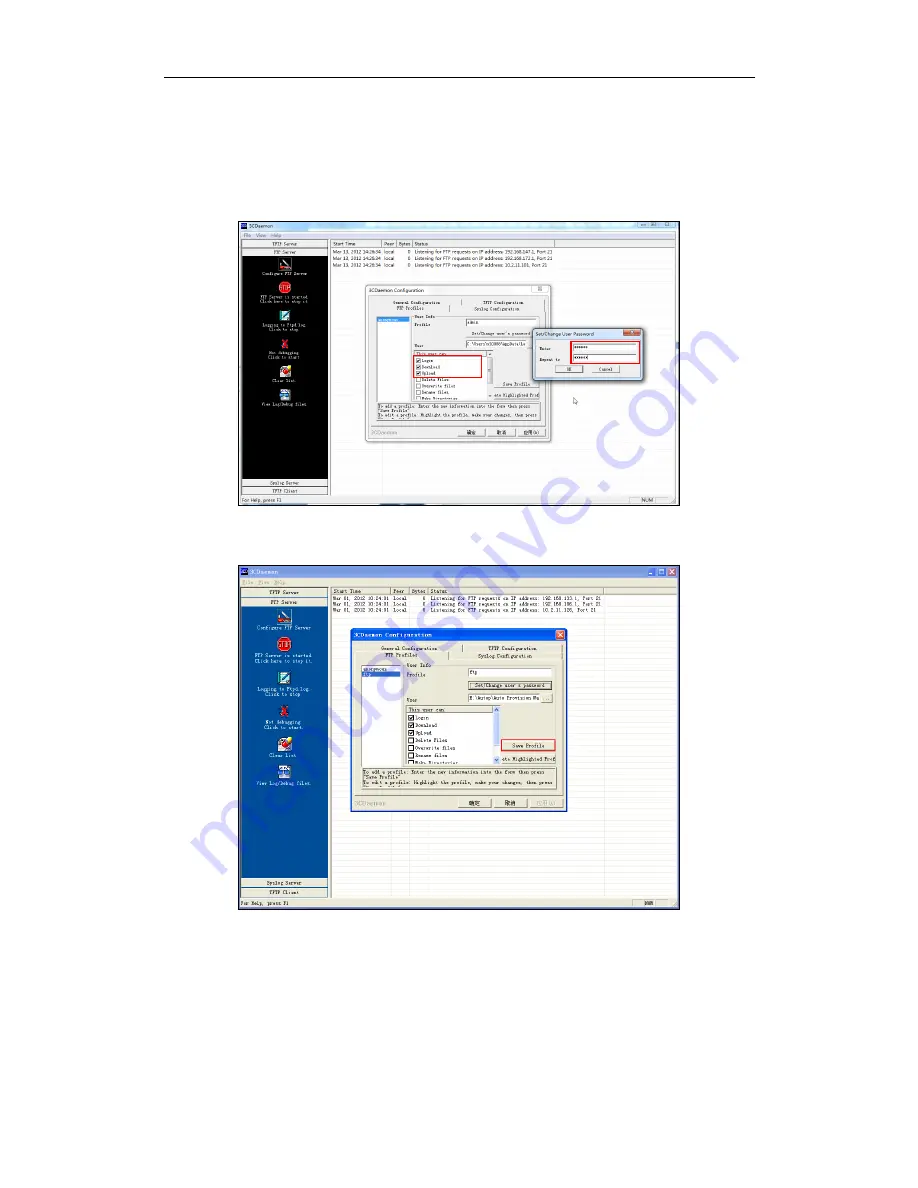
dialogue box.
7.
Click the OK button to save.
8.
Mark the check boxes of Login, Download and Upload to make sure the FTP user
has the login, download and upload permission.
9.
Click the Save Profile button to save the settings and finish the configurations.
10.
Click the Confirm button to finish configuring the FTP server.
The server URL “ftp://username:password@IP/” (Here “IP” means the IP address of
the provisioning server, “username” and “password” are the authentication for FTP
download. For example, “ftp://admin:[email protected]/”) is where the phone
downloads configuration files from.
Содержание SIP-CP860
Страница 1: ...Table of Contents i ...
Страница 2: ......
Страница 6: ...Yealink IP Phones Auto provisioning Guide vi ...
Страница 10: ......
Страница 12: ...Yealink IP Phones Auto provisioning Guide 2 ...
Страница 50: ...Yealink IP Phones Auto provisioning Guide 40 The following figure shows the message flow ...
Страница 54: ...Yealink IP Phones Auto provisioning Guide 44 ...
Страница 58: ...Yealink IP Phones Auto provisioning Guide 48 ...
Страница 65: ...Appendix 55 ...
Страница 69: ...Appendix 59 ...
Страница 73: ...Appendix 63 ...
Страница 75: ...Appendix 65 ...
Страница 77: ...Appendix 67 ...
Страница 79: ...Appendix 69 4 Fill the provisioning server address in the input field ...
Страница 84: ...Yealink IP Phones Auto provisioning Guide 74 Then you can find the DOB logo files in the adv directory ...


