


Customizing Your Phone
19
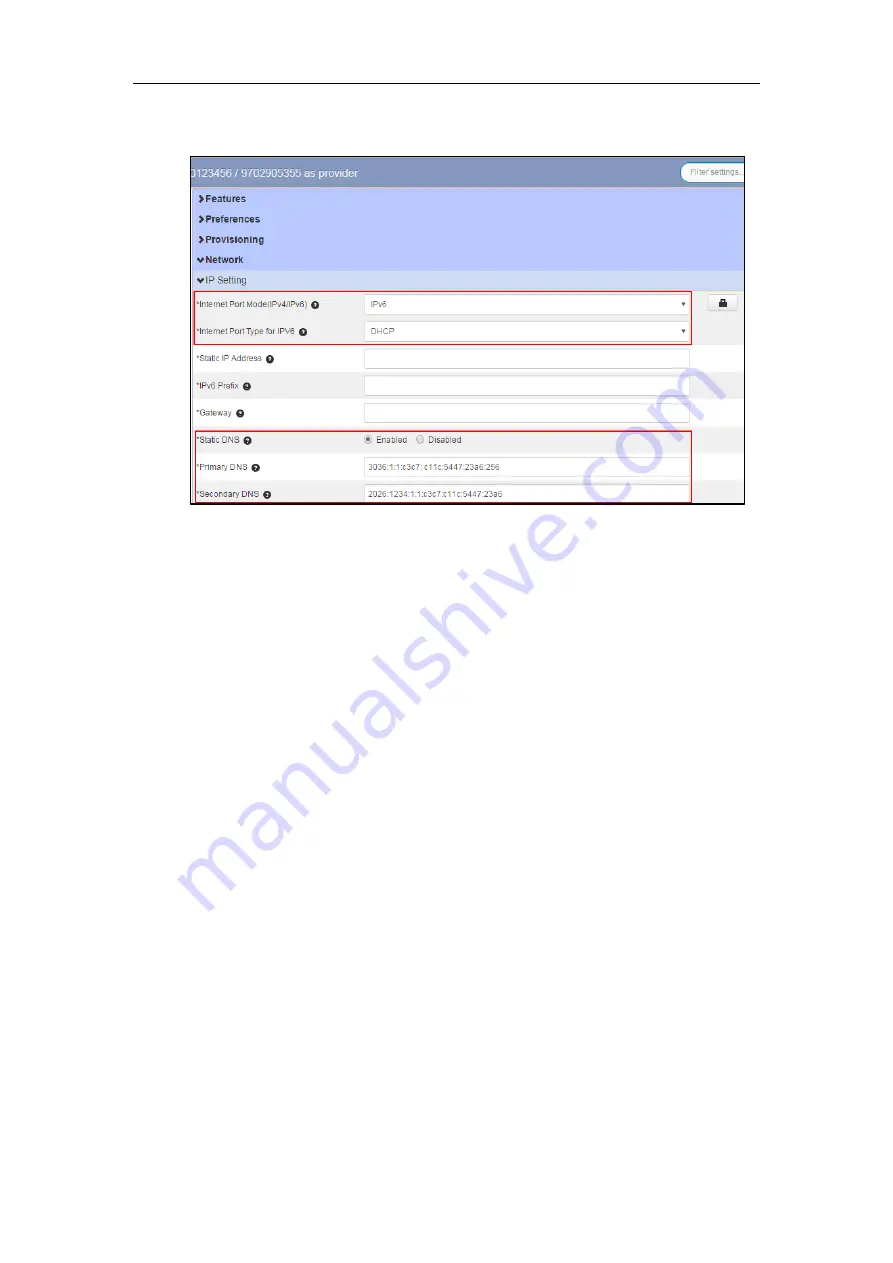
4.
Enter the valid value in the
Primary DNS
and
Secondary DNS
field respectively.
5.
Click the
Save soft
key to accept the change.
6.
Perform auto provisioning on the phone to download above configurations. For more
information on how to perform auto provisioning, refer to
Account Registration
You can register only one account on the CP860 IP conference phone.
To register an account via CommPortal phone configurator:
1.
Click on
Line 1->User.
2.
Enter the desired values in
Directory Number
and
Display Name
fields respectively.
3.
Select the desired value from the
Description
field.
4.
Depending on your selection:
-
If you select
Use directory number
, the directory number will act as the account
label to be displayed on the idle screen.
-
If you select
Use extension
, the extension will act as the account label to be
displayed on the idle screen.
-
If you select
Custom description
, you can customize the label to be displayed on the
idle screen in the
Custom Description
field.
5.
Click on
Line 1->SIP Server.
Содержание CP860 SERIES
Страница 1: ......
Страница 6: ...YealinkCP860 Phones Configuring Guide vi...
Страница 18: ...YealinkCP860 Phones Configuring Guide 10...
Страница 70: ...YealinkCP860 Phones Configuring Guide 62...


