n
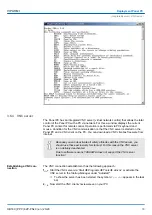
There is a button on the
initial screen
with a counter, which counts backwards. If you
click on this button within this time, the project will start. If the time expires, the project
will start automatically. With the button
‘Main’
you get to the
‘selection menu’
.
n
A delay time of 5 seconds is default. In the
selection menu
under "Autostart" you can
adjust this time.
There are following buttons in the
selection menu
:
n
Settings
n
Info/Update
n
Autostart
n
Backup
n
Exit
n
Back
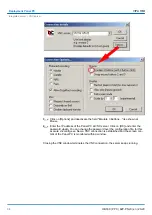
In [Settings] under
Change Settings
you can set a password for the Startup-Manager.
The password will be requested when interrupting the start countdown. By default, no
password is defined. In [Settings] the system settings can be set exactly like via Windows
‘Start
è
Settings
è
Control Panel’
.
n
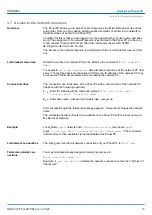
To execute the firmware update press the button [Info/Update]. After clicking [Info/
Update] the current image is displayed under
‘Image Version’
with panel name, crea-
tion date and version number. With [Create Screenshot] you can make a screen shot
of the panel information and select a destination for its storage.
n
To execute the firmware update an external keyboard and an USB stick (memory size
4GB) is necessary. The new image file for your Panel PC should be on the USB stick.
You will find the file and a detailed description of the firmware update on
www.vipa.com
under "Service / Support" in the download area.
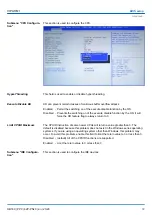
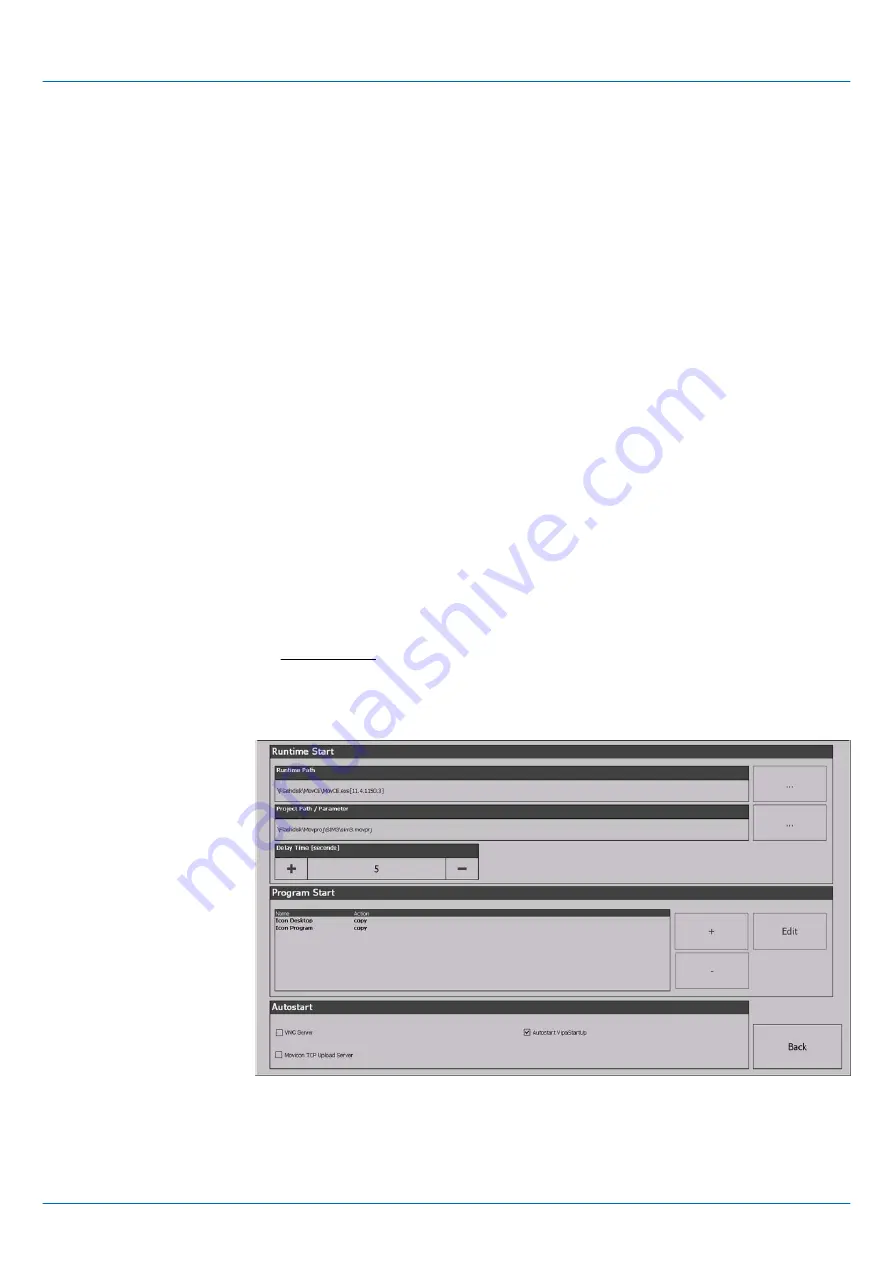
With [Autostart] you define which runtime and which project will be started automatically
together with the panel startup.
Selection menu
Settings
Info/Update (firmware)
Autostart
VIPA HMI
Deployment Panel PC
Commissioning > Startup-Manager
HB160 | PPC | 62P-PNJ0 | en | 20-20
24
Содержание VIPA PPC015 CE
Страница 1: ...PPC 62P PNJ0 Manual HB160 PPC 62P PNJ0 en 20 20 VIPA HMI Panel PC PPC015 CE...
Страница 11: ...2 3 2 Interfaces VIPA HMI Hardware description Structure Interfaces HB160 PPC 62P PNJ0 en 20 20 11...
Страница 13: ...VIPA HMI Hardware description Structure Interfaces HB160 PPC 62P PNJ0 en 20 20 13...


