


TRANSPORT AND STORAGE
The following steps should be taken to prepare your lawn mower
for storage.
Keep all equipment safe during transportation to prevent damage
and accidents.
For storage, keep equipment in a lockable area away from children
and persons that are not approved. Do not store next to corrosive
materials, such as fertilizer.
For storage, keep the product and equipment in a dry and frost-
proof area.
When loading or moving the product, do not go more than the
maximum recommended operation angle of 15 degrees.
Empty the fuel tank by operating the product until the tank is empty.
Clean and lubricate mower
thoroughly as described in
Lubrication section.
Clean and lubricate mower
thoroughly as described in
Lubrication section.
Old fuel in the fuel tank is the
leading cause of hard starting.
Do not store fuel without fuel stabilizer more than 30
days, and do not store stabilized fuel more than 90
days.
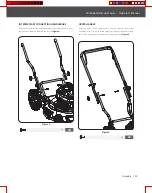
Apply a coat of chassis grease
to mower’s cutting blade to
prevent rusting.
Apply a coat of chassis grease
to mower’s cutting blade to
prevent rusting.
Refer to Engine Operator’s
Manual for correct engine
storage instructions.
NOTE
NOTE
NOTE
NOTE
NOTE
NOTE
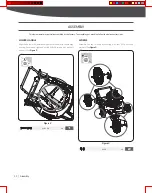
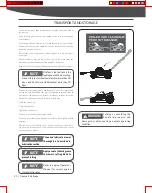
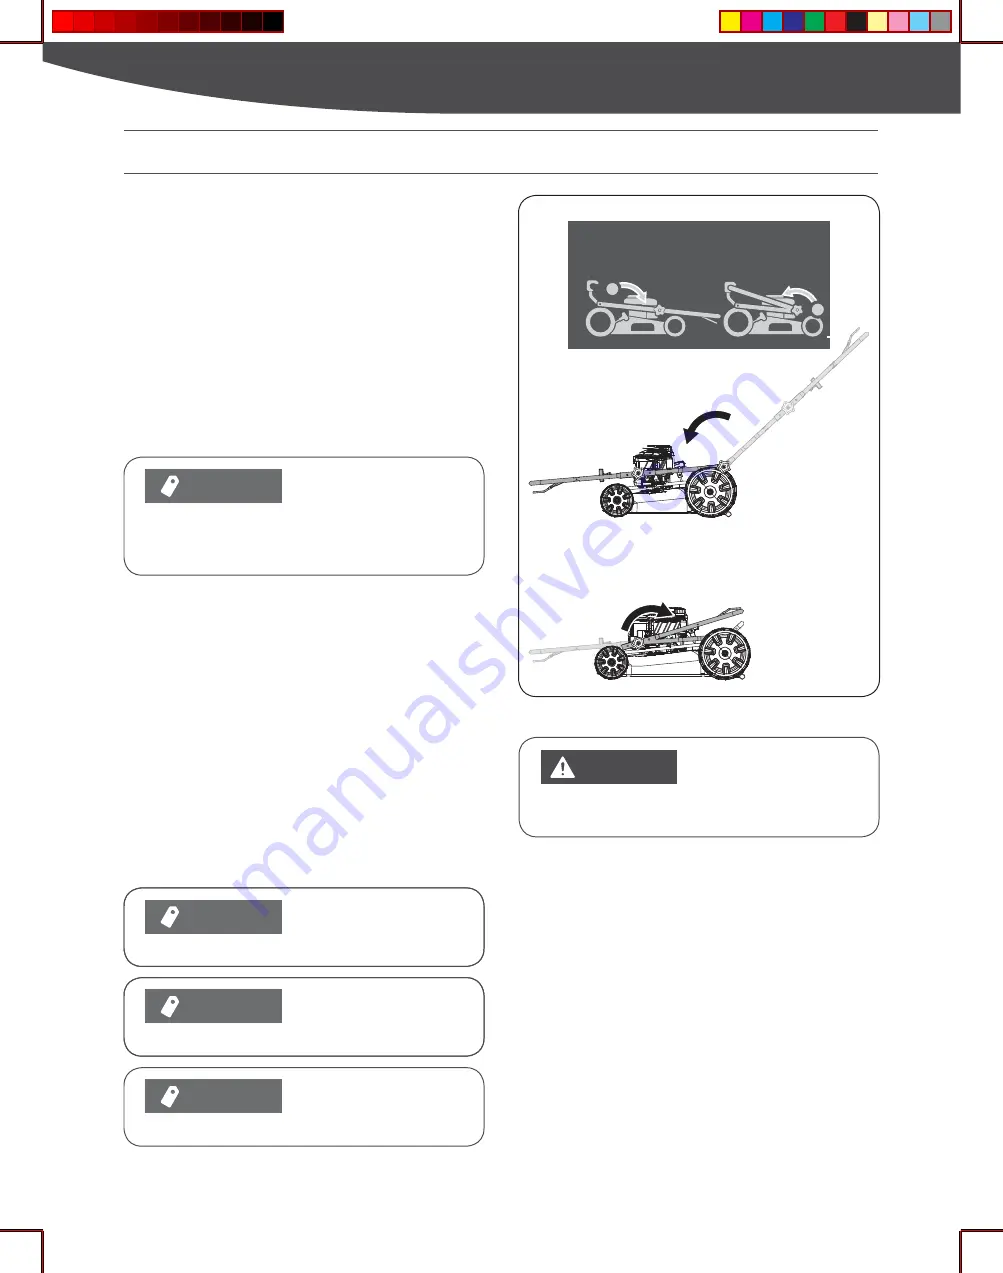
FOLDING HANDLE
FOR STORAGE
1
2
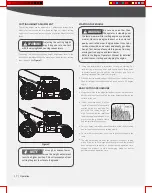
Remove the spark plug, pour a tablespoon (5-10 cc) of clean engine
oil into the cylinder, and pull the starter rope slowly several times to
distribute oil throughout the cylinder to prevent cylinder corrosion
during the off-season. Loosely install the spark plug.
Drain the engine oil.
Clean the product.
Tighten bolts and nuts.
Replace or repair damaged components.
Touch up all rusted or damaged paint surfaces. Sand lightly before
painting.
Use the correct protective cover on the product to keep it dry.
Do not use plastic because it lets condensation collect and causes
corrosion on the product.
Fo l d i n g o r u n fo l d i n g th e
h a n d l e i m p r o p e r l y c a n
damage the cables, causing an unsafe operating
condition.
WARNING
23
|
Transport & Storage