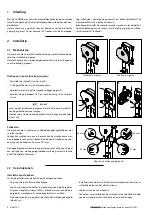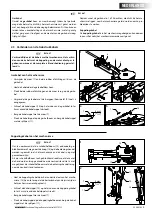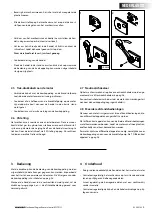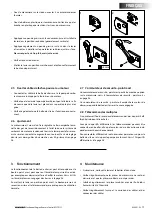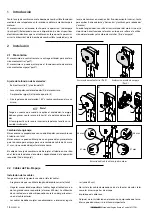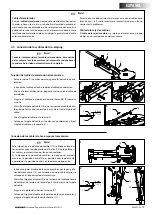
8
030601.03
Mechanical Engine Remote Control AFSTZIJY
2.5 Housing and lever
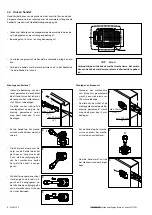
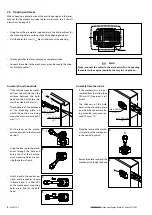
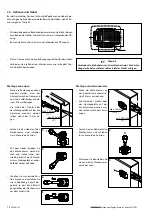
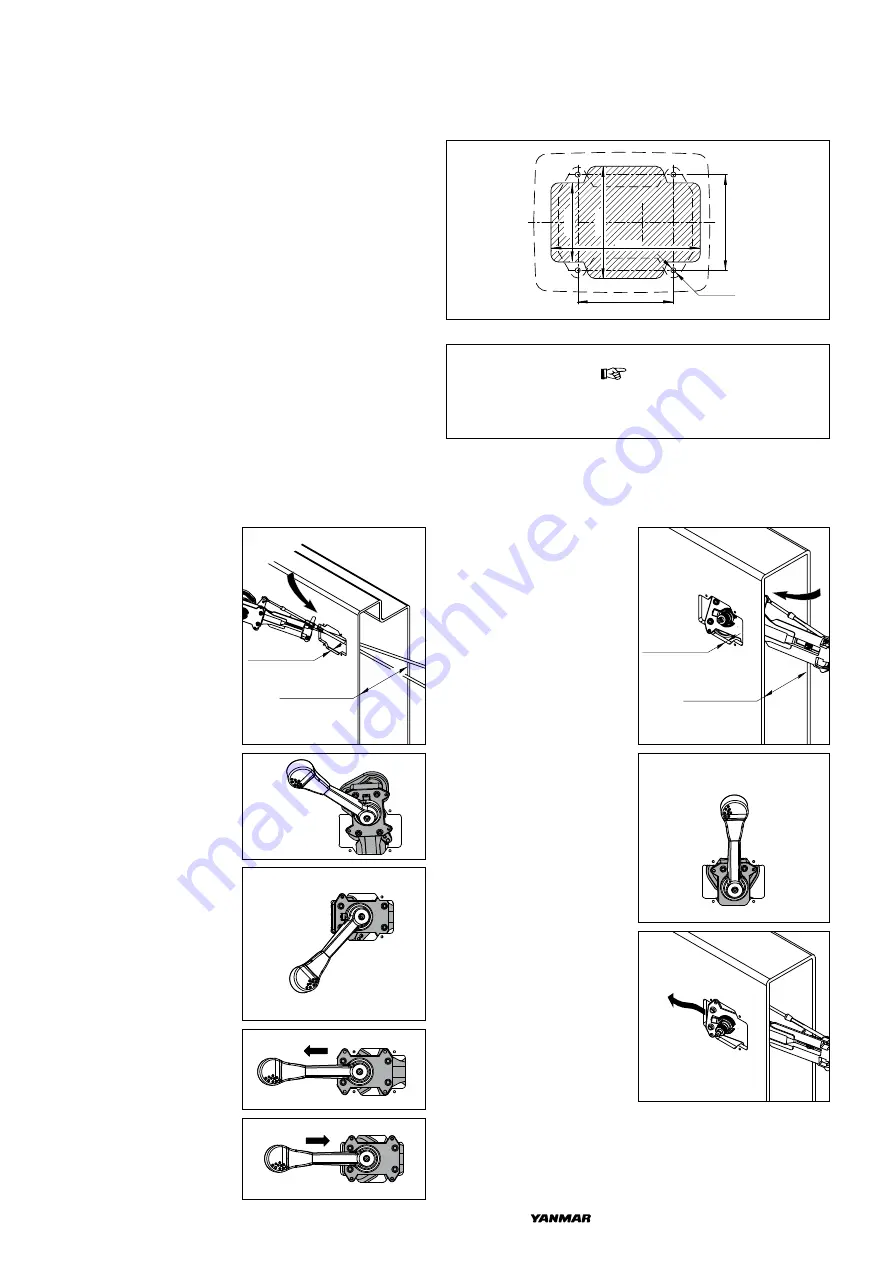
When choosing a place to mount the plastic housing and the lever,
account for the maximum stroke the lever will make, see ‘9 Overall
diemnsions’ on page 28.
max. 12 mm
(
1
/
2
”)
min. 200 mm
( 8”)
max. 12 mm
(
15
/
32
”)
min. 100 mm
( 4”)
88
(3
7
/
16
”)
62
(2
7
/
16
”)
75
(2
15
/
16
”)
75
(2
15
/
16
”)
117
(4
5
/
8
”)
ø 4 (
5
/
32
”) 4 x
F
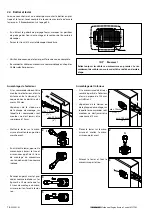
Assembly from the outside
- If the controls are to be mount-
ed from the outside, then the
distance between the bulk-
head and the hull of the ship
must be at least 200 mm (8”).
- The thickness of the bulkhead
or the mounting plate, on
which the controls are being
mounted, may never exceed 12
mm (
1
/
2
”).
• Place the lever on the mecha-
nism and put the mechanism
in the neutral position.
Assembly from the inside
- If the mechanism is to be as-
sembled from the inside, then
100 mm (4”) free room is suf-
ficient.
- The thickness of the bulk-
head or the mounting plate,
on which the controls are be-
ing mounted, may never ex-
ceed 12 mm (
1
/
2
”).
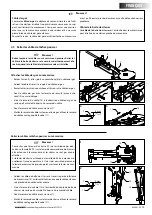
• Put the lever on the mecha-
nism and switch to the forward
position.
• Switch back to the neutral po-
sition and proceed as shown
in figure 4 and 5, so that all 4
of the mechanism’s mounting
holes are in front of the bulk-
head.
N
• Remove the lever and pull the
mechanism through the hole.
• Using the lever, push the mech-
anism through the hole and
ensure that 2 of the 4 mecha-
nism mounting holes are out-
side the hole as shown.
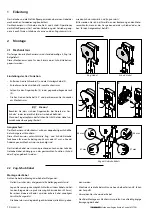
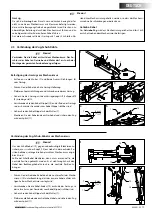
• Check again that the lever can make a complete stroke.
• Connect the cables to the mechanism as can be read in the chap-
ter ‘Pull-push cables’.
N
ote
!
Always connect the cables to the mechanism first. Connecting
the cables to the engine should be the very last step taken.
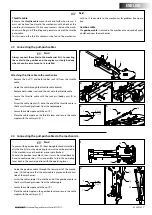
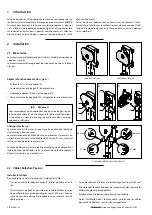
• Using the drilling template supplied, mark the drill positions for
the mounting holes and the outline of the opening to be cut.
• Drill the holes (ø 4 mm (
5
/
32
” diam.)) and cut out the opening.
2
3
4
5
1
2
3
1


