2. Inspection and Adjustment
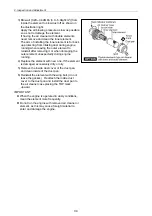
(4) Intake/exhaust valve clearance adjustment
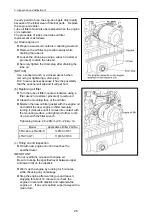
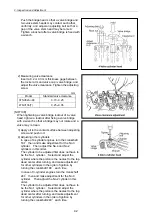
Make measurement and adjustment while the engine
is cold.
(a) Valve clearance measurement
1) Remove the rocker arm cover above cylinder
head.
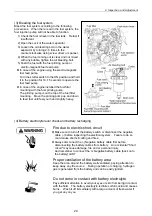
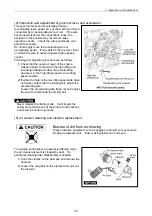
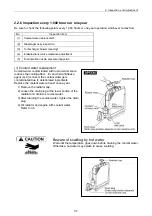
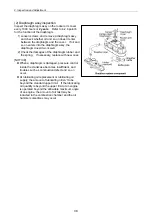
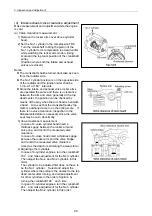
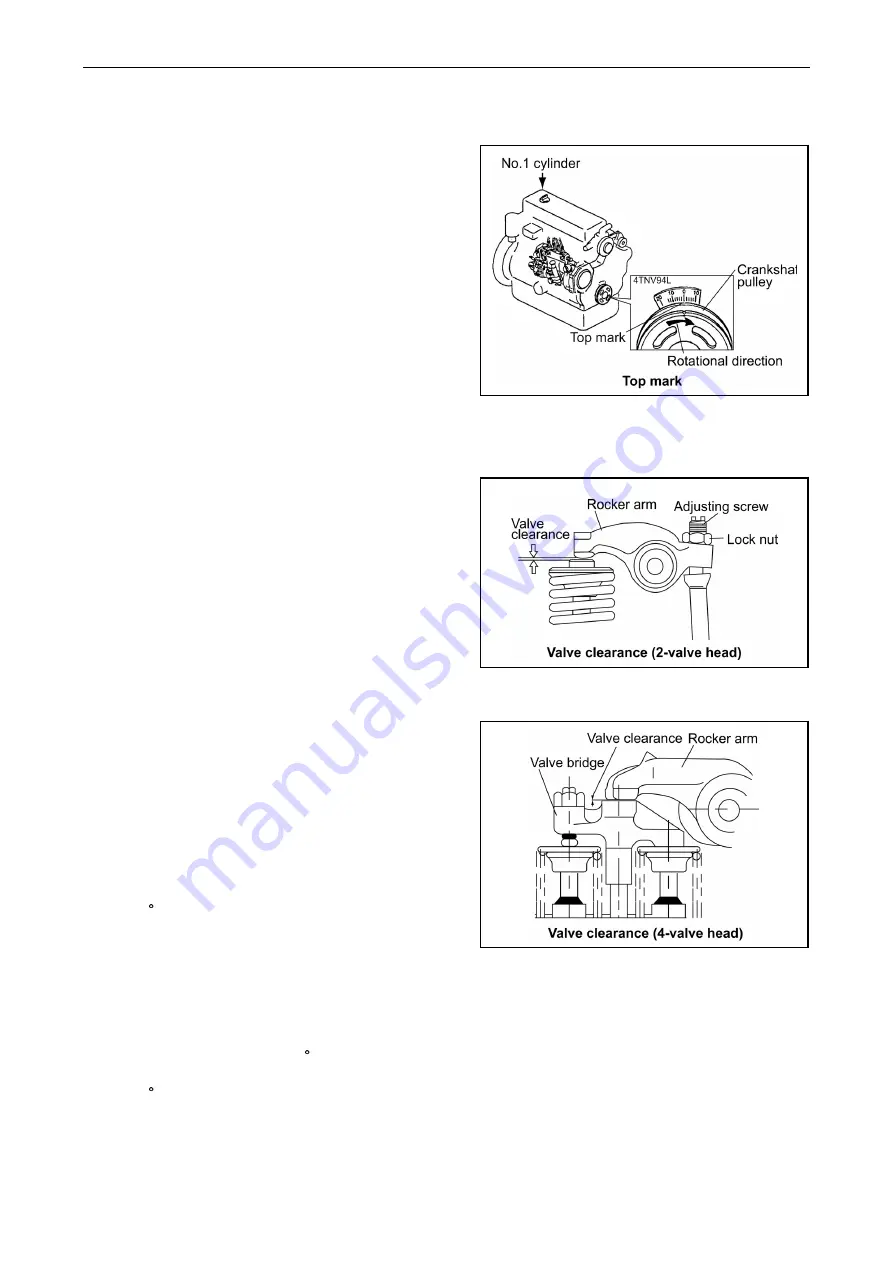
2) Set the No.1 cylinder in the compression TDC
Turn the crankshaft to bring the piston of the
No.1 cylinder to its compression top dead center
while watching the rocker arm motion, timing
scale and the top mark position of the crankshaft
pulley.
(Position where both the intake and exhaust
valves are closed.)
Notes:
The crankshaft shall be turned clockwise as seen
from the radiator side.
The No.1 cylinder position is on the opposite side
of the radiator and the ignition order shall be
1-3-4-2-1 at 180
°
intervals.
Since the intake and exhaust valve rocker arms
are operated the same and there is a clearance
between the arm and valve generally at the top
dead center, the position can be checked by
means of the play when the arm head is held with
a hand. Also see that the crankshaft pulley top
mark is positioned at zero on the timing scale. If
there is no valve clearance, inspection in the
disassembled state is necessary since the valve
seat may be worn abnormally.
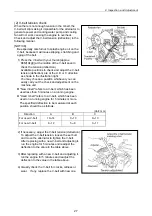
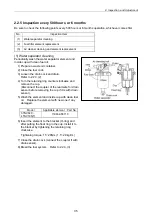
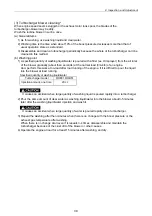
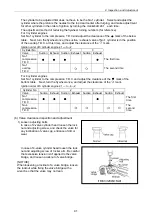
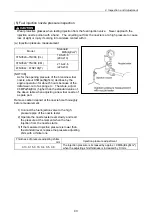
3) Valve clearance measurement
In case of 2-valve cylinder head insert a
thickness gage between the rocker arm and
valve cap, and record the measured valve
clearance.
In case of 4-valve head insert a thickness gage
between the rocker arm and the valve bridge,
and record the measured valve clearance.
(Use it as the data for estimating the wear state.)
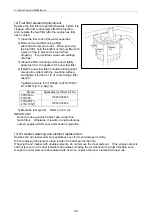
4) Adjusting other cylinders
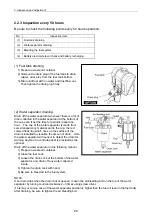
In case of 4-cylinder engines, turn the crankshaft
180 and make adjustment for the No.3 cylinder.
Then adjust the No.4 and No.2 cylinders in this
order.
The cylinder to be adjusted first does not have to
be the No.1 cylinder. Select and adjust the
cylinder where the piston is the nearest to the top
dead center after turning, and make adjustment
for other cylinders in the order of ignition by
turning the crankshaft 180 each time.
In case of 3-cylinder engines, turn the crankshaft
240 and make adjustment for the No.3 cylinder.
Then adjust the No.2 cylinder in this order.
40
Содержание 3TNV Series
Страница 1: ...4TNV106 4TNV106T 4TNV94L 4TNV98 4TNV98T 3TNV82A 3TNV84 T 4TNV84 T 3TNV88 4TNV88 ...
Страница 31: ...1 General 1 4 Engine External Views 16 ...
Страница 32: ...1 General 1 5 Structural Description 17 ...
Страница 127: ...6 Cooling System 6 COOLING SYSTEM 6 1 Cooling Water System 6 2 Cooling Water Pump Components 112 ...
Страница 156: ...9 Starting Motor 9 1 2 Components 141 ...
Страница 157: ...9 Starting Motor 9 1 3 Troubleshooting 142 ...
Страница 172: ...9 Starting Motor 9 2 3 Troubleshooting 157 ...
Страница 175: ...9 Starting Motor 2 Removal of magnetic switch Remove the M6 bolts 10mm 2 160 ...
Страница 185: ...9 Starting Motor 3 Brush 1 Check wear of the brush and the brush spring force 170 ...
Страница 194: ...10 Alternator 179 10 1 6 Troubleshooting ...
Страница 195: ...11 Electric Wiring 180 11 ELECTRIC WIRING 11 1 Electric Wiring Diagram ...
Страница 213: ......

