


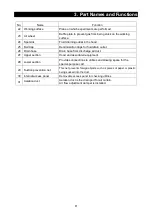
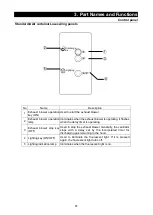
14
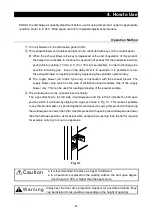
2. Before Use
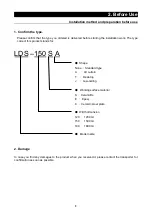
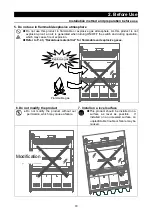
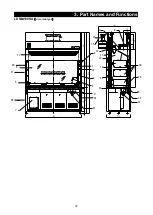
Installation method
Installation procedure for a desk-top type
●Install the desk-top type product as follows:
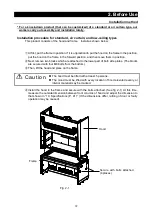
①
Remove two square blocks provided below both side plates of the hood.
(The square block is fixed with four M8 bolts from below.
)
②
Frame on which the desk-top type is installed
●Confirm that the top surface is free from foreign materials and projection.
●Confirm that the levelness is achieved. (If not, carry out level adjustment.)
)
●Confirm that the frame has the capacity necessary for installation of the hood.
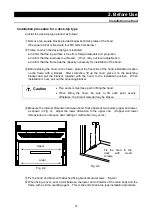
③
Before placing the hood on the frame, protect the front side of the hood installation location
on the frame with a blanket. After protection, lift up the hood, place it on the protecting
blanket and pull the blanket, together with the hood, to the installation position. When
installation is over, pull out the protecting blanket.
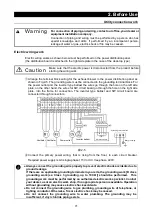
Caution
Five workers must take part in lifting the hood.
When lifting the hood, be sure to lift each point evenly.
Otherwise, the interior material may be broken.
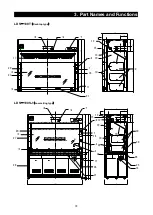
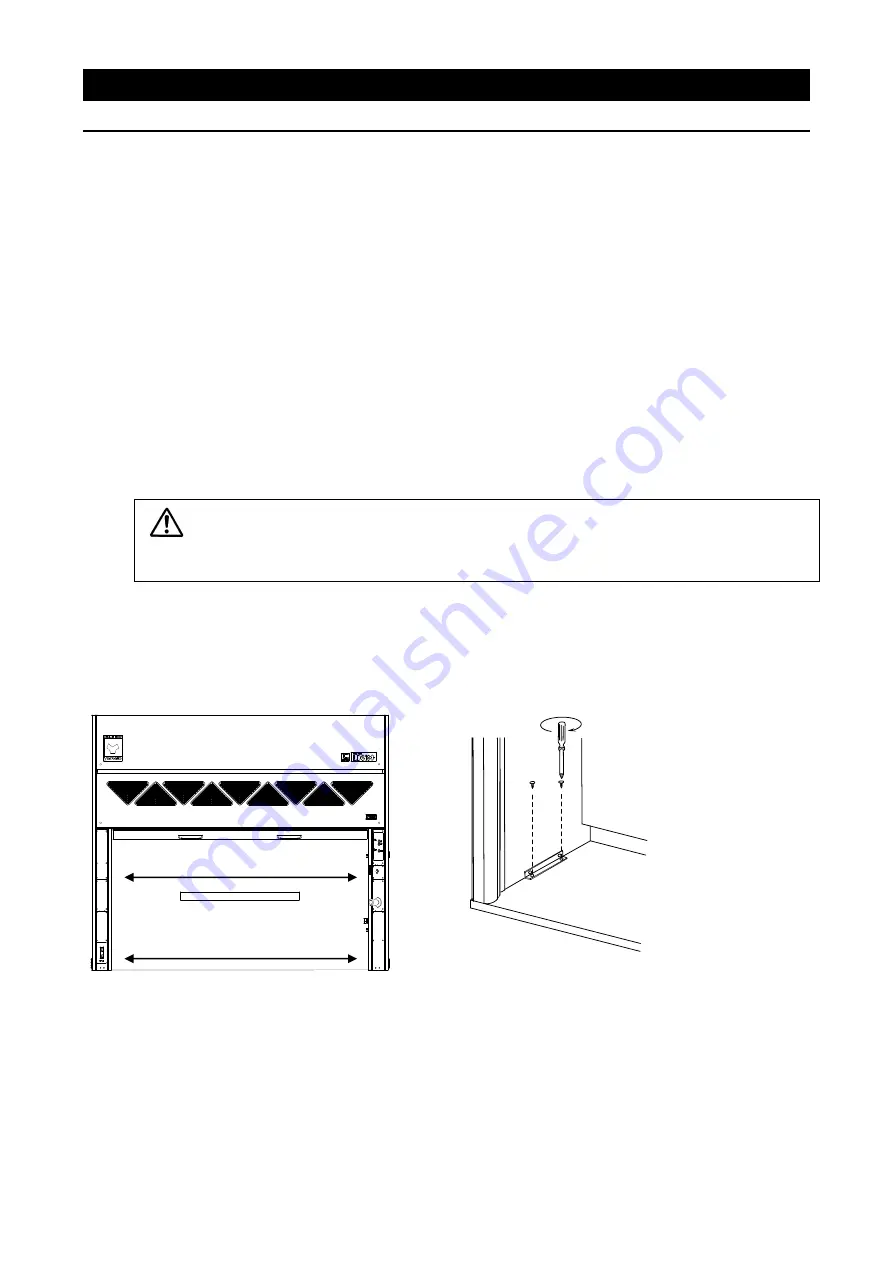
④
Measure the internal dimension between hood front panels at two points (upper and lower,
as shown in Fig. 3). Adjust the lower dimension to the upper one. (If upper and lower
dimensions are not equal, door rattling or malfunction may occur.)
Fig. 2-2
Fig. 2-4
⑤
Fix the hood and frame with attached fixing brackets and screws.
(
Fig.2-4
)
⑥
When fixing is over, seal a joint between the lower end of interior of the main body and the
frame with a silicon caulking agent. This is the end of desk-top type installation procedure.
Fix the hood to the
deck
with
wood
screws.
Upper
Lower