PERIODIC MAINTENANCE AND MINOR REPAIR
6-30
2
3
4
5
6
7
8
9
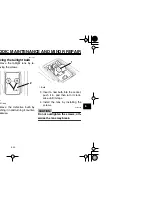
5. Install the headlight bulb cover,
and then connect the coupler.
6. Install the cowling together with
the headlight unit.
7. Have a Yamaha dealer adjust the
headlight beam if necessary.
EAU24191
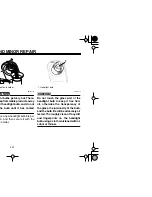
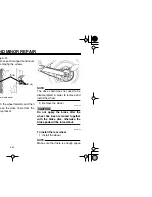
Replacing the taillight bulb
1. Remove the taillight lens by re-
moving the screws.
2. Remove the defective bulb by
pushing it in and turning it counter-
clockwise.
3. Insert a new bulb into the socket,
push it in, and then turn it clock-
wise until it stops.
4. Install the lens by installing the
screws.
CAUTION:
ECA10680
Do not overtighten the screws, oth-
erwise the lens may break.
1. Do not touch the glass part of the bulb.
1
1. Screw
2. Taillight lens
1
(
×
2
)
2
1. Bulb
1
Содержание TT-R250
Страница 1: ...OWNER S MANUAL 5GF 28199 16 TTR250T C LIT 11626 18 24 ...
Страница 2: ...5GF 16_hyoushi2 3 4 14 04 8 00 PM Page 1 ...
Страница 8: ......
Страница 12: ...1 4 ...
Страница 13: ...1 6 EAU10381 y before operating this vehicle 2 3 4 ...
Страница 15: ...2 1 EAU10410 3 4 5 6 7 2 ing dial 8 Front fork damping adjusting screw page 3 7 ...
Страница 17: ...2 3 EAU10430 3 4 5 6 7 ...
Страница 36: ...RATION AND IMPORTANT RIDING POINTS 5 4 2 3 4 5 6 7 8 9 ...
Страница 78: ...SPECIFICATIONS 8 3 2 3 4 5 6 7 8 9 ...
Страница 80: ...CONSUMER INFORMATION 9 2 2 3 4 5 6 7 8 9 ...
Страница 83: ...9 5 EAU26670 S A OFF ROAD MOTORCYCLE LIMITED WARRANTY ...
Страница 84: ...CONSUMER INFORMATION 9 6 2 3 4 5 6 7 8 9 ...
Страница 86: ...CONSUMER INFORMATION 9 8 2 3 4 5 6 7 8 9 benefits of sy knowing n after your amaha with We ll be ed ...


