6
English
SQ01
In addition to its sequencer function, the SQ01 can also be used for voice
editing once the Plug-in application “Voice Editor for S90” is installed.
1.
Double-click on the “SQ01_.” Various files including
“setup.exe” will be displayed.
2.
Double-click on the “Setup.exe.”
SQ01 Setup Dialog box will be displayed.
3.
Execute the installation by following the directions appearing on
the screen. After the installation, select <Restart>.
After restarting Windows, you will find the YAMAHA folder on
your PC (Program Files as the default) and SQ01 folder in the
YAMAHA folder. Refer to the online manuals for instructions on
how to use the application.
SQ01 MIDI/Remote Control Setup
1.
Start SQ01. Choose [Programs] from the [Start] menu,
then select [YAMAHA SQ01]
→
[SQ01].
2.
From the [Setup] menu (Track View window), select
[MIDI]
→
[Device], to call up the “Device” page of the
“MIDI” dialog.
3.
Select the appropriate output port (for example,
“YAMAHA USB OUT 0-1”) in the [OUT] box, to use the
USB connection with the S90. If you are using the S90 to
remotely control SQ01, make sure to select “YAMAHA
USB OUT 0-3.”
4.
Select the appropriate input port (for example, “YAMAHA
USB IN 0-1”) in the [IN] box, then click [OK] to close the
dialog box. If you are using the S90 to remotely control
SQ01, make sure to select “YAMAHA USB IN 0-3.”
n
If you are controlling the Audio Mixer remotely, select
“Remote Control” from the Setup menu of the Audio Mixer
01 window to call up the Remote Control dialog box. Then
select “YAMAHA USB IN 0-3” from the Input Port menu
and click “OK” to close the dialog box.
n
You can select the audio driver and the audio in/out device if
necessary. From the [Setup] menu, select [Audio]
→
[Device] to call up the “Device” page of the “Audio” dialog.
n
The USB connection to the S90 can only be used for transfer
of MIDI data. No audio data can be transferred via USB.
Voice Editor, File Utility, Auto Arranger
You can use edit the voices of the S90, manage files in the Memory
card or create an accompaniment part for the melody you enter. Once
the S90 Database is installed, you can view the Voice List of the S90
while running SQ01.
1.
Double-click on the “Plug_” folder.
Three folders, “Ves90_,” “Fu_” and “Aa_” will be displayed.
2.
Double-click the desired folder.
• Ves90_ ....Voice Editor for S90, S90 Database
• Fu_..........File Utility
• Aa_ .........Auto Arranger
Various files including “Setup.exe” will be displayed.
3.
Double-click on “Setup.exe.”
The Software Setup Dialog box will be displayed.
4.
Execute the installation by following the directions appearing on
the screen. After completing the installation procedure, you will
find the each software in the designated folder and find that each
application is added to the [Plug-in]/[View] menu on the SQ01.
Refer to the online help/PDF manuals for instructions on how to
use the application.
Setup Files for remote control of sequencing software
To use these files, the appropriate sequencing software should be
installed to your computer.
n
Depending on the software version you are using, operations and
screens described here may differ. For details, refer to the owner’s
manual (or help messages) of your particular software.
●
Setup Files for Cubase
1.
Start Cubase.
2.
Select Option from the menu bar and select Setup in Remote Setup.
3.
Set the value in the VST Remote window called up via step #2 as
illustrated below, and click the [OK] button.
Remote:
Generic Remote
Input:
YAMAHA USB IN 0-3
Output:
YAMAHA USB OUT 0-3
n
If the S90 is connected to the computer via MIDI, set the port to 1
(for example, “0-1”).
4.
Click the [EDIT] button in the Generic Remote window called up
via step #3.
5.
Click the [Import] button in the Generic Remote Setup called up
via step #4.
6.
Select the Setup file for remote control of Cubase (Yamaha S90
Remote.xml) in the dialog opened via step #5 and click the
[Open] button.
7.
Close the Generic Remote Setup window.
●
Preference File for Logic
1.
Start Logic.
2.
Select Key Commands... in Settings from the Option menu.
3.
Select Import Key Commands... from the Option menu in the
“Key Commands” window called up via step #2.
4.
In the dialog window called up via step #3, select a preference
file for Logic named “Logic32.prf” in the included CD-ROM and
click [Open].
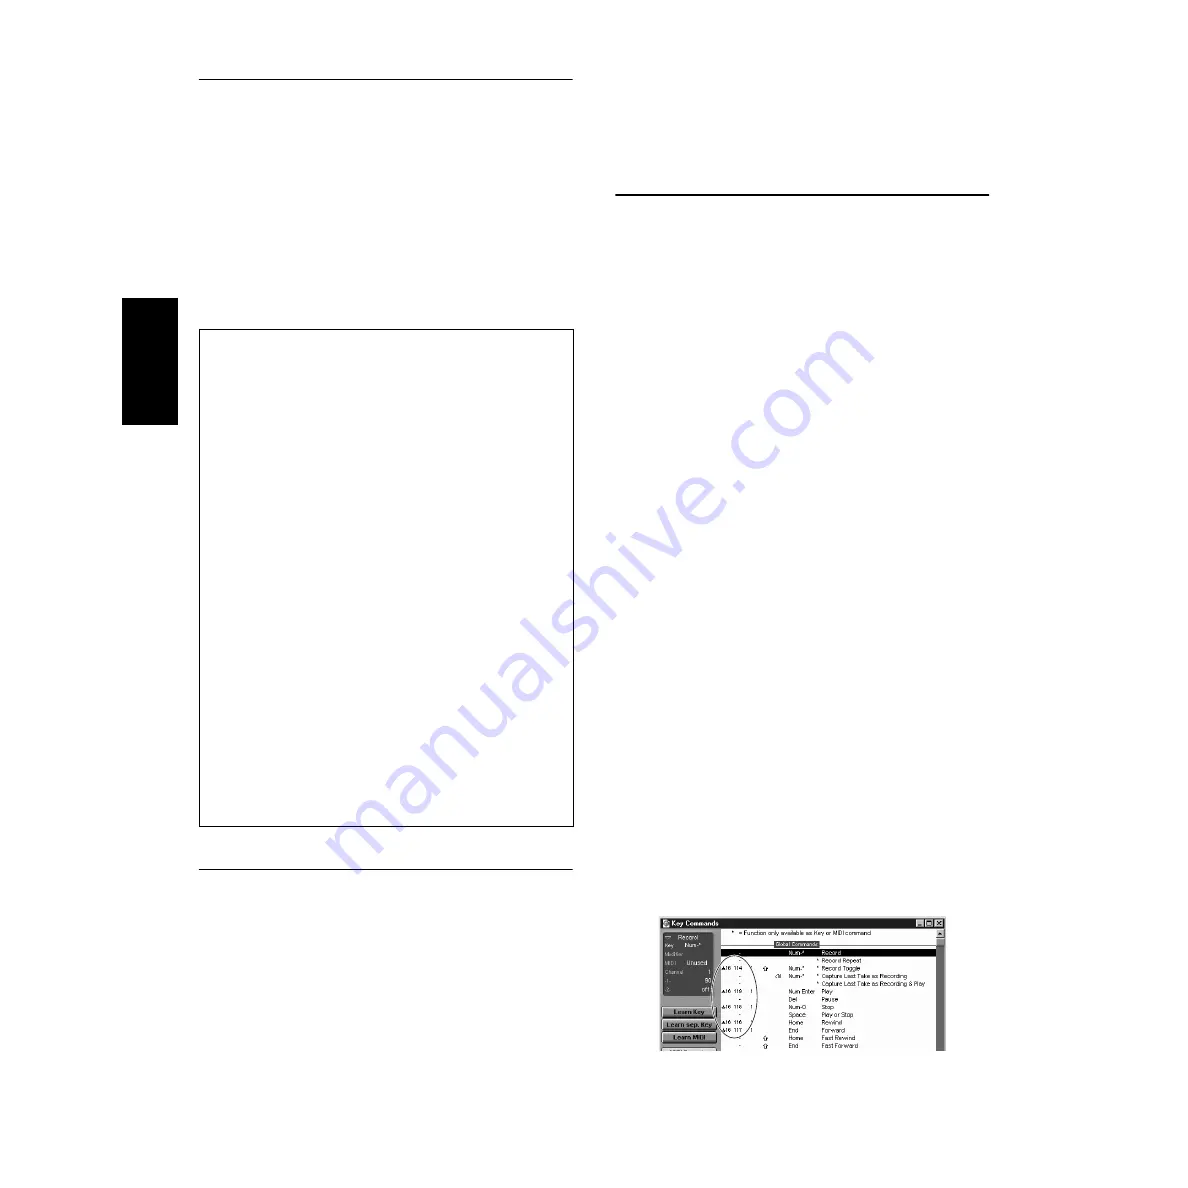
After importing the file, the following setup appears.
Please note that the Key Command settings are replaced with the
selected preference file.


