CHAPTER 7: Enhancing the Disklavier Features by Hooking Up a MIDI Device
81
The Disklavier can play back the MIDI data being
received from the connected MIDI device as well as the
software loaded or stored in the Disklavier itself. The
following options should be set up in advance.
[Port]
Selects the terminal/port used for the data reception.
[MIDI]:
Select this when the MIDI device is
connected to MIDI IN terminal.
[USB]:
Select this when the MIDI device is
connected to USB port on the front of the
I/O Center.
[Piano Rcv Ch]
The MIDI data consists of multi channels that are
respectively assigned to a certain instrument’s part. This
option assigns the desired channel(s) to the piano part(s)
that is (are) played back on the Disklavier’s keyboard.
[##]:
Select this when you assign no channel to
the piano part.
[01] thru [16]:
Select the desired channel to which you
assign the piano part.
[HP]:
Select this when you assign the “01” and
“02” channels to the piano parts, and the
“03” channel to the pedal part.
[1+2]:
Select this when the “01” and “02”
channels are assigned to the piano parts.
[Prg]:
Selects the smallest number channel
assigned to the piano group voice (
→
pg.
70) to be played on the Disklavier.
[Prg(All)]:
Selects all channels assigned to the piano
group voice (
→
pg. 70) to be played on the
Disklavier.
[Delay]
When the Disklavier receives two kinds of data (strong
and weak note) at the same time, the weak note sounds a
little bit later than the strong one due to the characteristics
of the Disklavier’s mechanism. To eliminate this delay in
the sound reproduction and the notes are sounded in
accurate timing at 500 millisecond after the data
reception, usually a delay is applied to the incoming
MIDI data.
[ON]:
Select this when you apply this delay to the
incoming MIDI data.
[OFF]:
Select this when you do not apply this
delay.
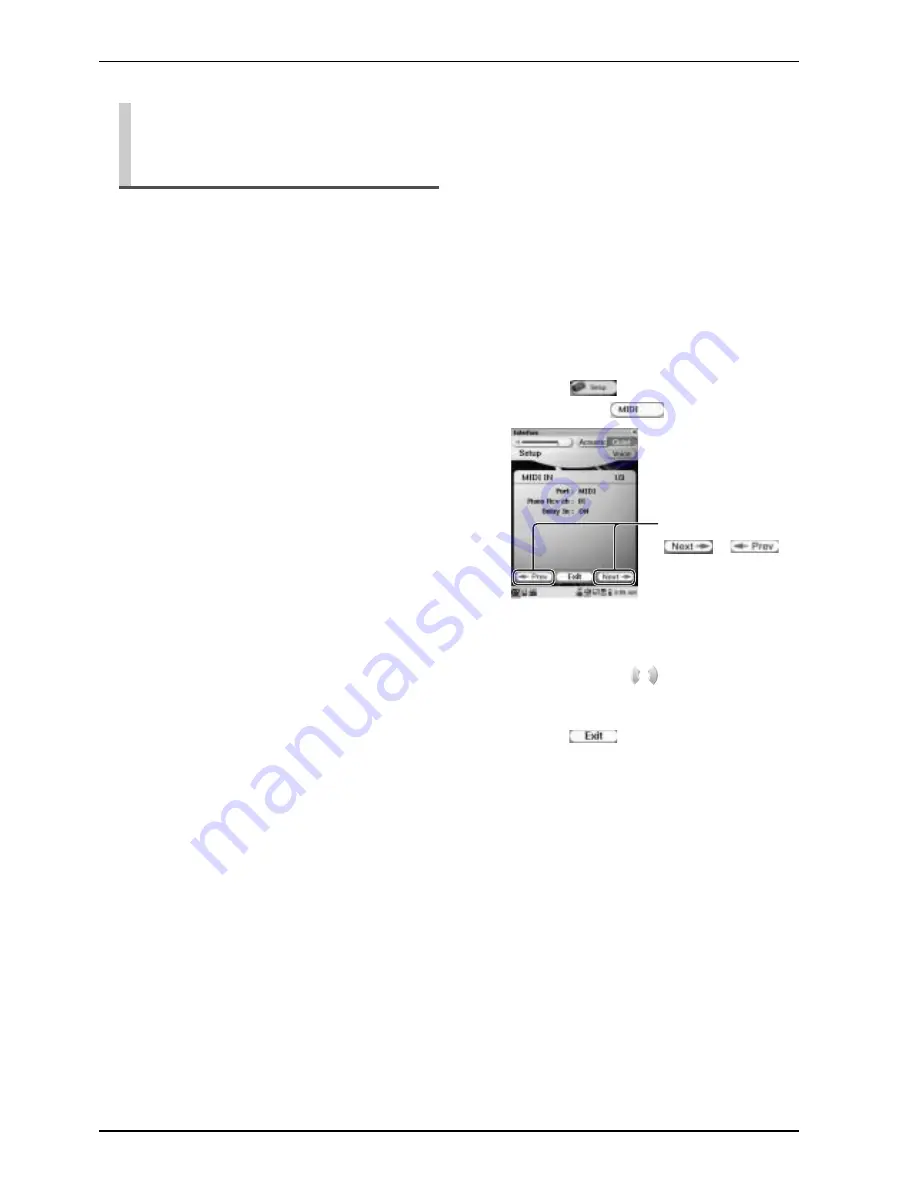
Setting Up the Disklavier for
MIDI Data Reception (MIDI
IN)
1
Tap on
in the [Main] screen,
and then on
.
2
Tap on [Port]/[Piano Rcv Ch]/[Delay],
and then press
to select the
desired option.
3
Tap on
to complete the setup.
The MIDI screen
consists of three
screens. Tap on
or
to
switch the screen.
Содержание PRO/Mark IV
Страница 1: ......
Страница 7: ...English ...
Страница 8: ......
Страница 112: ...CHAPTER 11 Screen Transition Diagrams 99 Setup option screens pg 81 pg 45 pg 64 pg 65 pg 67 68 pg 66 pg 90 pg 90 ...
Страница 113: ...CHAPTER 11 Screen Transition Diagrams 100 English pg 82 pg 83 pg 42 pg 59 pg 41 pg 61 pg 68 pg 57 ...
Страница 121: ......


