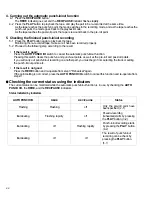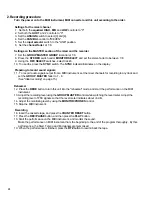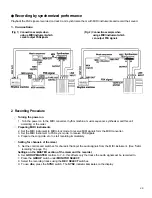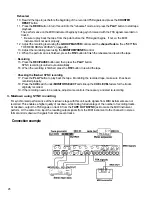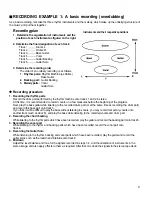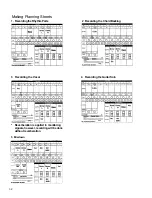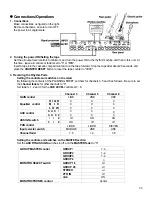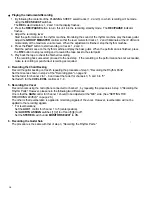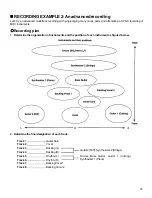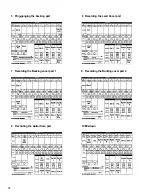
Recording procedure
1. Recording the Drum, Bass parts and SYNC signals (Initial recording)
While recording the drum and bass parts, record the FSK signal onto track 8.
1) Play back the rhythm machine (drum part) and record the sound signals onto tracks 1 and 2.
Output the sounds of the bass drum and snare drum separately, add some appropriate effects to each of them
respectively, and mix them together.
2) Simultaneously, synchronize the music sequencer with the SYNC signal to play the synthesizer (bass part), and
record the sound signals onto track 3.
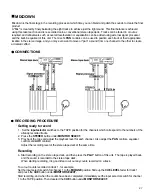
3) Simultaneously, record the FSK signal to track 8 through the MIDI converter.
2. Recording the Guitar 1 (Cutting)
While listening to the recorded drum and bass parts, play the guitar and record the sound signals to track 4 as the
Guitar 1 (Cutting) part.
3. Ping-pong the rhythm parts (with SYNC recording of Synthesizer 1)
Mix the synchronized rhythm part (by Synthesizer 1) with the rhythm parts that have been already-recorded, and
then ping-pong the mix in stereo.
1 ) Synchronize the music sequencer with the SYNC signal which has been recorded onto track 8 (as FSK signal),
and play the Synthesizer 1 part.
2) Play back tracks 1-4 and mix each part with the Synthesizer 1 part (while adjusting the volume balance and
orientation, and adding effects), and record the mixed stereo signals onto tracks 5 and 6.
4. Recording the Guitar 2 (Backing)
While listening to the rhythm parts on tracks 5 and 6, play the guitar and record the sound signals to track 1 as the
Guitar 2 part (which is to be the riff part).
5. Ping-ponging the backing parts
Mix the recorded Guitar 2 part with the Synthesizer 2 part (the sound of the strings), and then ping-pong the mix of
them in stereo.
1 ) Synchronize the music sequencer with the SYNC (FSK) signal which has been recorded onto track 8, and then
play the Synthesizer 2 part.
2) Play back track 1 , and mix the Guitar 2 part on track 1 with the Synthesizer 2 part (while adjusting the volume
balance and orientation, and adding effects), and record the mixed stereo signals onto tracks 3 and 4.
6. Recording the Lead Vocal part
1 ) Change the GAIN control for channel 1 from the "LINE" side to the "MIC" side, and adjust the input level.
2) While listening to the rhythm parts on tracks 5 and 6 and the backing parts on tracks 3 and 4, sing and record
this singing to track 2 as the Lead Vocal part.
7. Recording the Backing vocal 1 part
While listening to the rhythm parts on tracks 5 and 6, the backing parts on tracks 3 and 4 and the lead vocal part on
track 2, sing a vocal backing and record this singing to track 7 as the backing vocal 1 part.
8. Recording the Backing vocal 2 part
While listening to the rhythm parts on tracks 5 and 6, the backing parts on tracks 3 and 4, the lead vocal part on
track 2 and the backing vocal 1 part on track 7, sing another vocal backing and record this singing to track 8 as the
backing vocal 2 part. (Because there will be no more SYNC recording after this, it doesn't matter if the FSK signal
on track 8 is erased.)
36
Содержание MT8X
Страница 1: ...YAMAHA AUTHORIZED PRODUCT MANUAL MULTITRACKCASSETTERECORDER ...
Страница 2: ...YAMAHA MULTITRACK CASSETTE RECORDER OPERATION MANUAL ...
Страница 41: ...CONNECTION EXAMPLE 40 ...
Страница 46: ......
Страница 47: ...TRACK SHEET TITLE ARTIST ENGINEER DATE COMPOSER ARRANGER ...
Страница 48: ...YAMAHA R0 1 93 08 2500 YAMAHA CORPORATION RO Box1 Hamamatsu Japan VQ02780 ...

