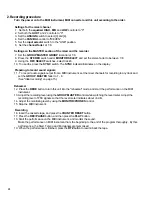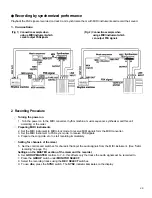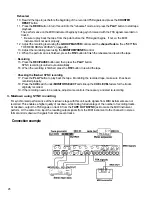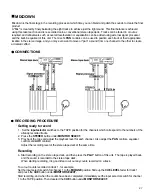
Recording
12. Press the REC/PAUSE button. The REC/PAUSE indicator flashes.
13. Press the PLAY button to start recording. The PLAY indicator illuminate.
14. At the same time, play the instrument while listening to sounds of the track being played back.
15. When recording is finished, press the RTZ button to stop and rewind the tape.
The PLAY and REC/PAUSE indicators go out and the REC select indicator on the display flashes.
Checking the finished recording
16. Press the PLAY button to play back the tape and check the contents of the recording.
17. If the recording needs to be redone, repeat steps (12-16).
* Various other methods of monitoring are available, in addition to those described above.
Use whichever method works best for your purpose. (See "Monitor" on page 14.)
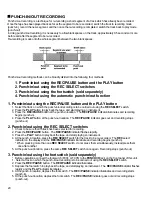
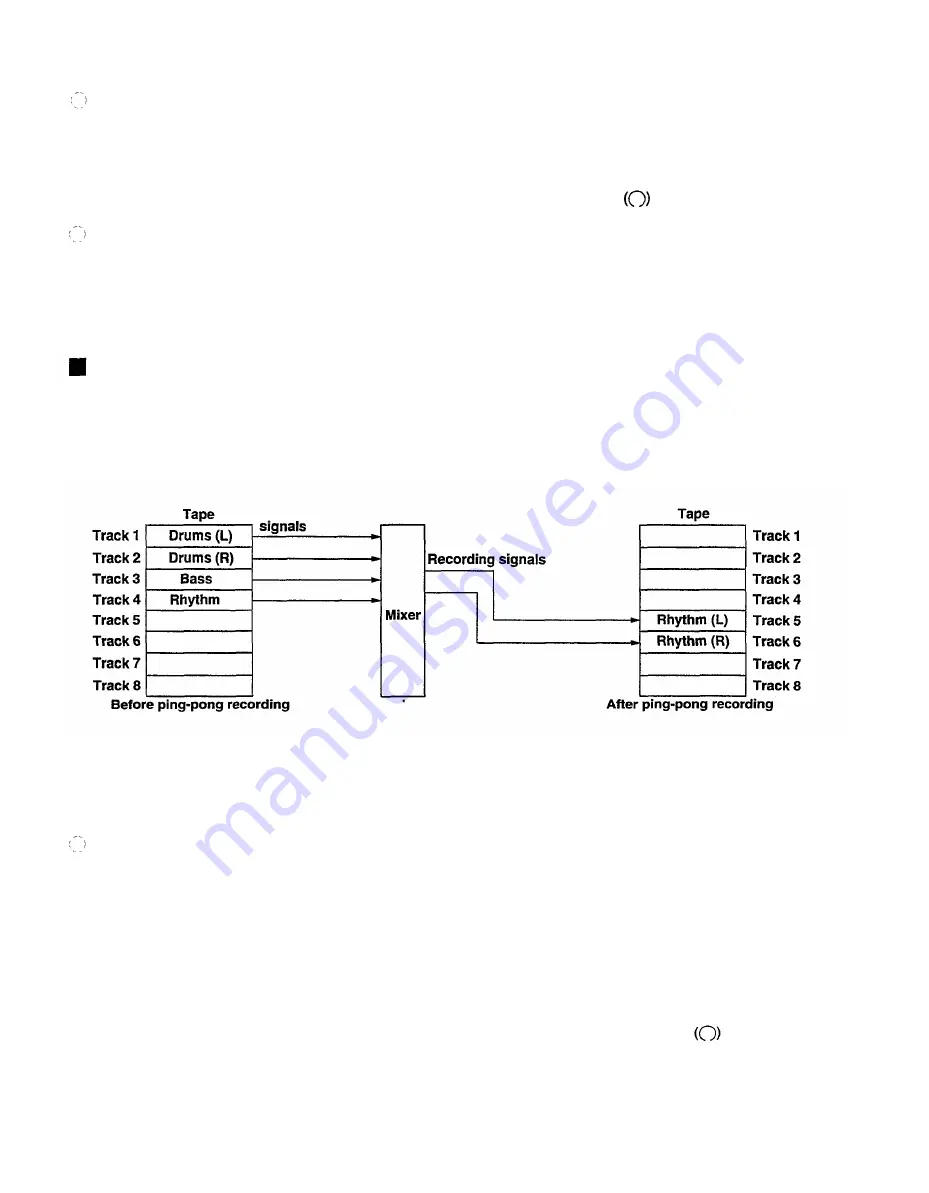
PING-PONG RECORDING
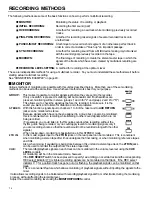
The recorder of this unit is provided with 8 tracks, so it is possible to use the overdubbing method to record up to 8
different parts with no problem. However, if you want to make a multi-track recording of more than 8 parts, it is
impossible with the overdubbing method. Ping-pong recording is a technique often used to overcome such a problem.
For instance, if the recorded signals on tracks 1-4 are mixed and re-recorded onto other 2 tracks (tracks 5 and 6 for
example), tracks 1-4 can be used for new recording.
PROCEDURE
Getting ready to record
1. Set the input selector switches to the TAPE position for the channels which correspond to the tracks whose
signals will be "mixed". (Channels 1-4 for the example figured above)
2. Use the ASSIGN switches and the PAN control to select the group bus to which input signals will be sent, and to
adjust the orientation of the signals.
3. Press the REC SELECT switch for the track on which a ping-pong recording will be made. The corresponding
REC select indicator flashes.
4. Turn on the group bus selected in step 2 for the MONITOR SELECT switch.
(If you will perform a ping-pong recording in stereo like the example figured above, press both the GROUP
switches so that you can monitor recording signals in stereo.)
5. Press the REHE button. The REHE indicator illuminates and the REC select indicator
illuminates.
on the display
6. Set the corresponding GROUP MASTER controls at about 7-8.
7. Press the COUNTER RESET button.
17
Содержание MT8X
Страница 1: ...YAMAHA AUTHORIZED PRODUCT MANUAL MULTITRACKCASSETTERECORDER ...
Страница 2: ...YAMAHA MULTITRACK CASSETTE RECORDER OPERATION MANUAL ...
Страница 41: ...CONNECTION EXAMPLE 40 ...
Страница 46: ......
Страница 47: ...TRACK SHEET TITLE ARTIST ENGINEER DATE COMPOSER ARRANGER ...
Страница 48: ...YAMAHA R0 1 93 08 2500 YAMAHA CORPORATION RO Box1 Hamamatsu Japan VQ02780 ...

