


Editing
Editing
61
Deleting an Album
You can delete an album from the MusicCAST server
database.
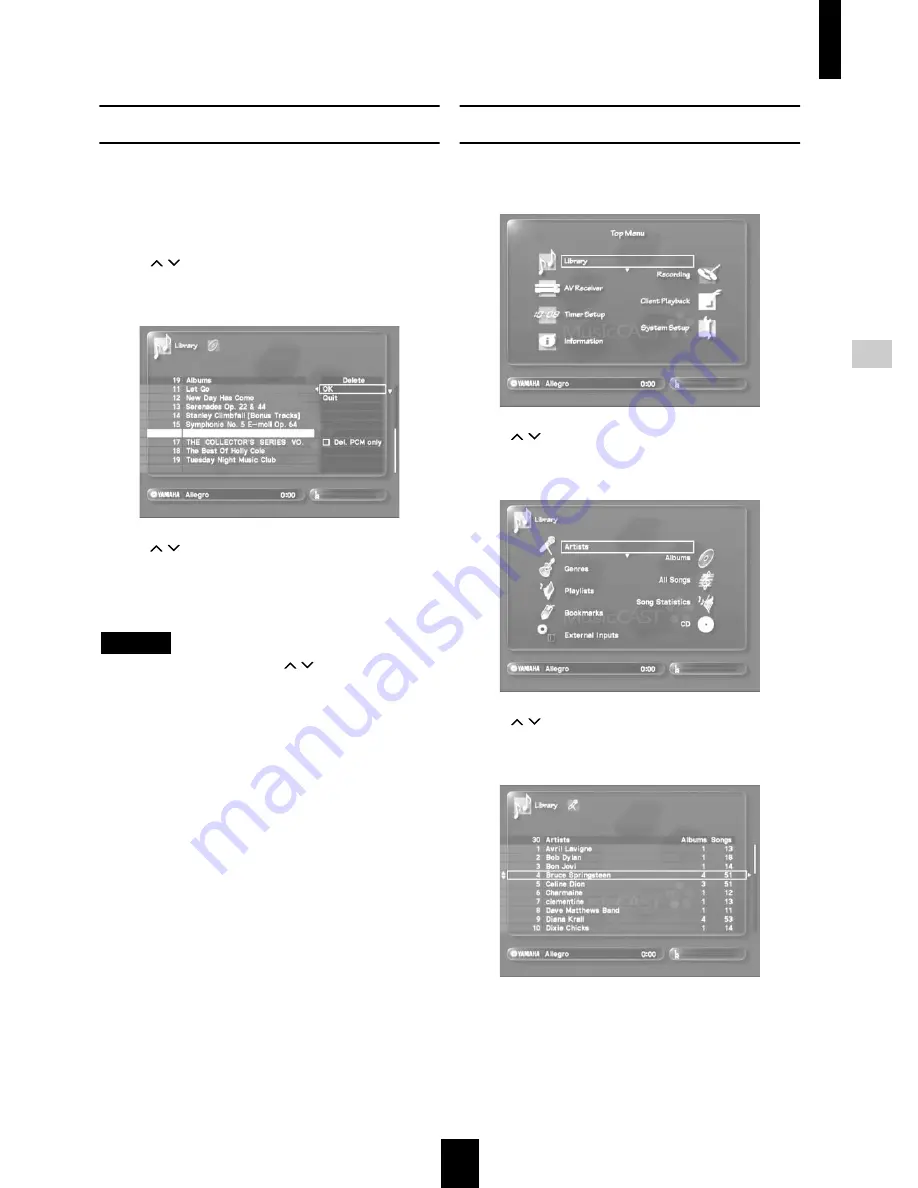
1 Follow the procedure described on page 59
“Opening the album editing screen” to display
the album editing screen.
2 Use
/
to move the cursor to “Delete” and
press SELECT.
The following screen appears.
3 Use
/
to move the cursor to “OK” and press
SELECT.
The MusicCAST server deletes the selected album and all
songs contained in the album from the database.
NOTE
To delete the PCM files only, use
/
to move the cursor to
“Del. PCM only” and press SELECT, then move the cursor to
OK and press SELECT.
Select “Quit” and press SELECT to return to the album list
without deleting the album.
Press BACK to return to the album list.
Moving an album to another artist
1 Press TOP MENU.
The Top Menu screen appears on the on-screen display.
2 Use
/
to move the cursor to “Library” and
press SELECT.
The Library screen appears on the on-screen display.
3 Use
/
to move the cursor to “Artists” and
press SELECT.
The Artists screen appears on the on-screen display.


