XPR16H - User Manual
54
Step 2:
Select the relevant HTTP port number (the default number is 80).
Note:
If the port number has changed from the default of 80, the user needs to add the port number when typing the IP
address into an internet browser address bar (i.e. If the user wants to set the HTTP port to 82 with the IP address
http://192.168.0.25, the user will add it as follows: http://192.168.0.25:82)
Step 3:
Set the “Server Port” number (i.e. communication port)
Step 4:
If the user selects the check-box "Obtain an IP address automatically"; the DVR will distribute an IP address,
Subnet Mask and Gateway. If this option is not taken the user can manually enter data into those fields. The Preferred and
Alternate DNS Server field need to be added manually.
Step 5:
By selecting the
“PPPoE” check-box the user can connect the DVR directly to the internet via an ADSL line. Input
the corresponding
“User Name” and “Password” in the fields and then the “Test” button to check if the details are correct.
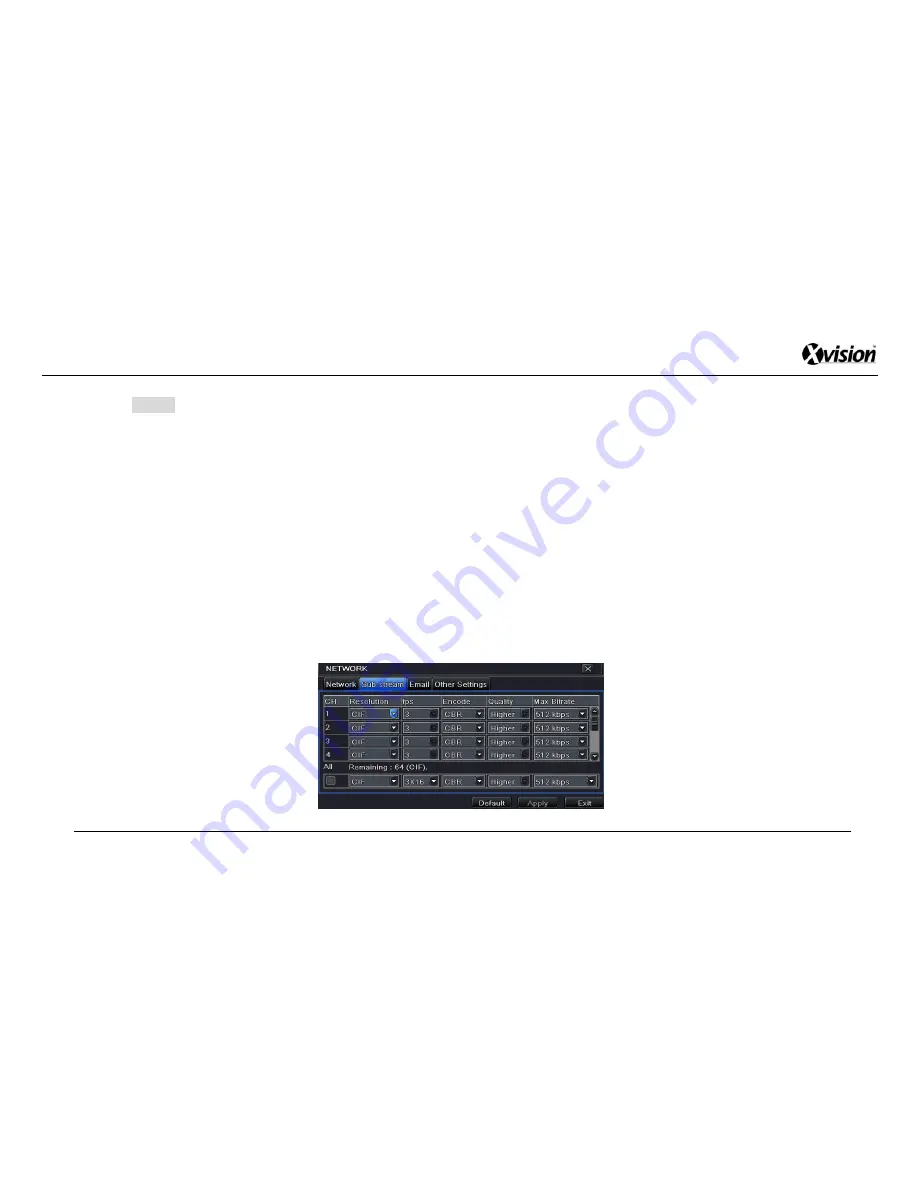
4.6.2 Sub stream
Step 1:
Go to Main Menu > Setup > Network > Sub-stream (tab) (refer to Fig 4-35)
Fig 4-35
Содержание XPR16H
Страница 1: ...XPR16H Professional 16 Camera 4 CPU D1 H264 DVR USER MANUAL...
Страница 34: ...XPR16H User Manual 34 Fig 4 11 Fig 4 12...
Страница 78: ...XPR16H User Manual 78 Fig 7 1...
Страница 81: ...XPR16H User Manual 81 7 2 The remote live preview interface as below Fig 7 2...
Страница 90: ...XPR16H User Manual 90 Fig 7 7...
Страница 93: ...XPR16H User Manual 93 Fig 7 9...
Страница 98: ...XPR16H User Manual 98 Fig 7 12...
Страница 110: ...XPR16H User Manual 110 Fig 8 34 Fig 8 35 Fig 8 36...
Страница 115: ...XPR16H User Manual 115 Fig A 1 Fig A 2 Fig A 3...


