background image

Change Screen Display under Live Mode

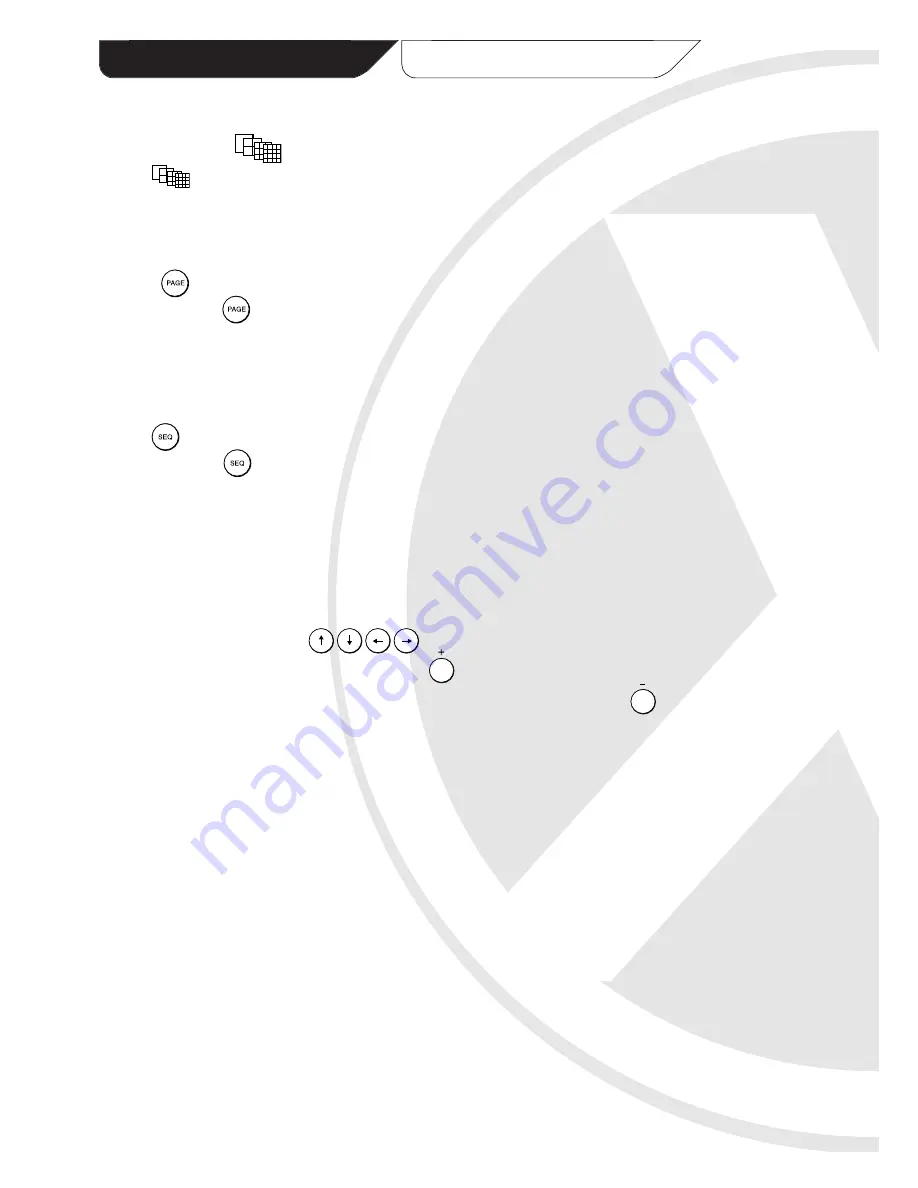
Display Mode (          )      
Press         once at a time to switch the screen display

4ch: Full/quad screen display selection
8ch: Quad/8-way screen display selection
16ch: Quad/8-way/16-way screen display selection

PAGE (       )      
Press MODE+       to switch page of screen display

4ch: Not applicable
8ch: 1st Quad/2nd Quad screen display switching
16ch: Quad mode: 1st Quad/2nd Quad/3rd Quad/4th Quad screen display switching

8-way mode: 1st 8-way/2nd 8-way screen display switching

SEQ (       )      
Press MODE+       to switch page of screen display

4ch: 1st Full > 2nd Full > 3rd Full > 4th Full > Quad > 1st Full....
8ch: 1st Full > 2nd Full > 3rd Full.... > 8th Full > 8-way > 1st Full....
16ch: 1st Full > 2nd Full > 3rd Full.... > 16th Full > 16-way > 1st Full....

Motion Area Setup

Select ‘Motion Area’ under the selected camera. The previous Motion Area will show on the
screen when you enter. Use

to move the cursor to the beginning point (upper

left) of your first detection zone, then press       for confirmation.

Move the cursor to the end (bottom right) point of the zone and press       for confirmation.
The cursor will then appear for you to set up your next zone. Repeat the process until you have
set up to four zones. Press to complete the motion setup (‘

Motion set up OK

’ will be shown

on the screen).

Adjust 

Alarm REC

if your DVR is NOT in 24-hr REC Mode. Video Motion detection (VMD)

function will be enabled 

ONLY if

the ‘Motion’ has been turned ON; and one detection zone

(minimum) has been set up.

REC Schedule Setup

Please make sure the 

REC Mode

under 

Display/Record

is in 

Schedule

mode, and enter the

desired time into 

Setup REC Schedule

under 

Others

.

Confirm Alarm Buzzer

Once the alarm has been triggered, the screen will switch back to the original screen display.
Push the button with the corresponding channel number.

Chapter 4

General Operations

15

Содержание EDVRCD16

Страница 1: ...superior picture quality fast frame rates and an integrated CD Writer for easy backing up They are simple to install and use and are designed for use in low to medium risk applications Main Features...

Страница 2: ...s Duplex Recording The duplex recording feature of the EDVRCD range allows the user to select any camera full screen or as a multiscreen layout during live viewing without disturbing the recording of...

Страница 3: ...deo Recorder 7 EDVR8CD 8 Camera Digital Video Recorder 7 EDVR16CD 16 Camera Digital Video Recorder 8 Chapter 3 Installation and setup 8 Installing your DVR System 8 Start up 8 Hard Drive Space Check 9...

Страница 4: ...will void the warranty Make sure you use only the recommended power supply Damage caused to the unit by incorrect voltage or wiring is not covered by the warranty Video Viewing Software CD Hard Drive...

Страница 5: ...Front Panel Detail EDVR4CD 4 Camera Digital Video Recorder EDVR8CD 8 Camera Digital Video Recorder EDVR16CD 16 Camera Digital Video Recorder Chapter 2 Controls Connections 5...

Страница 6: ...Mode Disable sequence SEQ Enter Playback Mode Play Rewind During Playback Decrease Playback Speed Full Screen Display of the Selected Channel Spot Screen Display of the Selected Channel Alarm Confirm...

Страница 7: ...Rear Panel EDVR4CD 4 Camera DVR Connections EDVR8CD 8 Camera DVR Connections Rear Panel Connections 7...

Страница 8: ...the phono sockets AUDIO IN on the back of the DVR Note This DVR has the capability to connect two cameras with audio Use the AUDIO OUT phono sockets to connect speakers or other audio device if requir...

Страница 9: ...r screen will be split depending on whether you have a 4 8 or 16 channel model Hard Drive Space Check Keypad Control Press MODE then press the DVR will then show the usage indication bar as shown belo...

Страница 10: ...elease button OPEN and sliding the lid off backwards 3 Place the new hard drive into the caddy and connect both the connector block and ribbon cable to the rear of the new drive 4 Fix the drive in pla...

Страница 11: ...n press If the password is required insert the password and then press If there is no password protection press when the message Please confirm to remote hard drive is shown Hard Drive Guidelines For...

Страница 12: ...y OSD Setup EDVR4CD 4 Camera Digital Video Recorder The following diagram shows how to navigate through the menus and set up more advanced functions of the EDVR4CD 4 Camera DVR Press to go to the MAIN...

Страница 13: ...y OSD Setup EDVR8CD 8 Camera Digital Video Recorder The following diagram shows how to navigate through the menus and set up more advanced functions of the EDVR8CD 8 Camera DVR Press to go to the MAIN...

Страница 14: ...SD Setup EDVR16CD 16 Camera Digital Video Recorder The following diagram explains how to navigate through the menus and set up more advanced functions of the EDVR16CD 16 Camera DVR Press to go to the...

Страница 15: ...will show on the screen when you enter Use to move the cursor to the beginning point upper left of your first detection zone then press for confirmation Move the cursor to the end bottom right point o...

Страница 16: ...to switch page of screen display 4ch Not applicable 8ch 1st Quad 2nd Quad screen display selection 16ch 1st Quad 2nd Quad 3rd Quad 4th Quad screen display selection SEQ not valid for Playback mode val...

Страница 17: ...ey Control Move the cursor to the desired file and push to delete and to confirm D Push ESC button or Exit to return to the previous page Returning to Live mode will delete all the selections Setting...

Страница 18: ...PC using the player software which supports multi channel video and audio display Note ESC button is disabled during the burn function Once the CD burning is completed the DVR will show a DONE messag...

Страница 19: ...chased from your local distributor Step1 Plug the USB2 0 IDE convertor in to the the IDE socket of the mobile drawer Step2 Connect the USB2 0 convertor to the PC with the USB2 0 cable Step3 Power on t...

Страница 20: ...A USB2 0 card for notebook PCs Install the Offline Viewer Software on to your PC 1 Insert the software CD supplied into your CD ROM and installation will start automatically 2 Click playback software...

Страница 21: ...message will be displayed 5 Playback screen will be shown after loading is completed When an error occurs during the loading process the offline player will skip the error file and create errfile txt...

Страница 22: ...edia player speed settings Click View Enhancements the click Play Speed Settings as below Select Private VDO export Play the file and push STOP AVI to start export Click STOP AVI to start video export...

Страница 23: ...Image Zooming To zoom in or out on an image select the image you require and the following will be displayed Alarm Log Date Time Search Playback 23...

Страница 24: ...R Q Will my DVR record any motion that occurs during any other time than my REC schedule A Yes Once your cameras are in ANY alarm mode your DVR will automatically record any motion even if it is not i...

Отзывы: