7
Need help or have any questions? Call us at 1-714-963-0329 or send us an Email at [email protected]
❑
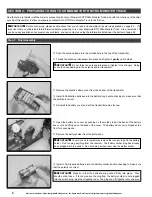
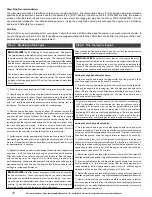
Push the battery holder into the battery box, along with the wire and plugs, then
mount the receiver upside down on top of the battery holder, making sure it won't interfere
with the on-off switch when the battery box cover is reinstalled.
❑
Reinstall the battery box cover, making sure that you don't pinch any wires.
✦
✦
✦
✦
✦
IMPORTANT
✦
✦
✦
✦
✦
Make sure that the tab at the back of the battery box cover snaps
firmly into the battery box. This will ensure that the battery box cover doesn't come
loose during use.
❑
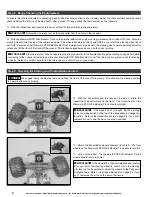
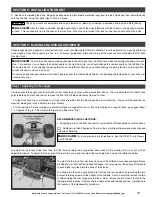
Slide the receiver antenna into one end of the plastic antenna tube and out the
other end.
✦
✦
✦
✦
✦
IMPORTANT
✦
✦
✦
✦
✦
To make it easier to slide the antenna through the tube, first make
sure there are no kinks or bends in the antenna wire, then wet the antenna wire with
glass cleaner. The glass cleaner will make the antenna slide easily through the tube.
❑
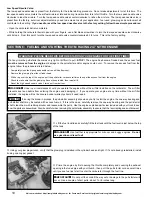
Push the end of the antenna tube firmly into the molded hole in the top of the receiver
box cover where the antenna exits.
✦
✦
✦
✦
✦
IMPORTANT
✦
✦
✦
✦
✦
Leave the excess antenna hanging from the top of the tube. Under
no circumstances should you cut or shorten the antenna.
❑
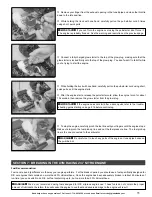
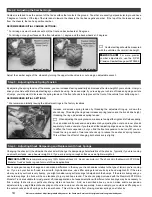
Slide the transmitter's on-off switch forward to turn on the transmitter. The green LED
should glow brightly.
✦
✦
✦
✦
✦
IMPORTANT
✦
✦
✦
✦
✦
If the green LED does not glow or if the red LED is glowing, check the
batteries in the transmitter and replace them if necessary.
❑
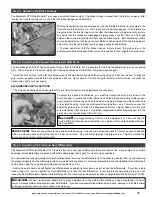
Slide the receiver's on-off switch to turn the receiver on. You should hear the servos
move to their proper positions. Notice that the on-off positions are molded into the top of
the switch cover.
✦
✦
✦
✦
✦
IMPORTANT
✦
✦
✦
✦
✦
Always turn on the transmitter first, followed by the receiver. After
you're done, turn off the receiver first, then turn off the transmitter. This will prevent the
possibility of a runaway model or damage to the servos.


