background image


9

3. Tap “Mode” to enter into backlight 
time change window: 


4. Press Next/Last to adjust the time 
5. Exit after finished adjustment 


Note

To quickly exit any of the settings menus press the “Play” button. 


9. General Data Storage 


The data storage function works similar to any removable USB mass storage device.    Connect 

the player to the computer via the USB cable and allow the computer to recognize the presents of the 
player.    This product can receive power via the USB connection, and does not need a battery when 
connected to a computer supplying power.    When the player is connected to a computer the player will 
automatically be in transfer mode, to utilize other functionalities of the player while connected to a 
computer, press and hold the “Mode” button until main menu appears.         
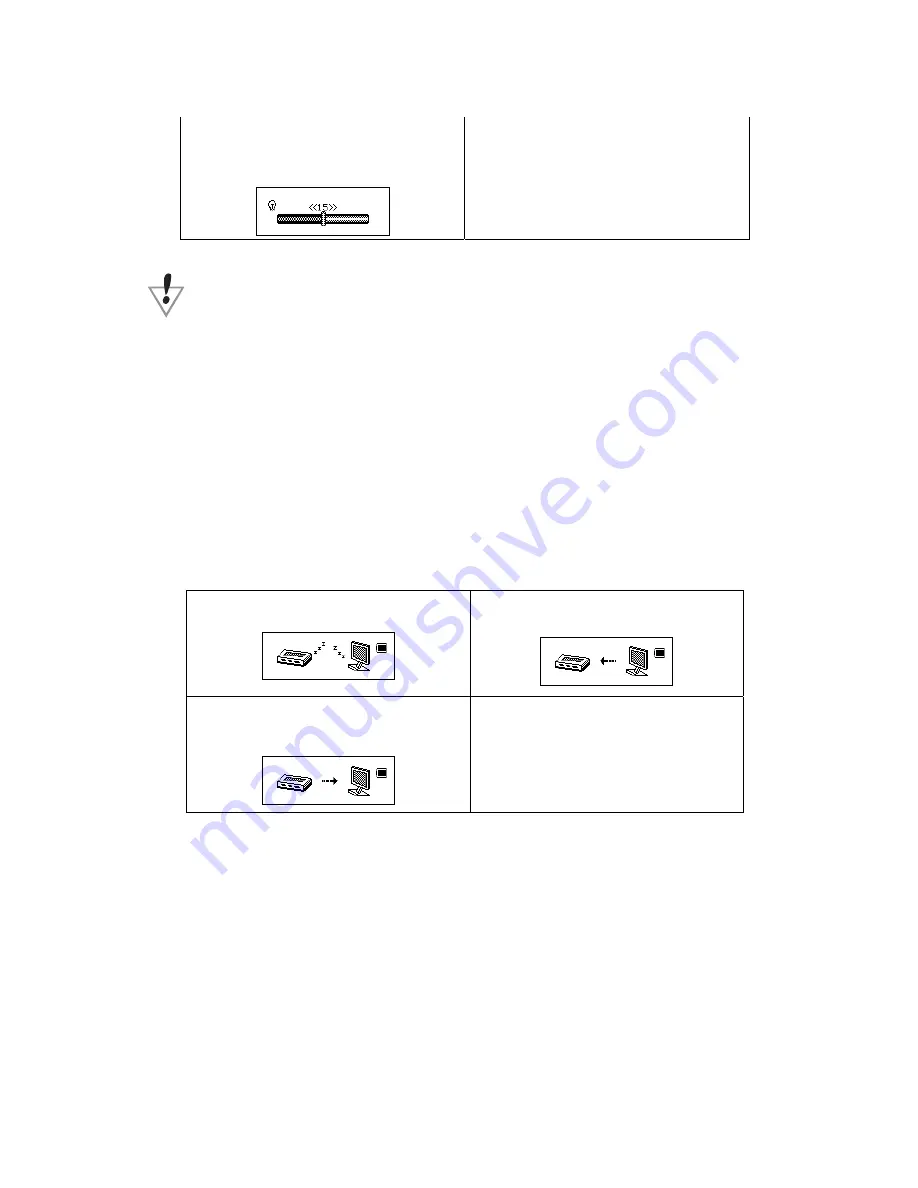
There are three displays when player is connected to a computer in transfer mode:   
 

2.downloading 

1.waiting  


3.uplodoading 


Other setting 

z


Select different directory

Stop submenu


The player offers the user the ability to organize files on player by using 
subdirectories.  The directories should be created on the computer before they 
are implemented on the player.   

The Roq Box has nine different one-class subdirectory. 


Содержание Roq Box

Страница 1: ...1 Xtatix Roq Box Instruction Manual Xtatix LLC 2005 WWW XTATIX COM...

Страница 2: ...ctronic product Please do not operate player without following proper instructions 6 Operating system requirements without needing to install drivers for Windows at least Windows 2000 for Mac at least...

Страница 3: ...AY On Play Stop Off 2 VOL VOL Adjust volume 3 NEXT Next track FF 4 LAST Previous track RR 5 REC Enter into record mode 6 A B Used for A B repeat function 7 HOLD lock button operation 8 USB Connect to...

Страница 4: ...erous sub menus which control the different functions of the Roq Box z Menu Displays Main menu There are five options to choose from in main menu Those are music mode record mode record playback FM mo...

Страница 5: ...tap the Mode button to enter into the playing submenu 2 Press the Next button to select sound mode menu 3 Tap the Mode button to enter into the EQ mode and select the menu Sound mode selection 4 EQ m...

Страница 6: ...the main menu 2 Press the Next button to select the record mode 3 Tap Mode to enter into the record mode 4 Tap the Play button to start recording The above operation can also be done by simply pressi...

Страница 7: ...n menu 2 Press the Next button to select FM mode 3 Tap the Mode button to enter FM mode 4 Search radio stations Hold Last Next button for 2 seconds the player will scan through all stations The player...

Страница 8: ...e shutdown setting Set time limit for auto shutdown reread setting Configure the A B function setting balance adjust Change the brightness of the screen exit Exiting the current interface z Detailed S...

Страница 9: ...battery when connected to a computer supplying power When the player is connected to a computer the player will automatically be in transfer mode to utilize other functionalities of the player while c...

Страница 10: ...e files Stop submenu Under music mode play mode and FM mode you can delete the files and saved station 1 Under stop interface FM mode does not have a stop interface 2 Press Mode button to enter into s...

Страница 11: ...play list Repeat One Plays one song repeatedly Folder Plays only music in selected fold under normal setting Repeat Folder Plays music in a selected folder in order of arrangement under a continuous c...

Страница 12: ...starting point 5 To confirm starting point press the Next button Now you will notice that the B in the Playback icon is flashing This indicates that the player is ready for you to confirm the ending p...

Страница 13: ...0mW 32Ohm MP3 bit rate 8K bps 320K bps WMA WMV ASF bit rate 5K bps 384K bps Frequency respond 20Hz to 20KHz SNR 85dB MP3 WMA WMV ASF Distortion degree Frequency range 76MHz 96MHz 87MHz 108MHz Storage...

Отзывы: