Note
Refer to the print server documentation for more detailed information on how to set up
a tab job at your print server.
Note
If a jam occurs while running tabbed sets, cancel the job and start again.
1. After programming your tab job at the print server, select the appropriate and
matching tab stock for your print job.
2. Pull out the tray slowly until it stops.
3. Fan the tab paper before loading into the tray.
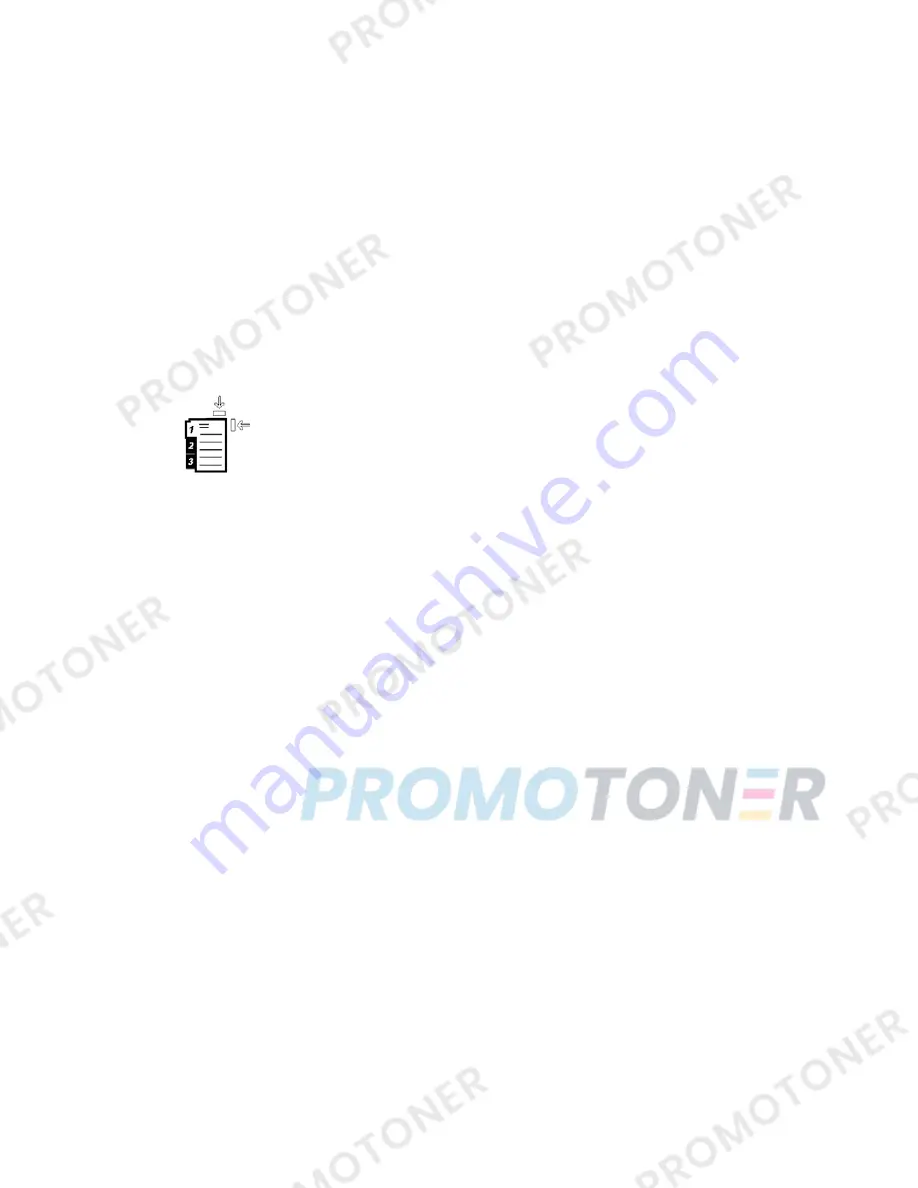
4. Load the tab stock LEF (portrait) and align the straight edge of the tab stock against
the right edge of the tray (tabs to the left or trailing edge). For single straight collated
tabs, the first blank tab cutout in the stack will be toward the front of the tray. For
single reverse collated tabs, the first blank tab cutout in the stack will be toward the
rear of the tray.
Tab stock is loaded so the straight edge of the stock is in the feed direction. Also, you
can only load the tab stock LEF.
5. Adjust the paper guides by pressing in the guide release and carefully moving the
Edge Guide until it lightly touches the edge of the stock in the tray.
Do not load materials above the MAX line located on the rear Edge Guide.
6. Gently push in the tray until it comes to a stop.
The Paper Tray Properties window displays from the Stock Library Manager on the
print server. The Stock Library Manager is available from the print server only and
not at the press.
7. From the Tray Properties window, confirm the correct tray to which it is printing and
other information, including size (9 x 11 inches), type (precut tab), and, if necessary,
paper curl and / or alignment option.
8. Select OK to save the information and close the Tray Properties window.
Loading Transparencies in the OHCF (Trays 8 and 9)
Note
Do not use transparencies with a white side strip (either permanent or removable).
At the Stock Library Manager, make sure to select Transparency as the Paper or Media
Type and select the tray containing the transparencies as the Paper Source.
1. Select the appropriate paper stock for your print job.
2. Pull out the tray slowly until it stops.
3. Fan the transparencies to stop them from sticking together before loading into the
tray.
3-19
Xerox
®
Versant
®
80 Press
User Guide
Paper and Media
Содержание Versant 80 Press
Страница 1: ...Xerox Versant 80 Press User Guide System Software Version 80 20 84 Book Version 3 1 November 2015 ...
Страница 18: ...Xerox Versant 80 Press xvi User Guide Table of Contents ...
Страница 36: ...Xerox Versant 80 Press 2 2 User Guide Where to Find Help ...
Страница 58: ...Xerox Versant 80 Press 3 22 User Guide Paper and Media ...
Страница 86: ...Xerox Versant 80 Press 4 28 User Guide Copy ...
Страница 112: ...Xerox Versant 80 Press 5 26 User Guide Scan ...
Страница 126: ...Xerox Versant 80 Press 7 8 User Guide Job Flow ...
Страница 133: ...7 Select Start to run the stored program 8 7 Xerox Versant 80 Press User Guide Stored Programming ...
Страница 134: ...Xerox Versant 80 Press 8 8 User Guide Stored Programming ...
Страница 136: ...Xerox Versant 80 Press 9 2 User Guide Web Applications ...
Страница 162: ...Xerox Versant 80 Press 13 14 User Guide Press Maintenance ...
Страница 224: ...Xerox Versant 80 Press 16 6 User Guide 1 Tray High Capacity Feeder HCF Tray 6 Letter Size A4 Only ...
Страница 238: ...Xerox Versant 80 Press 17 14 User Guide 1 or 2 Tray Oversized High Capacity Feeder OHCF Trays 6 and 7 ...
Страница 264: ...Xerox Versant 80 Press 19 12 User Guide Business Ready BR Finisher and Optional Booklet Maker ...
Страница 316: ...Xerox Versant 80 Press 23 10 User Guide High Capacity Stacker HCS ...
Страница 350: ...Xerox Versant 80 Press 24 34 User Guide Standard Finisher Booklet Maker Finisher ...
Страница 380: ...Xerox Versant 80 Press 26 16 User Guide Standard Finisher Plus ...
Страница 381: ......
Страница 382: ......


