21
Mapping the fifth color
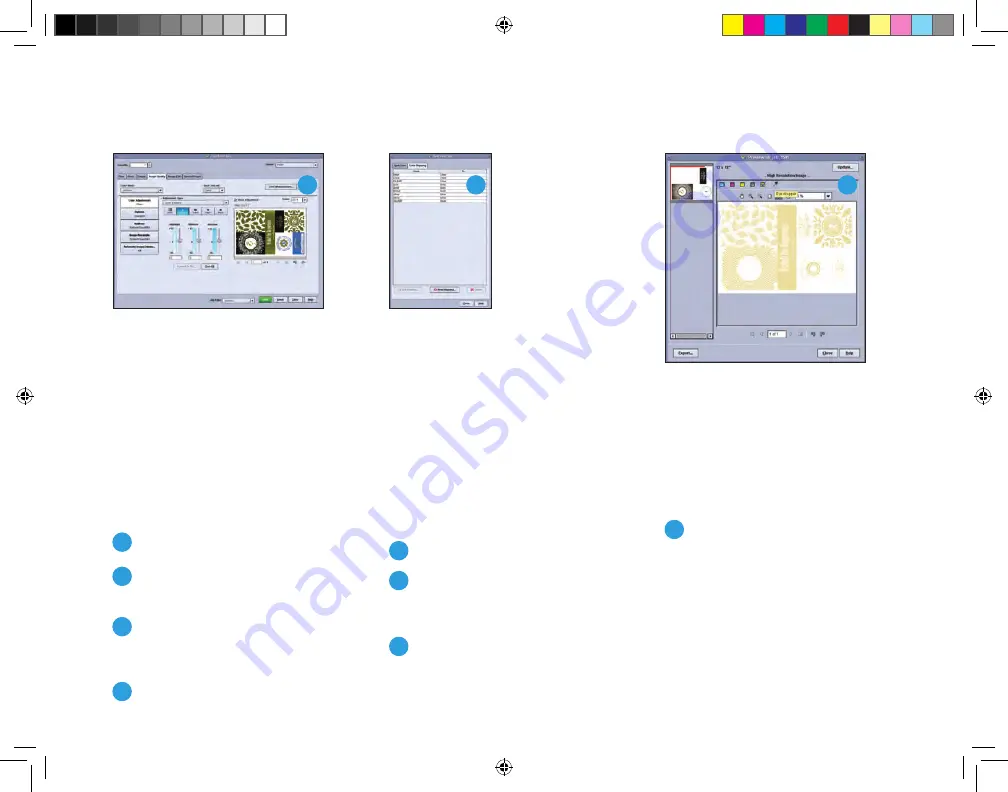
If the file has been designed such that
it is predefined with a fifth color but the
naming is not already defined in the print
server, you can add new names to the
Look Up Table.
1
Upload the file.
2
In the
Spot
Color
menu, click on
Spot Color List
, then choose the
Color Mapping
tab.
3
Add the name of the fifth color
(case-sensitive) in the
New Name
Mapping
window and choose the
Specialty Dry Ink color in which it
should print.
This feature is useful for designing a file
once with a generic spot color name,
then printing the same file in any of
the Specialty Dry Ink colors by mapping
the spot color name to the desired color.
1
Jobs can be previewed in the
Preview, Advanced Preview
option (in the
Job
drop-down list)
to see an accurate indication of
the CMYK and Spot Colorant pixel
value through the Eye Dropper.
Printing predefined files
If the job has been designed such that
it is predefined with a fifth color and
named accurately (
Silver
or
Gold
,
not case-sensitive), the process is brief.
1
Upload the file.
2
Set up the job’s properties for
stock and other variables.
3
On the
Image Quality
tab, choose
the desired Specialty Dry Ink color
from the
Spot Colorant
list.
4
Print the file.
Note: Only the enabled Specialty
Dry Ink colors will appear in the
Spot Colorant list.
Note: Spot color mapping allows
one file to be printed in any of the
Specialty Dry Ink colors without
altering the original file.
1
3
2
Xerox_MetallicDryInksDesignGuide_4c_030915_SPG_FINAL.indd 21
3/9/15 11:55 AM


