X8824r User’s Manual Version 1.0
91 / 102
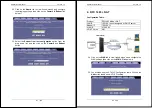
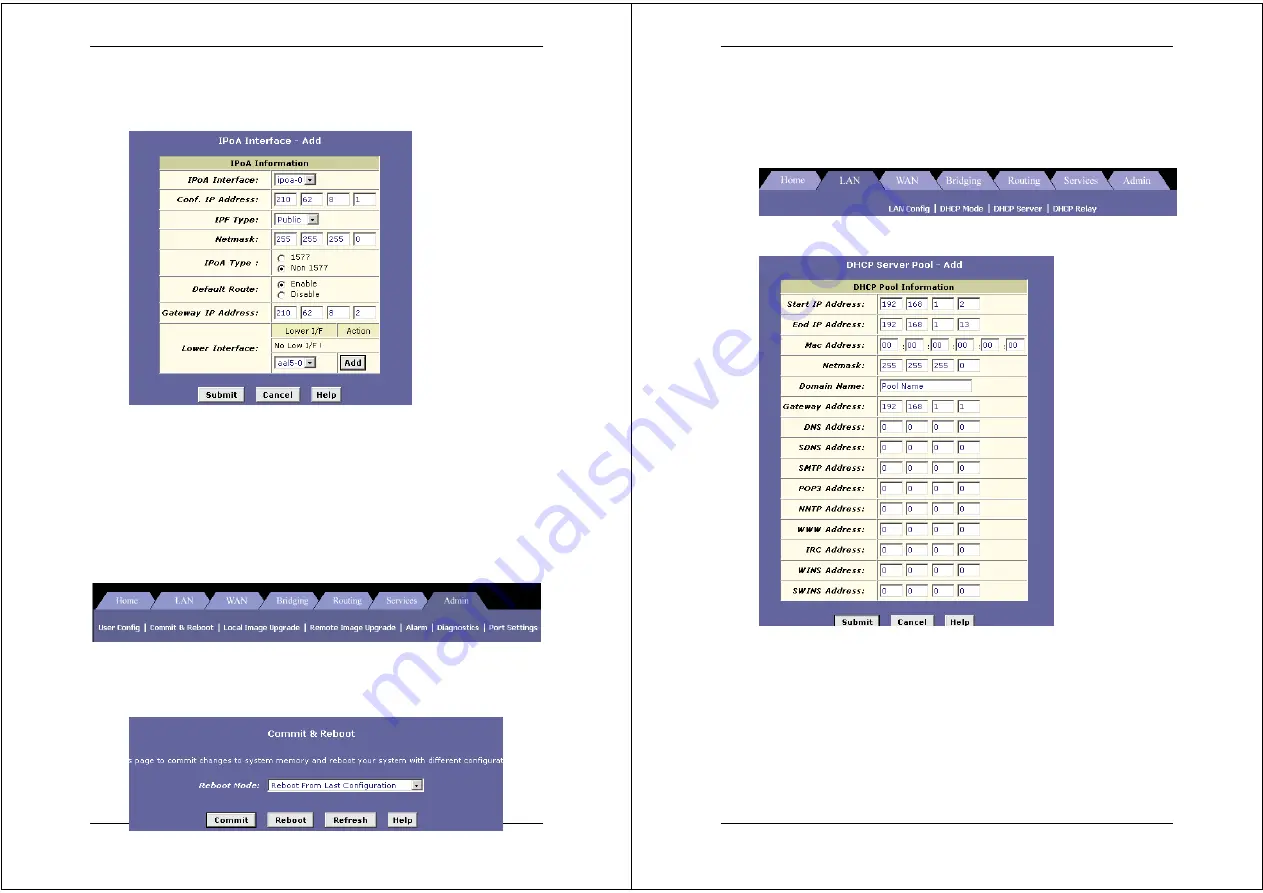
78. Click on the
IPoA
link in the
Routing
tab, and then click on the
Add
button to add an
IPoA
configuration.
79. Select an interface name:
IPoA-0
80. Conf. IP Address:
From ISP
81. Net mask:
From ISP
82. Gateway IP Address:
From ISP
83. Login Name: Enter
username
here (from ISP)
84. Lower Interface: Select
aal5-0
85. Click on the
Submit
button to confirm the changes.
86. Click on the
Admin
tab to view its sub-menu’s and configure
the bridging settings, then click on the
Commit & Reboot
link
below it.
87. Select the
Reboot from last configuration
option from the
drop down list, and the click on the
Commit
and
Reboot
button.
X8824r User’s Manual Version 1.0
92 / 102
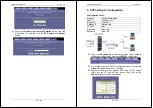
7. DHCP Configuration
88. Click on the
LAN
tab to view its sub-menu’s and configure the
LAN
settings, then click on the
DHCP Mode
link below it.
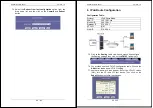
89. Click on the
DHCP Server
link under the LAN tab, and click on
the
Add
button.
90. Start IP Address: Enter the
Start IP Address (192.168.1.2)
91. End IP Address: Enter the
End IP Address (192.168.1.13)
92. Net mask:
based on IP address (255.255.255.0)
93. Domain Name: Enter a
name
here
94. Gateway IP Address: Enter a Gateway IP Address here
95. Click on the
Submit
button to confirm the changes.


