X8824r User’s Manual Version 1.0
83 / 102
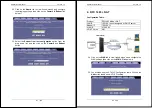
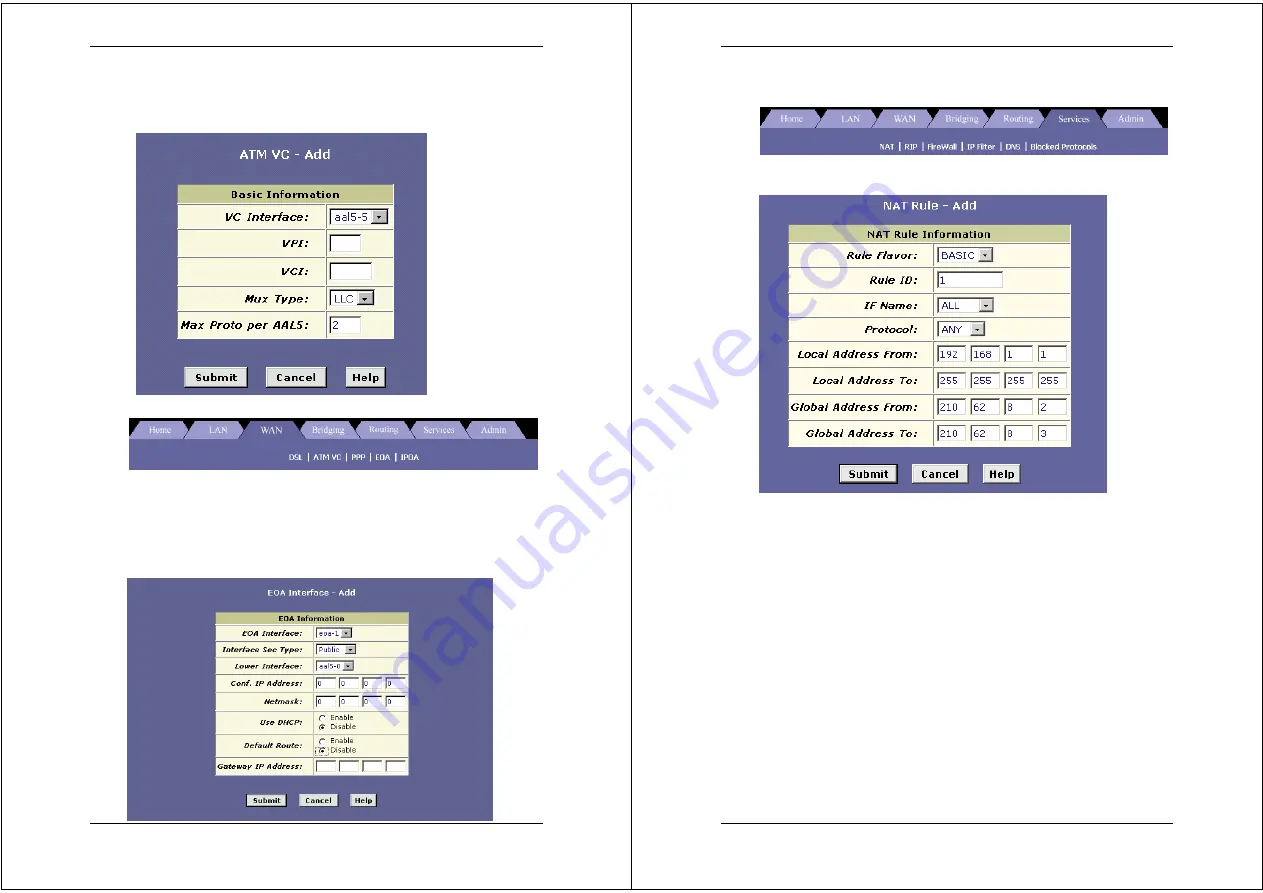
36. Another window will then appear. Enter the VPI/VCI values
(8/81) into the VPI and VCI text boxes. Then click on the
Submit
button to confirm the changes.
37. Click on the
EoA
link below the
WAN
tab.
38. Enter the
IP address
and
subnet mask
based on your ISP
settings. For example: IP address 210.62.8.3, and subnet mask
255.255.255.0
39. Enable
Default Route
and enter the
Gateway IP Address
(For
example, 210.62.8.21), then click on the
Submit
button.
X8824r User’s Manual Version 1.0
84 / 102
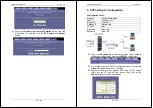
40. Click on the
Services
tab to view its sub-menu’s and configure
the
NAT
settings, then click on the
NAT
link below it.
41. Select
NAT Rule Entry
from the NAT configuration drop down
list. Then click on the
Add
button to add a NAT entry.
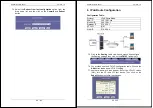
42. Rule Flavor: Select a
Rule flavor
from the drop down list (Basic)
43. Rule ID:
Enter a number here
44. Local Address From:
Address from where this device will
receive IPs
45. Local Address to:
255.255.255.255 (broadcast) or other
46. Login Name: Enter
username
here (from ISP)
47. Global Address From:
Global
Address from where this device
will receive IPs
48. Global Address From:
Global
Address from where this device
will send its packets
49. Click on the
Submit
button to confirm the changes.
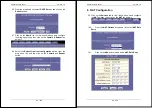
50. Click on the
Admin
tab to view its sub-menu’s and configure
the bridging settings, then click on the
Commit & Reboot
link
below it.


