9 6 2 / 9 6 4
S P E C T R O P H O T O M E T E R
2-1
2.
User Interface
What
to
Expect
2-1
Navigation – Basic Key Operation
2-1
Measurement Mode Screens
2-3
Using the Instrument
2-4
What to Expect
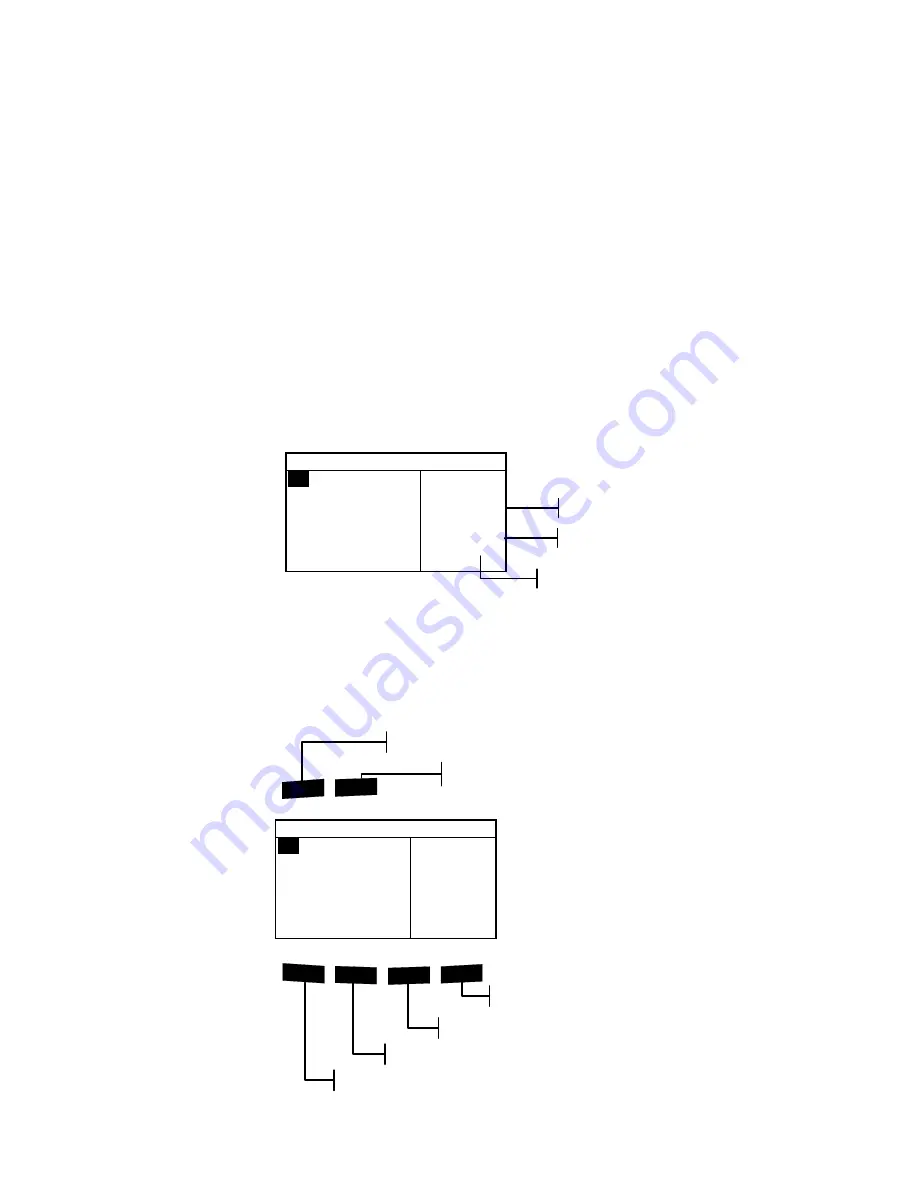
When the instrument is powered-up, the main (top level) screen
appears. The main screen consists of two areas, Main Menu and
Instrument Data. The left side of the screen lists all available
modes. The right side of the screen lists instrument model and
firmware version information.
Navigation – Basic Key Operation
Perform reading and menu/option navigation with the six keys
arranged around the display screen. Each key has a unique
symbol for performing a specific operation.
–
M A I N M E N U
–
Q A
A n a l y z e
C o m p a r e
S t r e n g t h
O p a c i t y
^
X — R i t e
9 6 4
— — — — — —
X X X X
* * * * * *
!
$
@
#
%
Read
Main Menu Key
Instrument Read Key
Tab Up Key
Tab Down Key
Escape Key
Enter Key
–
M A I N M E N U
–
Q A
A n a l y z e
C o m p a r e
S t r e n g t h
O p a c i t y
^
X — R i t e
9 6 4
— — — — — —
X X X X
* * * * * *
Serial Number
Firmware Version
Instrument Model
Содержание 962
Страница 1: ...962 964 S P E C T R O P H O T O M E T E R Operator s Manual ...
Страница 11: ...9 6 2 9 6 4 S P E C T R O P H O T O M E T E R x ...
Страница 27: ...C H A P T E R T H R E E 3 4 ...
Страница 81: ......
Страница 85: ...C H A P T E R S I X 6 4 ...
Страница 88: ...A P P E N D I C E S 7 3 Parts List 962 Parts List 964 ...
Страница 89: ...C H A P T E R S E V E N 7 4 Packaging 962 ...
Страница 90: ...A P P E N D I C E S 7 5 Packaging 964 ...
Страница 92: ...A P P E N D I C E S 7 7 Sensor Nose Aperture Wrench Aperture Optics Target Window Shoe Bottom Housing ...


