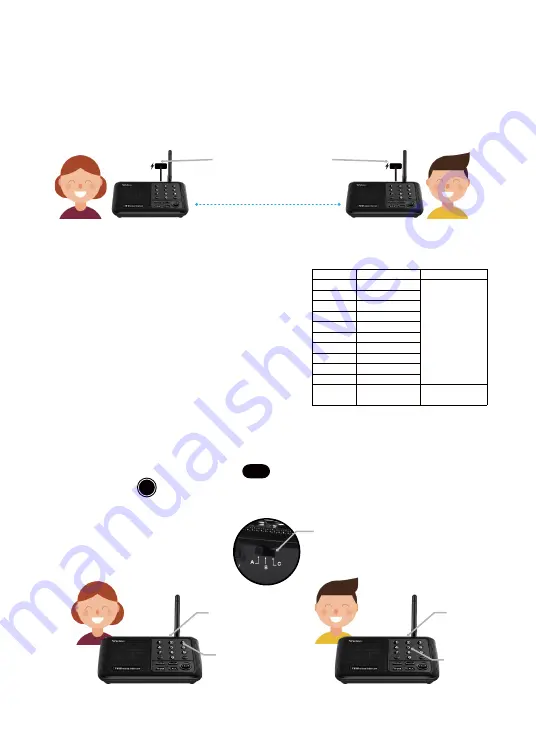
Channel Setting:
After setting the code, you can set different channel numbers for each intercom station.
Press and hold any channel number key for 3 seconds to set the channel number of that intercom. To call
any other intercom within your network, press the channel number of the intercom you wish to
communicate with, then press the CALL button . To talk to the user of the other intercom, press and
hold the TALK button as you speak. After communication has ended, each intercom will automatically
restore to the original channel number within 1 minute of intercom inactivity.
2.1Connect AC Power
Every intercom is equipped with an adapter (DC 5V1A) and a cable. Please connect every intercom station
to your local AC power. We kindly suggest that you use the original adapter and cable that was included in
your packaging to turn on your device(s). Please feel free to contact us if you have encountered any
problems with the adapter or cable. We will send you a free replacement as covered by the warranty and
will give you a discount on future purchases if your warranty expires.
2.2 Set Code & Channel
This intercom has 3 codes (A, B, and C) as well as 10 channels
(0-9) available. The right table shows the different frequencies
and codes.
Code Setting:
In the area beside the power port, you can
select code A, B, or C for your intercom. We suggest
setting all the stations to the same code to ensure efficient
communication. After setting up your intercom codes, you
can simply start adjusting the channels to make calls. You
do not have to set a new code every time you call a
different user.
CHANNEL
CH1
CH2
CH3
CH4
CH5
CH6
CH7
CH8
CH9
CH0
GROUP
FREQUENCY
462.7250MHz
462.5875MHz
462.6125MHz
462.6375MHz
462.6625MHz
462.6875MHz
462.7125MHz
467.5625MHz
467.5875MHz
467.6125MHz
467.7125MHz
CODE
CODE A:754N
CODE B:743N
CODE C:734N
CODE:743N
Member A
keep 5 meters apart when testing
Member B
Code A
Channel 3
Member A
Code A
Channel 5
Member B
Digital Code(A/B/C)
TALK
CALL
Connect to local AC power


