Cordless Lawn Mower
EN
11
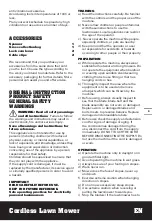
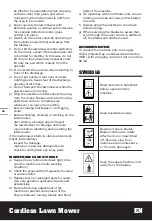
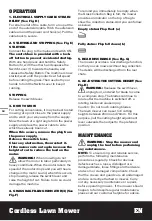
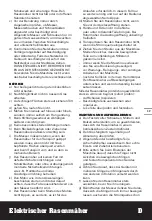
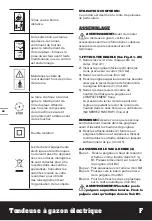
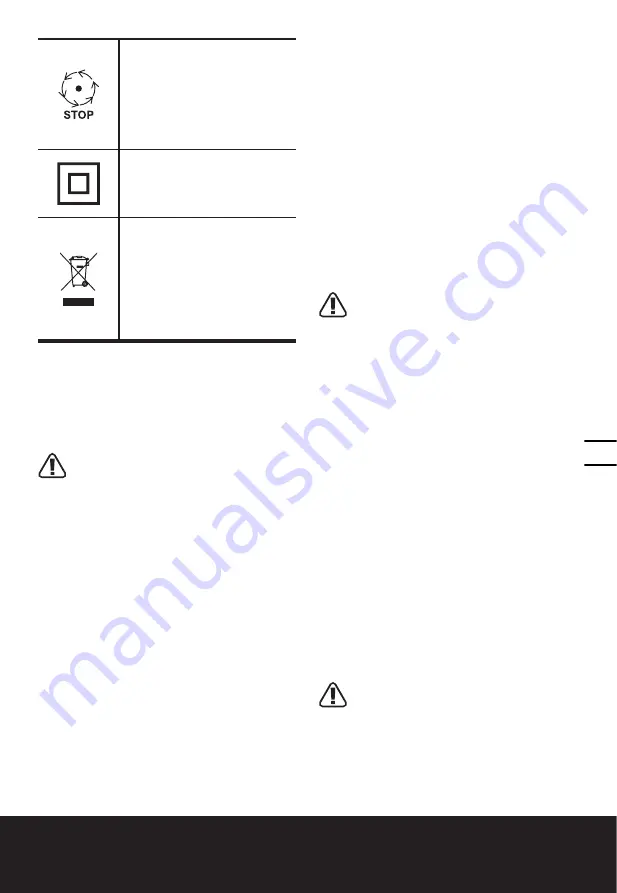
Blade continues to rotate
after the machine is
switched off. Wait until all
machines components have
completely stopped before
touching them.
Double Insulation
Waste electrical products
should not be disposed
of with household waste.
Please recycle where
facilities exist. Check with
your Local Authority or
retailer for recycling advice.
INTENDED USE
This product is intended for domestic lawn
mowing.
ASSEMBLY
IMPORTANT!
Before you assemble
the lawn mower, check the accessories
according above information, make sure the
accessories are completed.
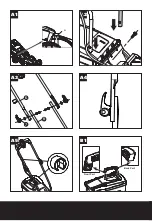
1. FITTING THE HANDLE (See Fig. A1- A5)
1) Remove the screws (X 2)(a) on the both
side of deck. (See Fig. A1)
2) Insert the Lower Handle (8) into the holes
on the deck provided.( See Fig. A2)
3) Secure with the screws provided.( See Fig.
A2)
4) Attach the Upper Handle (6) with the bolts
and Lock Cam Lever (7) to the Lower
Handle. (See Fig. A3)
5) Tightening the two Lock Cam Levers. Check
that the handle is FULLY secured.
The cam lever pressure can be adjusted by
adjusting the Lock Cam Lever clockwise/
counter-clockwise. DO NOT OVER TIGHTEN.
( See Fig. A4)
NOTE:
Ensure the bolts are fully inserted
through the handles before fitting the handle
knobs.
6) Attach the Cable Clips (2) provided, to the
upper and lower handle. Insert the cable
into the clips ensuring there is enough
cable slack. (See Fig. A5)
2. GRASS COLLECTION BAG (4)
ASSEMBLY
Step 1. Connect the grass box handle to the
box top as shown in Fig. B1. Press
the front of the handle briefly. (See
Fig. B2)
Step 2. Then push it forward. (See Fig. B2)
Step 3. Push down the back of the
handle. (See Fig. B2)
Step 4. Finally, clip the plastic clips
over the metal frame. (See Fig. B3)
WARNING: Don’t fit the handle in
reversed direction. Fit the handle as
shown in Fig B1.
3. GRASS COLLECTION BAG FITTING
(See Fig. C1, C2, C3)
1) Switch off the mower and Unplug from
the mains—Wait for the blade to come to a
complete STOP.
2) Pick up the Grass Collection Bag by the
handle, and position the Grass Collection
Bag on the lower hooks (a) on the mower
deck (See Fig. C2).
3) Release the safety guard to lock the
grass bag into position. Ensure the Grass
Collection Bag is installed securely (See
Fig. C3).
NOTE
: Depress the Grass Collection Bag
slightly to ensure that it is completely
installed.
4. REMOVING/EMPTYING GRASS
COLLECTION BAG
Hold the Grass Collection Bag, lift the Safety
Flap (9) and hold up. Remove the Grass
Collection Bag.
WARNING!
Always check the safety flap
can close the discharge outlet before
using. Never lift the Safety Flap when the lawn
mower is being used without fitted grass bag.
Содержание WG717E
Страница 3: ...1 2 3 4 5 6 7 8 9 10 11 ...
Страница 4: ...7 A1 6 8 7 A4 7 7 B1 Front Part Back Part A2 A3 A5 a A5 ...
Страница 5: ...1 2 3 7 B2 7 B3 7 B4 7 C1 1 2 7 C2 a 7 C3 9 ...
Страница 6: ...1 2 a 7 D 7 E 7 F a b 7 G H ...
Страница 7: ...13 12 I2 J I1 ...

