4
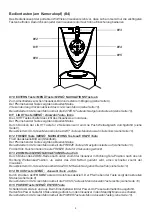
Control Keys (camera head)
(#4)
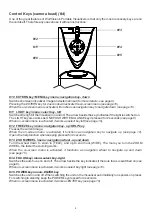
One of the great features of WolfVision's Portable Visualizers is that only the most necessary keys are on
the unit itself. Therefore anyone can use it without instructions:
#10
/
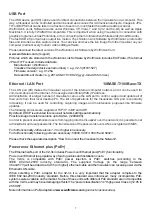
menu: navigation key - down
When the on-screen menu is activated, it functions as navigation key to navigate down (see page 10).
11
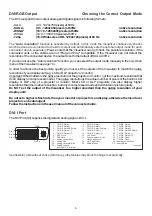
LIGHT key /
menu: select key - left
Switches the light of the Visualizer on and off. The arrow beside the key indicates if the light is switched on.
The LIGHT key also works as ONE PUSH WHITE BALANCE key if pressed for 2 seconds
(see page 6)
.
When on-screen menu is activated, it works as select key left (see page 10).
#12
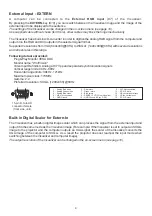
FREEZE key /
menu: navigation key - up / HELP key
Freezes the current image.
When the on-screen menu is activated, it functions as navigation key to navigate up (see page 10).
Opens the help function when keeping pressed for 2 seconds.
#13
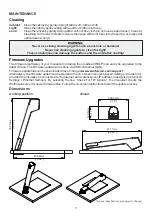
ZOOM WHEEL /
menu: navigation wheel - up and down
Turn the wheel down to zoom in (TELE), and up to zoom out (WIDE). The more you turn the ZOOM
WHEEL, the faster the zooming works.
When the on-screen menu is activated, it functions as navigation wheel to navigate up and down
(see page 10).
#14
FOCUS key /
menu: select key - right
Switches the auto focus on and off. The arrow beside the key indicates if the auto focus is switched on
(see
page 6)
.
When on-screen menu is activated, it works as select key right (see page 10).
#15
POWER key /
menu: ENTER key
Switches the unit on and off. When switching the unit on the Visualizer automatically runs power-on preset.
For switching to standby, keep the POWER key pressed for 4 seconds.
When on-screen menu is activated, it works as ENTER key (see page 10).
EXTERN key / MENU key
Switches between Visualizer image and external input
(for more details - see page 9).
Pressing the EXTERN key for 2 seconds will activate the on-screen menu (see page 10).
#
#12
#13
#11
#14
#15
#10


