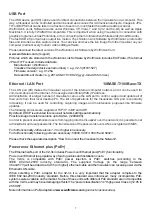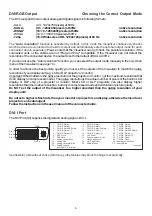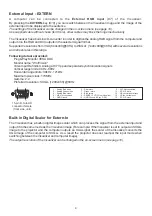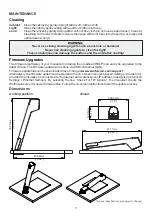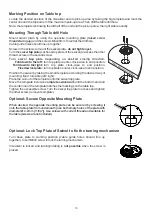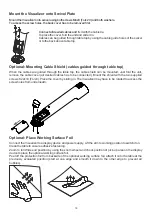
Visualizer will be screwed onto the table.
Exact marking of the desired position of the Visualizer is very important !
Use mounting tools carefully !
Note instruction manuals of used mounting tools and equipment.
Failure to follow instructions can lead to severe injury !
G
MOUNTING -
for trained personnel only
Optional working surface foil is very sticky (adhesive on the back) !
Check finish of the table surface before mounting.
Keep joint area clean, prevent dust and grease to ensure adhesive fastening.
G
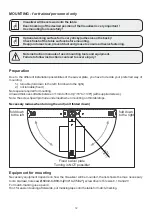
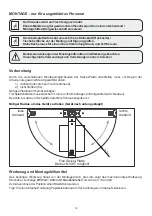
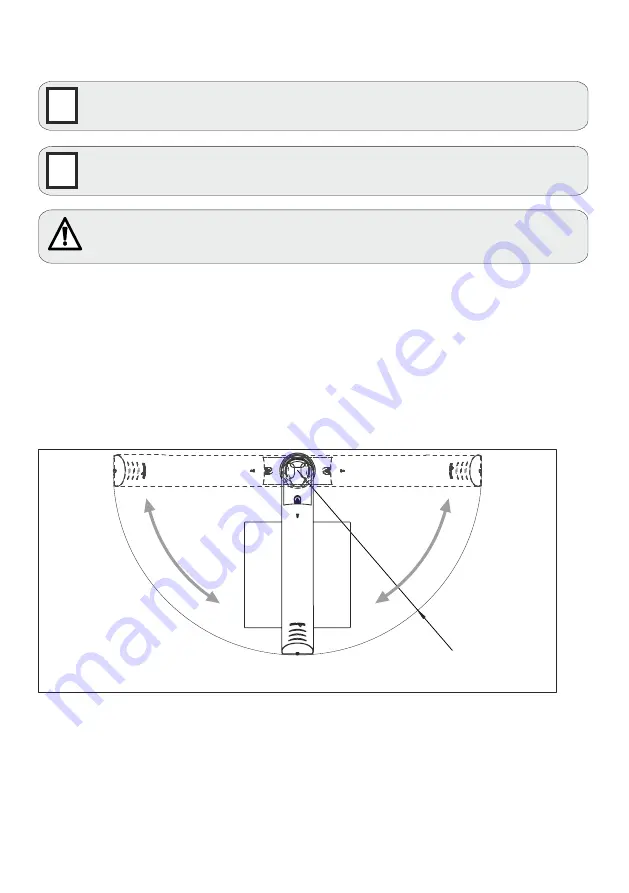
Due to the different installation possibilities of the swivel plate, you have to decide your preferred way of
mounting:
1.) turnable (fold down to the left / fold down to the right)
2.) not turnable (fixed)
Note space required for mounting.
Allowed thickness of table between 11mm to 35mm [7/16" to 1 3/8"] (with supplied screws).
Note: the screw-tip will protrude underneath when mounting on thin tabletops.
Preparation
Equipment for mounting
Necessary equipment depends on how the Visualizer will be mounted, the list shows the max. necessary
tools: bradawl, hole saw
screw drivers Torx size 6, 10 and 20
For match-marking use a pencil.
Hint: for easier cleaning afterwards, put masking tape onto the table for match-marking.
Ø 69mm to 80mm [2 3/4" to 3 5/32"],
Necessary radius when turning the unit (unit folded down)
12
R521
[20.5"]
fold down
to the left
fold down
to the right
Fixed swivel plate
Turning is NOT possible!


