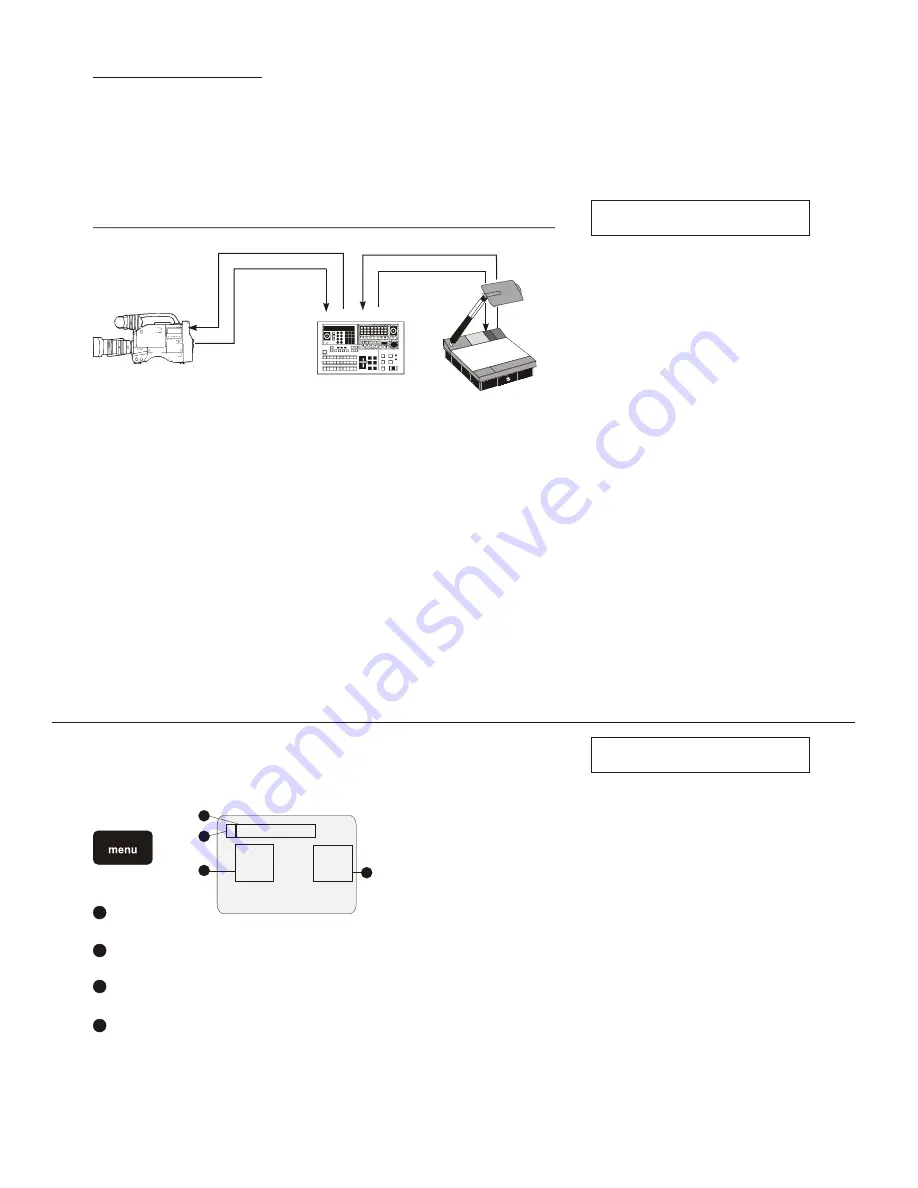
EXTERNAL SYNCHRONIZATION OF THE VISUALIZER
(VZ-35b)
professional video mixer
professional video camera
composite video / Y/C signal
BB / sync signal
IN
OUT
IN
O
U
T
O
U
T
O
U
T
IN
IN
BB / sync signal
composite video / Y/C signal
If Visualizer images are mixed and processed (fade-in, fade-out, mix/wipe) with images from one or more video cameras (or
Visualizers) using a special effect unit without TBC (time base corrector), all units connected must be genlocked.
Genlocking is achieved by supplying the same composite video signal (VBS) or black burst (BB) signal to the Extern Sync
input (=Genlock input) of each unit connected.
In order to genlock the WolfVision Visualizer with another video signal, simply connect this signal to the Sync input (#33) of
the Visualizer where a composite video or a black burst signal can be connected
For fine adjustment of color-phase (SC) and H-phase, use the key combination: SAVE + ZOOM-close + ZOOM-wide in order
to unlock the camera controls and then press the MENU-key.
After that press the FUNCTION UP or FUNCTION DOWN-key until the word "H-PHASE" appears on the monitor. The Visualizer
can be perfectly synchronized on the horizontal phase of the other camera(s) using the DATA UP and DATA DOWN-keys.
For adjustment of the SC-phase (color phase) press the FUNCTION UP or FUNCTION DOWN-key until "SC" and "0/180"
appears on the monitor. Start with the rough adjustment of "0/180" followed by fine adjustment with SC.
At the end of the adjustments press the MENU-key for leaving the menu and locking the camera controls.
Genlock operation with a playback signal of a video recorder is only possible if the signal is time base corrected via a TBC device.
If you save (and protect) the master settings in memory bank A, you can use them later
when resetting memory bank B.
DATA SEND (A -> B / B -> A)
The camera settings can be copied between the two memory banks.
This is an example for copying the settings in memory bank A to memory bank B:
1. Select A -> B in the menu.
2. Press the SAVE-key while the cursor is on "A -> B".
> 1. Exposure Setup
Gain AUTO
Shutter AUTO
1
2
2
3
3
4
4
Menu page
Displays the selected menu page (items: 1. Exposure Setup, 2. General Setup, 3. System Setup).
Cursor
Selects an item. Move the cursor up/down using the FUNCTION UP/DOWN-keys.
Settings items
Scroll through the items to be set with the FUNCTION UP/DOWN- keys.
Settings values
Change the values using the DATA UP/DOWN-keys.
CAMERA SETTINGS OF VZ-45b
(VZ-45b only!)
1
First unlock the camera menu with the key combination SAVE + ZOOM near + ZOOM far (as described on page 15) and
then press the MENU-key.
For specialists only !
For specialists only !
18


