background image

OWNER’S OPERATING & 

MAINTENANCE MANUAL

PLEASE DO NOT DISCARD THIS MANUAL!  KEEP FOR FUTURE REFERENCE AND TRAINING

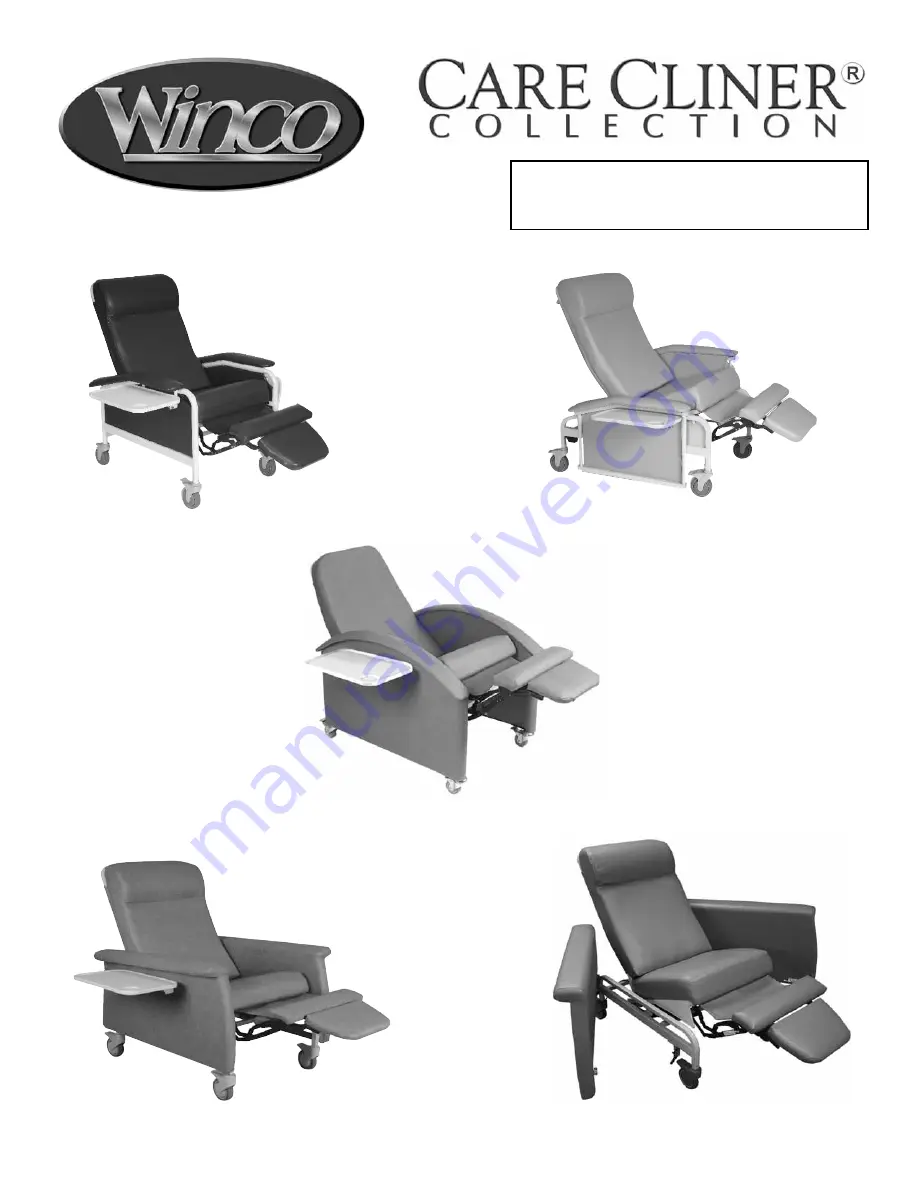
690 Elite & 691 (XL) Elite

Care Cliner

694 Swing-Arm & 695 (XL) Swing-Arm

Care Cliner

653 & 654 (XL) Care Cliner

655 & 657 (XL) Drop-Arm Care Cliner

656 Premier Care Cliner

Содержание 653

Страница 1: ...NUAL PLEASE DO NOT DISCARD THIS MANUAL KEEP FOR FUTURE REFERENCE AND TRAINING 690 Elite 691 XL Elite Care Cliner 694 Swing Arm 695 XL Swing Arm Care Cliner 653 654 XL Care Cliner 655 657 XL Drop Arm Care Cliner 656 Premier Care Cliner ...

Страница 2: ...ECURED FOR SHIPPING 3 CAREFULLY REMOVE ALL OF THE COMPONENTS FROM THE CARTON 4 SAVE ALL BOXES AND PACKING MATERIAL UNTIL AFTER YOU HAVE ASSEMBLED YOUR PRODUCT AND HAVE VERIFIED THAT ALL COMPONENTS ARE FUNCTIONING PROPERLY Products with the following markings are intended for commercial use only IMPORTANT PLEASE READ THIS ENTIRE MANUAL BEFORE USING CHAIR DO NOT INSTALL MAINTAIN OR OPERATE THIS EQUI...

Страница 3: ...from outlet Do not yank cord 9 Clean switch with a damp cloth only Warranty will be VOID if liquid is introduced into switch mechanism 10 Use only a certified extension cord that is rated at 15 amperes extension cords rated for less amperage may over heat Care should be taken to arrange the cord so that the cord cannot be pulled or tripped over 11 DO NOT run recliner or other equipment over cord 1...

Страница 4: ...port user with chair arms in an open or down position Applies to Drop Arm Swing Arm models 11 USE ONLY WINCO AUTHORIZED REPLACEMENT PARTS 12 NEVER EXCEED the recommended weight capacity see pages 7 8 GROUNDING INSTRUCTIONS This product must be grounded If it should malfunction or breakdown grounding provides a path of least resistance for electric current to reduce the risk of electric shock This ...

Страница 5: ... 61 GYPSUM 62 ICE BLUE 63 CYPRESS 690 691 246900 MAIN FRAME 690 246901 MAIN FRAME 691 243260 SEAT FRAME w mechanisms for 690 243265 SEAT FRAME w mechanisms for 691 243204 BACK FRAME for 690 243212 BACK FRAME for 691 243205 RELEASE HANDLE for 690 243213 RELEASE HANDLE for 691 261635 SIDE TABLE ASSEMBLY KIT 902515 31 SEWN WEB BAND for 690 902520 35 SEWN WEB BAND for 691 243230 MAIN FRAME 243260 SEAT...

Страница 6: ...695 HEADREST COVER HC Headrest Cover for 653 655 690 694 HX Headrest Cover for 654 657 691 695 Protects the headrest vinyl Easy installation and removal or replacement Matches the color of your upholstery LEG EXTENSIONS for round or square leg chairs RE SE raises entire chair 3 RE Round Leg Extension for 653 654 SE Square Leg Extension for 655 657 690 694 RE SE IV POLE KITS for Care Cliners IM 556...

Страница 7: ...Fork and corresponding hole in the Seat Frame Make sure pin goes through holes in seat frame tube NOT UNDER SEAT FRAME TUBE The small hole in the clevis pin should be to the outside of the chair Insert bow tie cotter pins into small holes on each clevis pin FIG 2 6 Remove save the clevis and bow tie cotter pin from the Operator located on end of the Gas Spring 654 657 691 695 models will have two ...

Страница 8: ...erall Width 690 34 691 38 Back Height Above Seat 32 5 Seat Depth 20 Weight 690 100 lbs 691 123 lbs 690 691 ELITE CARE CLINER 690 shown 657 XL DROP ARM CARE CLINER Seat Height 21 Seat Width 25 Back Width 25 Overall Height 49 Overall Width 36 Maximum Weight Capacity 450 lbs Back Height Above Seat 31 5 Seat Depth 20 Drop Arm Height To Floor 21 Weight 111 lbs 654 XL CARE CLINER Seat Height 21 Seat Wid...

Страница 9: ...t 48 5 Maximum Weight Capacity 694 275 lbs 695 450 lbs Overall Width 694 34 695 38 Back Height Above Seat 32 5 Seat Depth 20 Weight 694 104 lbs 695 127 lbs Seat Height 21 Seat Width 21 Back Width 21 Overall Height 49 Overall Width 33 Maximum Weight Capacity 275 lbs Back Height Above Seat 31 5 Seat Depth 20 Drop Arm Height To Floor 21 Weight 105 lbs 655 DROP ARM CARE CLINER PARTS LIST SPECIFICATION...

Страница 10: ...med by an attendant The gas spring MUST be engaged by squeezing the Release Handle on the upper back of the backrest FIG 3 DO NOT FORCE back of chair downward without squeezing the Release Handle This can damage the chair The chair back will stay in any of the addtional positions when you remove your hands from the Release Handle 4 To bring the chair back upwards from infinite positioning squeeze ...

Страница 11: ...released FIG 3 2 To lower table grasp table at the center raise and pivot down in one movement FIG 4 RAISE LOWER DROP ARMS Models 655 657only BEFORE RAISING OR LOWERING BE SURE USER IS CLEAR OF DROP ARM 1 To Lower Grasp armrest in center use free hand to LIFT the Drop Arm Release Handle Drop Arm will disengage and you can then lower it to the fully dropped position FIG 5 2 To Raise Firmly pull str...

Страница 12: ...nd re install three 3 thumb screws when cleaning or maintenance of chair is complete FIG 1 DROP ARM VINYL PANEL Models 655 657 only 1 The vinyl panel is secured to the bottom of the Drop Arm with a hook loop fastener material Peel hook loop apart to allow ease of cleaning and access behind the Drop Arm of the chair FIG 3 4 2 Re attach by aligning and firmly pressing the hook loop material back tog...

Страница 13: ...ssage setting Use a DAMP CLOTH ONLY to clean switch wiring or power pack located under seat frame If there is no heat or massage or flashing light on switch check power cord connections to wall outlet AND connection of power cord to power pack unit under chair If switch displays a flashing light Check all accessible wire connectors under chair for possible loose connections then contact Winco cust...

Страница 14: ...B 4 Once you make an adjustment Replace Clevis Pin and Bow Tie Cotter Pin Squeeze release handle to check for proper adjustment Repeat above steps as needed until correct release action is achieved TIGHTEN HEX NUT that was loosened in step 1 once Operator is adjusted properly ADJUSTING RECLINER MECHANISMS 1 Place chair on its side in the 2nd recline position Each chair has a L R recline mechanism ...

Страница 15: ... bolts that were previously removed FIG 1 CARE OF VINYL MATERIAL Please refer to the PERMABLOK instruction tag that is attached to your Care Cliner for complete care and cleaning instructions Retain information on tag for future use REGULARLY lubricate pivot points on the Recline Mechanism with a silicone based lubricant Once per week position the Chair Back into full recline position squeeze rele...

Страница 16: ...hanisms or related parts that are covered under above warranties Winco Inc shall not be liable for any labor shipping or any other costs incurred as a result of or in conjunction with a warranty claim The purchaser s exclusive remedy under this warranty shall be limited to such repair or replacement of defective components at Winco Inc sole discretion For warranty service contact the dealer that t...

Отзывы: