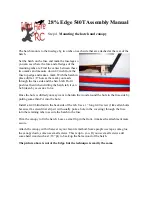
The hatch mounts to the fuselage by two tabs on each side that are attached at the rear of the
hatch.
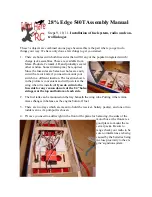
Set the hatch on the fuse and mark the fuselage so
you can see where the fore and aft edges of the
mounting tabs are. Find the center between these
two marks and measure down 1/2 inch from the
fuse top edge and make a mark. With the hatch in
place drill a 1/8” hole at the mark you made
through the fuse side and the hatch tab. Don’t
push real hard when drilling the hatch tab, it can
be broken by excessive force.
Once the hole is drilled you may want to harden the wood around the hole in the fuse side by
putting some thin CA into the hole.
Install a 4-40 blind nut in the backside of the tab. Use a 1” long 4-40 screw (I like allen bolts
because if a screwdriver slips it will usually poke a hole in the covering) through the fuse
into the retaining tabs to secure the hatch to the fuse.
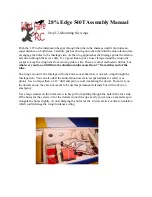
Trim the canopy to fit the hatch. Leave a small lip in the front, it makes the attachment more
secure.
Attach the canopy with whatever is your favorite method. Some people use tape, some glue
the canopy down, some use small screws. This is up to you. If you use small screws add
some hard wood such as 1/16” ply to back up the balsa wood of the hatch.
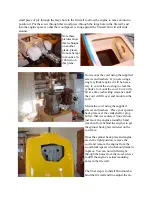
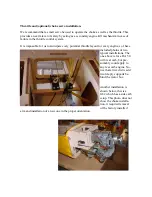
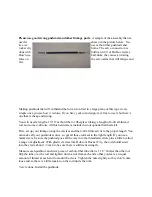
The picture above is not of the Edge, but the technique is exactly the same.
Step 4.
Mounting the hatch and canopy
28% Edge 540T Assembly Manual


