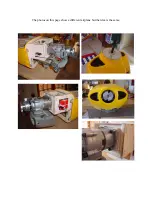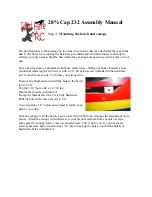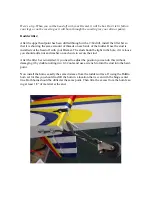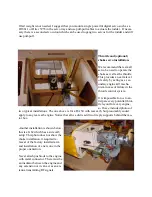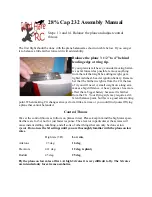
The hatch mounts to the fuselage by two tabs on each side that are attached at the rear of the
hatch. The holes for mounting the hatch are pre-drilled and 4-40 blind nuts are already in-
stalled, you only need to find the hole under the covering and open it up with a knife or a hot
nail.
I have had my share of problems with those small screws falling out from vibration. I have
found that replacing the 4-40 screw with a 1/4”-20 nylon screw (included in the hardware
kit) is much more secure. To do this you will need to;
Remove the blind nut and redrill the hole in the hatch
tab to 3/16”
Tap the 3/16” hole with a 1/4”-20 tap
Harden the threads with thin CA
Re-tap the threads after the CA is fully hardened
Drill the hole in the fuse side out to 1/4”
You can paint a 1/4” nylon screw head to match your
plane’s covering.
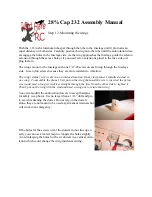
Trim the canopy to fit the hatch. Leave a small lip in the front, it makes the attachment more
secure. Attach the canopy with whatever is your favorite method. Some people use tape,
some glue the canopy down, some use small screws. This is up to you. If you use small
screws add some hard wood such as 1/16” ply to back up the balsa wood of the hatch, or
harden the balsa with thin CA.
Step 4.
Mounting the hatch and canopy
28% Cap 232 Assembly Manual


