BREWING COFFEE
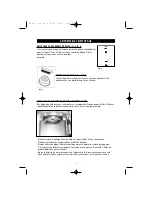
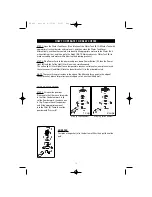
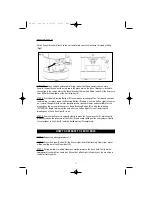
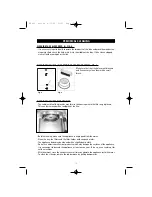
Fit the Funnel bracket (I) back to the unit and rotate counter-clockwise for steady fitting
(Fig.2).
ATTENTION: Once happen unfavorable fitting, repeat the fitting operation once more.
Usually, the position under the mark
is the place which the funnel bracket is locked in,
the section is the scope which the funnel bracket fall in when fitting ready. Put the Espresso
Cups (100ml) in the middle of the Anti drip tray (E).
STEP 4: Press down Brewing Button (P) to commence brewing coffee. To stop and continue
the brewing, just press down the Brewing Button (P) again. Once the Coffee Light (O) comes
on, it alerts the operator the water temperature has become lower and unsuitable for the
brewing any longer, now please press down Brewing Button (P) to stop the brewing.
[ATTENTION: Begin to brew coffee only after the Coffee Light (O) is out, and stop the
brewing once the Coffee Light (O) is on.
STEP 5: Remove the Espresso cup and slowly remove the Funnel bracket (I), which could
gradually reduce the pressure of the Filter (K) and avoid spilling coffee everywhere. Finally
clean residues in the Filter (K) and the Anti drip tray (E) completely.
HOW TO OPERATE TO FROTH MILK.
STEP 1: Repeat the above procedure 1, 2
STEP 2: Press the Steam Button (R); the Steam Light (Q) will be flashing. Now slight water
will be coming out of the Steam duct (D).
STEP 3: During period of waiting steam generation, prepare the fresh milk. Firstly tip the
appropriate fresh milk to a container. When the Coffee Light (O) comes out, the machine is
ready for frothing milk.
13
Fig. 2
EX_825_ notice 6/11/06 21:01 Page 13

