Showing off
23
Showing off
22
To display
BoB2
TM
and the handset as one unit, they first need to be attached to each other. The handset will then get
its charge from the
BoB2
TM
USB port on the left hand side. This USB port is a dedicated charge port and not used
for anything other than charging the handset. You will not need the power adapter that came with your handset so
keep this in a safe place.
1. Lay the modem and the handset charger face down (on a protective cloth - to prevent scratches). Slide out the
upper and lower connection points on the back left hand side of the charger, this will expose the USB charger
point and location pins (figure 1).
2. Leaving the handset charger and
BoB2
TM
facing down, slide them together so you can locate the handset USB
charger into
BoB2
TM
as shown below (you may notice lower slider does not move all the way across – this is normal)
(figure 2).
3. Now take the large stand that was supplied in the modem box and pass the cables in the format below. The
example below shows the power cable, the ADSL phone cable and an ethernet LAN cable (figure 3).
4. Next align the stand over the top of the handset and
BoB2
TM
(figure 4).
5. Make sure all the pins on the stand are sitting inside the holes on the handset and
BoB2
TM
and apply a small
amount of downward pressure, whilst at the same time push the stand upward toward the top edge of the
modem. You will hear a small click as the pins interlock (figure 5).
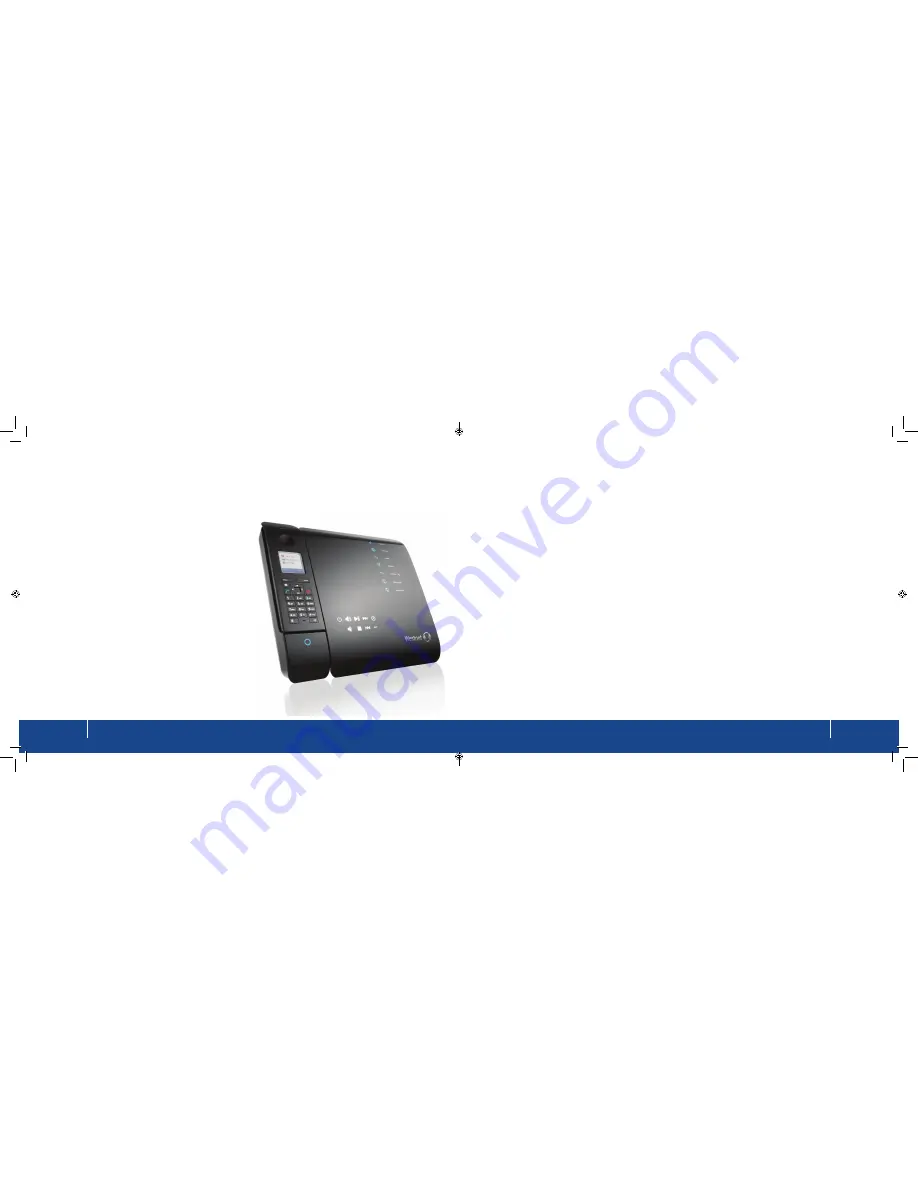
Showing off
BoB2
TM
BoB2
TM
is sleek and stylish so we don’t blame you for wanting to
show him off. There are a few different ways to display
BoB2
TM
and
the
BoB2
TM
handset.
1.
BoB2
TM
connected to
BoB2
TM
handset and
standing up right using the supplied stand in the
modem box.
2. Showing off
BoB2
TM
on his own and the handset
stood upright with its own stand that was
supplied in the handset box.
3. BoB2
TM
and the
BoB2
TM
handset stand together.
Things are better when we’re together
The easiest way to set up the modem and handset
in this configuration is to first follow the steps in the
quick install guide and get online. Then you can turn
off
BoB2
TM
and follow these steps to attach the stand,
keep all the cables you are using in a convenient
place as you will need these in the steps detailed on
the next page.
Содержание BoB2
Страница 1: ...User Manual ...


