BoB2
TM
in-built answer machine
19
how-to guide
18
BoB2
TM
’s
in-built answer machine
Answering Machine Overview
BoB2
TM
comes with his very own in-built answering machine. The machine supports 10 minutes of message recording and is
operated by the touch key pad on the front of
BoB2
TM
.
Touch key Overview
BoB2
TM
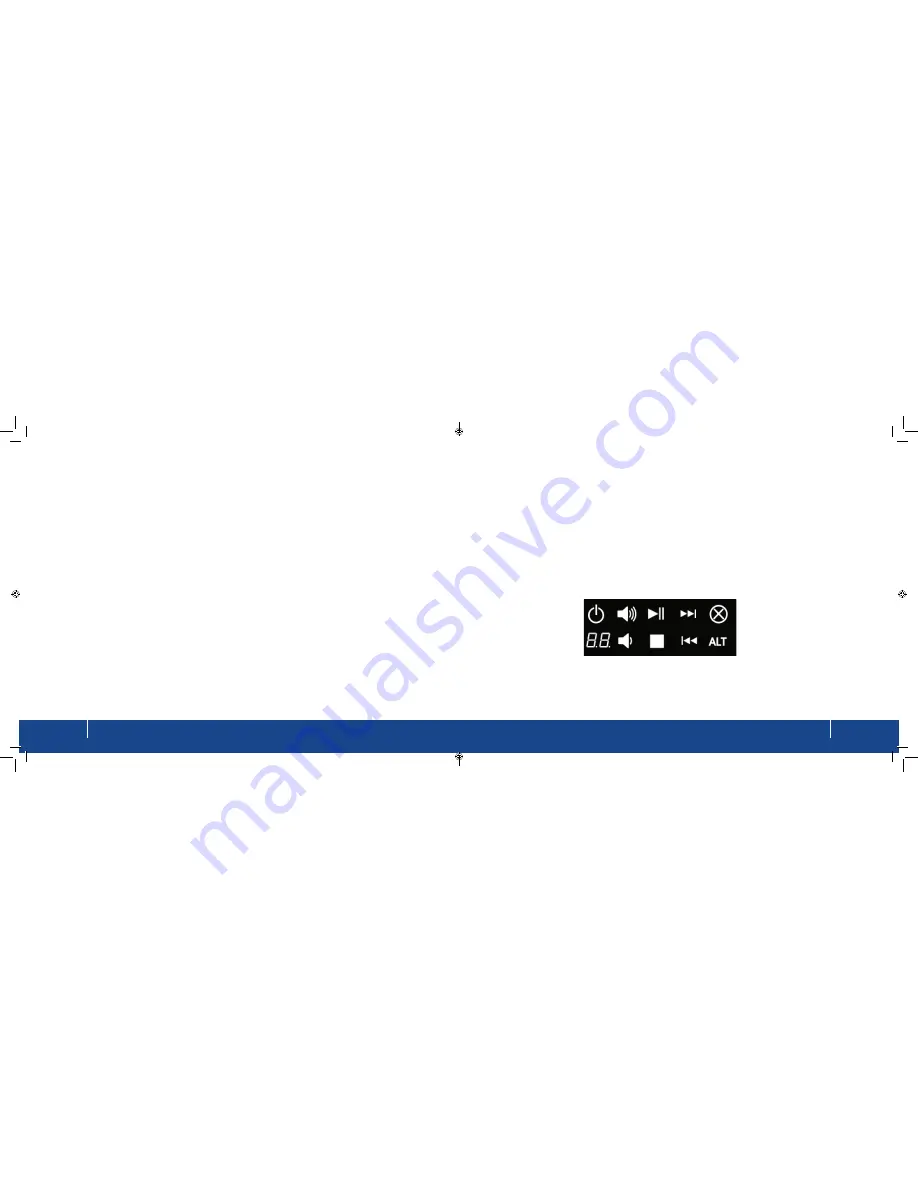
’s in-built answering machine is operated by a touch screen located on the front of
BoB2
TM
. By touching the
front of
BoB2
TM
(lower left) you’ll illuminate the screen. There are nine touch keys plus a light to show you if the
answer machine is turned on and how many messages are currently stored. The following picture represents the
touch pad on
BoB2
TM
’s answer machine:
Setup a file server
The file server function on
BoB2
TM
allows you to plug in an external USB drive into the USB port located on the right
hand side. You can then share the content on the hard drive with all the computers connected to your home or office
network.
1. Login to BoB2
TM
by launching a new web page and typing http://10.1.1.1 into the address bar. Use the default
password ‘admin’, or your newly created password (see step 1) to login.
2. Click on configure my USB port which you’ll find in the menu list across the top of the page.
3. Then click Set up my file server on the menu listed on the left hand side of the screen.
4. Click on
configure my USB
port which you’ll find in the menu list across the top of the page.
5. Then click
Set up my file
server on the menu listed on the left hand side of the screen.
Содержание BoB2
Страница 1: ...User Manual ...


