7
7
GETTING TO KNOW YOUR
WESTINGHOUSE WST5001ZE
IRON - FULLY FEATURED
(Cont.)
AUTO OFF/ON
When the iron is on, the green Auto Shut-Off Light will come on. When
the iron is off, the green Auto Shut-Off Light will go off.
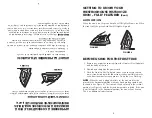
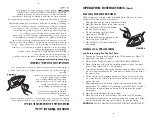
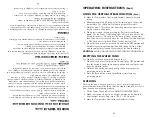
FIGURE 5
FIGURE 6
BEFORE USING FOR THE FIRST TIME
1. Remove any protective coverings from the Stainless Steel Soleplate
and the body of the iron.
2. Unwind and straighten the power cord.
3. Flush the Stainless Steel Soleplate steam vents to ensure that no
stain is transferred onto the fabric from residue possibly left in the
vents from the manufacturing process. To do that, see Flushing.
NOTE:
When the iron is plugged in for use, the iron must first be
placed in the horizontal position with your hand making contact with
the handle (see Figure 5). The iron can then be placed in the vertical
position (see Figure 6) and the desired temperature selected. If the iron
is not first placed in the horizontal position, the iron will not heat-up.
This is an additional safety feature.
APPRENDRE À CONNAÎTRE LE FER À
REPASSER À FONCTIONS MUL
TIPLES
WESTINGHOUSE WST5001ZE
(SUITE)
VOYANT D’ARRÊT AUTOMATIQUE
Lorsque le fer est allumé, le voyant vert d’arrêt automatique s’allume.
Lorsque le fer est éteint, le voyant vert d’arrêt automatique s’éteint.
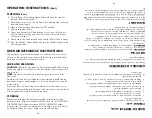
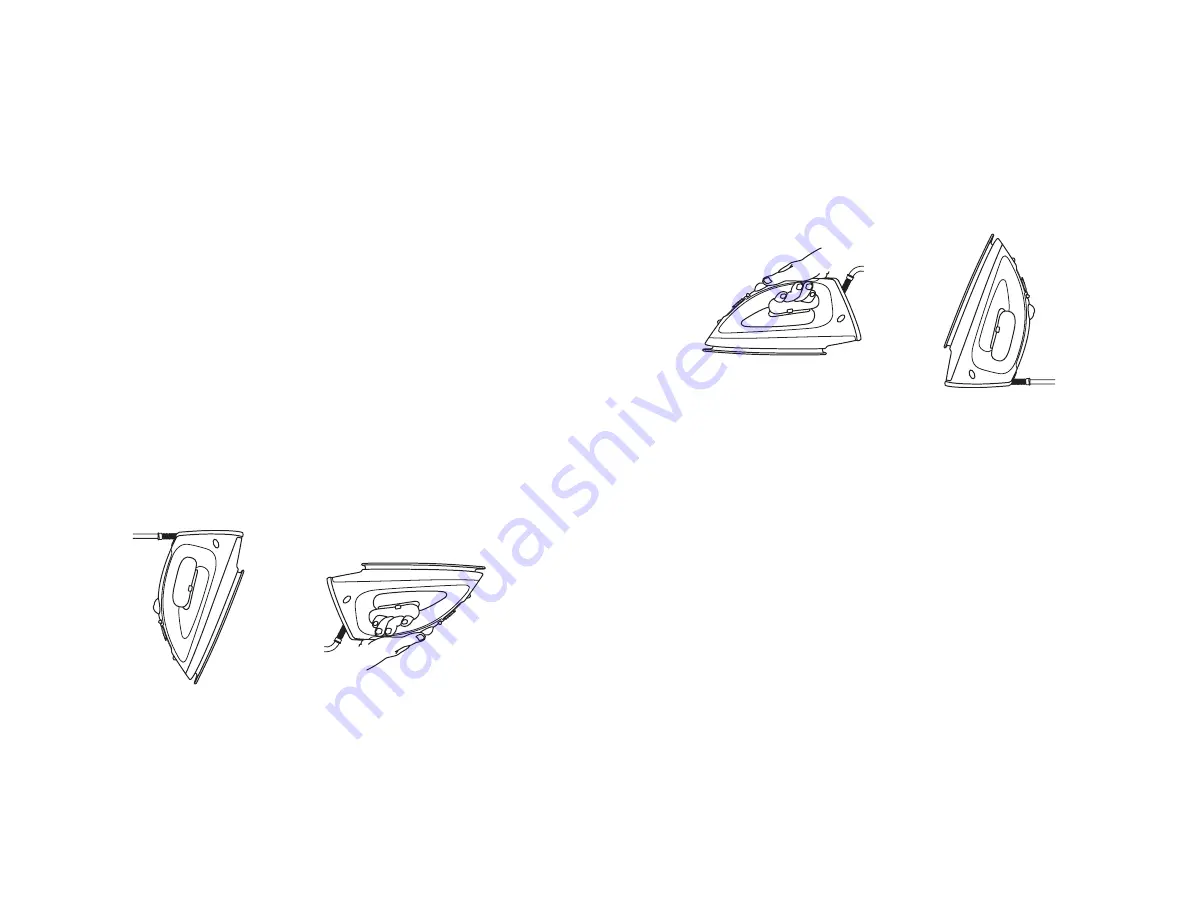
FIGURE 5
FIGURE 6
AVANT LA PREMIÈRE UTILISA
TION
1.Enlevez tous les emballages de protection de la semelle
antiadhésive et du fer.
2.Déroulez et étirez le cordon d’alimentation.
3.Effectuez la vidange des orifices de vapeur de la semelle en inox de
façon que les tissus ne se retrouvent pas tachés à cause d’éventuels
résidus de fabrication. Pour ce faire, reportez-vous à la section
AUTONETTOYAGE/VIDANGE.
REMARQUE :
Lorsque le fer est branché, il doit être d’abord posé en
position horizontale et votre main doit être en contact avec la poignée
(voir la figure5). Le fer peut ensuite être posé en position verticale (voir
la figure 6) et vous pouvez régler la température. Si le fer n’est pas tout
d’abord posé en position horizontale, il ne chauffera pas. Il s’agit d’un
dispositif de sécurité supplémentaire.
Содержание WST5001ZE
Страница 13: ...13 13 NOTES NOTES...


