INSTALLATION AND SETUP - 4
Installation and Setup
PCI Adapter Setup for Windows
Note:
The proper device drivers must be loaded on your system
before installing your Western Digital FireWire PCI adapter. By
doing so, your adapter will properly display its information under
the Windows Device Manager. Follow the steps in “Windows
Installation” below
before
installing the FireWire PCI adapter.
Windows Installation
1. Insert the Western Digital FireWire Adapter Installation CD into
your CD-ROM drive. The program will start automatically.
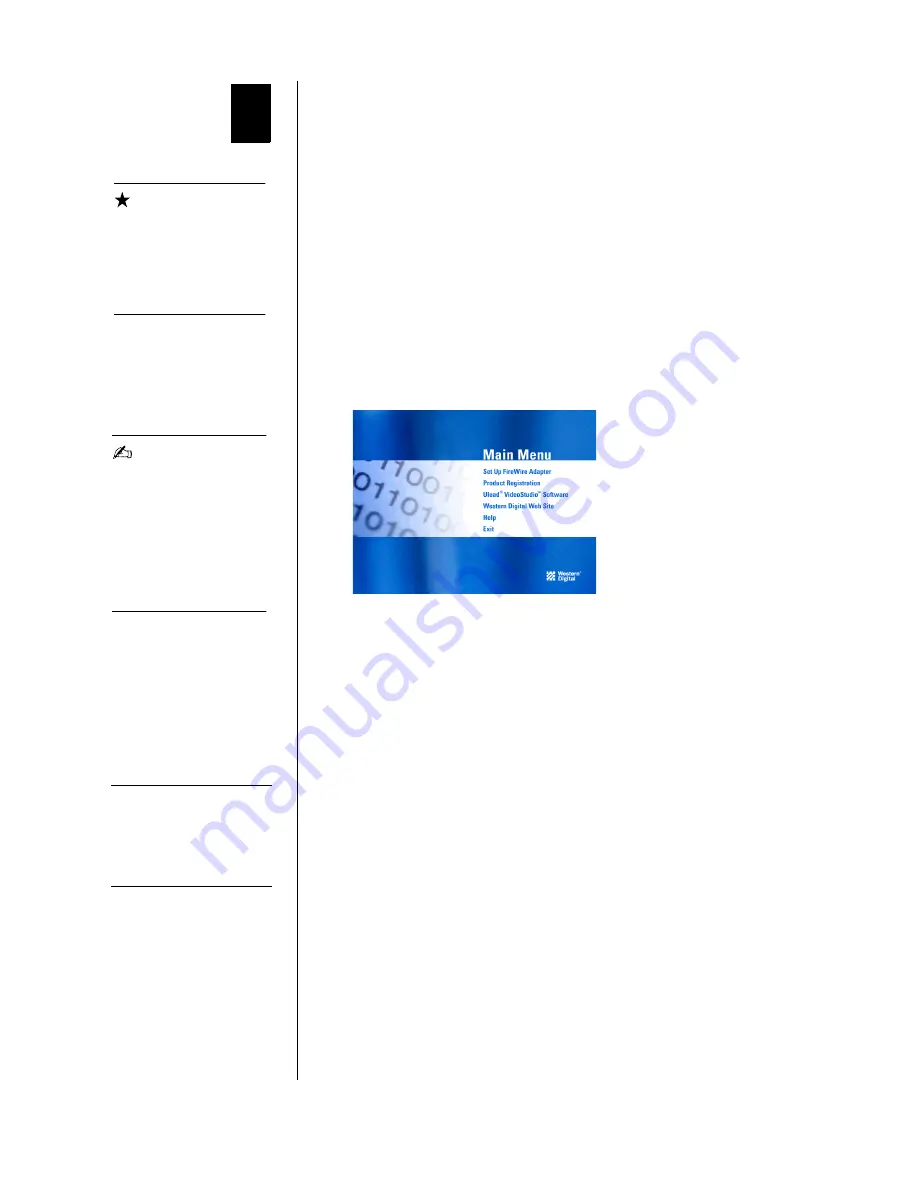
2. The main menu displays, showing the following options:
Click on
Set Up FireWire Adapter
.
3. The
Western Digital FireWire Adapter Setup
welcome screen
appears. Click
Next.
4. In the
Driver Update
dialog box, click
Next
to continue. This will
prepare your system for FireWire support.
5. Next, you will be prompted to register your FireWire PCI Adapter
online at Western Digital’s Web site. You must register your
FireWire PCI Adapter to receive 90 days of free Western Digital
technical support. After entering your product information in
each field, click
Submit
and close your browser to complete
registration.
6. Click
Restart
to complete installation.
7.
Windows 98 SE only:
Your Western Digital FireWire Adapter
software is ready to finalize your setup. Click
Finish
when you see
the Congratulations screen to update your FireWire drivers and
install a safe removal utility that allows you to safely remove any of
your Plug and Play devices.
IMPORTANT
The latest FireWire
storage driver from
Microsoft must be
installed on your PC
before
installing the
FireWire PCI Adapter.
NOTE
Autorun may take up to
30 seconds to launch. If
the program does not
start automatically,
open Windows Explorer,
click on the CD-ROM
drive icon, then double-
click on the Setup.exe
file.
TIP: To register your Western
Digital product at a later
time, visit:
wdc.com/products/
registration
2
Содержание FireWire PCI Adapter
Страница 1: ...Western Digital FireWire PCI Adapter...


