


Confidential
Page 27
c.
When creating an RF output, utilize the Monitor page to find unused carrier frequencies.
d.
When selecting the “Program Mapping” be sure of the following:
i.
All of the sources selected are compatible with the receiving device. i.e. If ATSC,
all of the included program streams should be MPEG2 encoded video.
ii.
The sum of all enabled sources should not exceed the maximum bitrate of the
Output transport. i.e. If ATSC 8-VSB do not exceed 19.39 Mb/s. Check the
outputs tab of the overview page to see signs of over subscription.
5)
Check the results
a.
All multiplexer video sources should be visible on the front panel.
b.
Have a receiving device ready to test the results.
c.
The MX-400 should be visible on the monitor page.
Appendix B – FAQs
How do I create a TV channel from a video file?
Video files can be transcoded into TS files that can then be sources to the MX-xxx multiplexor and
transmitted over any of the multiplexor outputs. The steps to creating a channel from a video files are:
1)
Transcode the video file into a TS file that is suitable for your output transport and receiving
devices. (bitrate, encoding, resolution) (Visit FlexDM.net to ensure the correct transcode)
2)
Download the file to the MX-xxx storage
3)
Create a Video Server streaming video channel
4)
Include the transcoded file in the channel playlist
5)
Modify the multiplexor Output to include the Video Server channel
Step 1 & 2: Transcode
Transcoding is the most complicated step toward creating your own video server channel. We strongly
encourage using the FlexDM service to ensure that the resulting file is both compatible and optimal for
the chosen transport and receivers. The FlexDM.net web service allows you to manage devices and
upload videos that will be transcoded and downloaded to the device directly. Log in to FlexDM.net to
create an account and start managing your video streams. Then skip to Step 3.
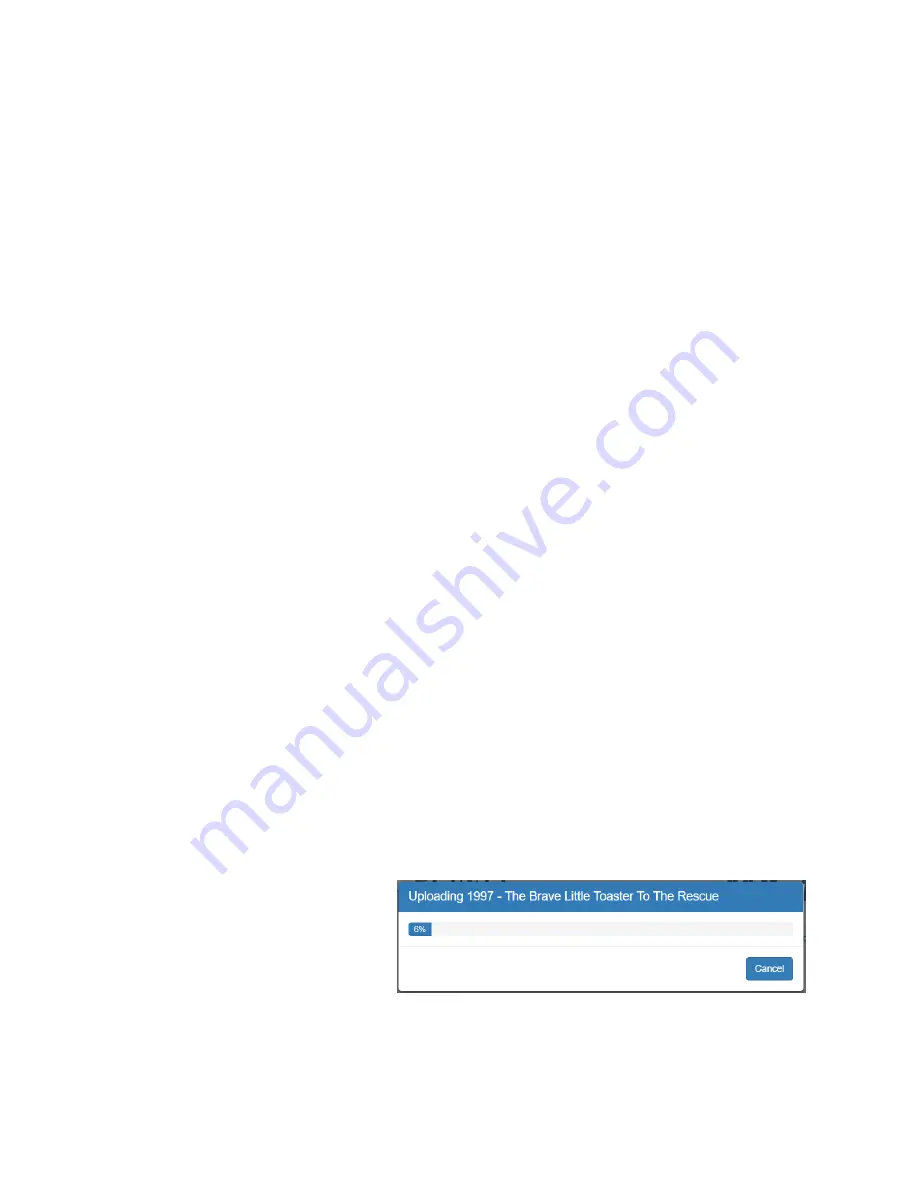
Alternatively, if the file has already been transcoded, it is possible to upload the TS file directly to the
MX-xxx device via the WebUI. To do so, select the Sources/Video Server tab and click on “Upload
Content”. Complete the dialog box and
click “upload”. When the upload is
complete, the new file will appear in the
“Content” table as shown below. Note
the bitrate of the file. The maximum
bitrate of any file in the Play List (see below) will determine the minimum amount of bandwidth
reserved in the transport. If using FlexDM, the files will appear on “Content” table shortly after the
upload to FlexDM is complete.


