7
10
HOW TO CHANGE THE INCLINE OF THE TREADMILL
To vary the intensity of your exercise, the incline of the
treadmill can be changed. There are four incline levels.
Before changing the incline, remove the key and
unplug the power cord. Next, fold the treadmill to the
storage position (see HOW TO FOLD THE TREAD-
MILL FOR STORAGE on page 11).
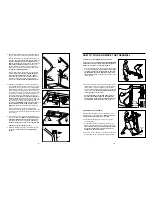
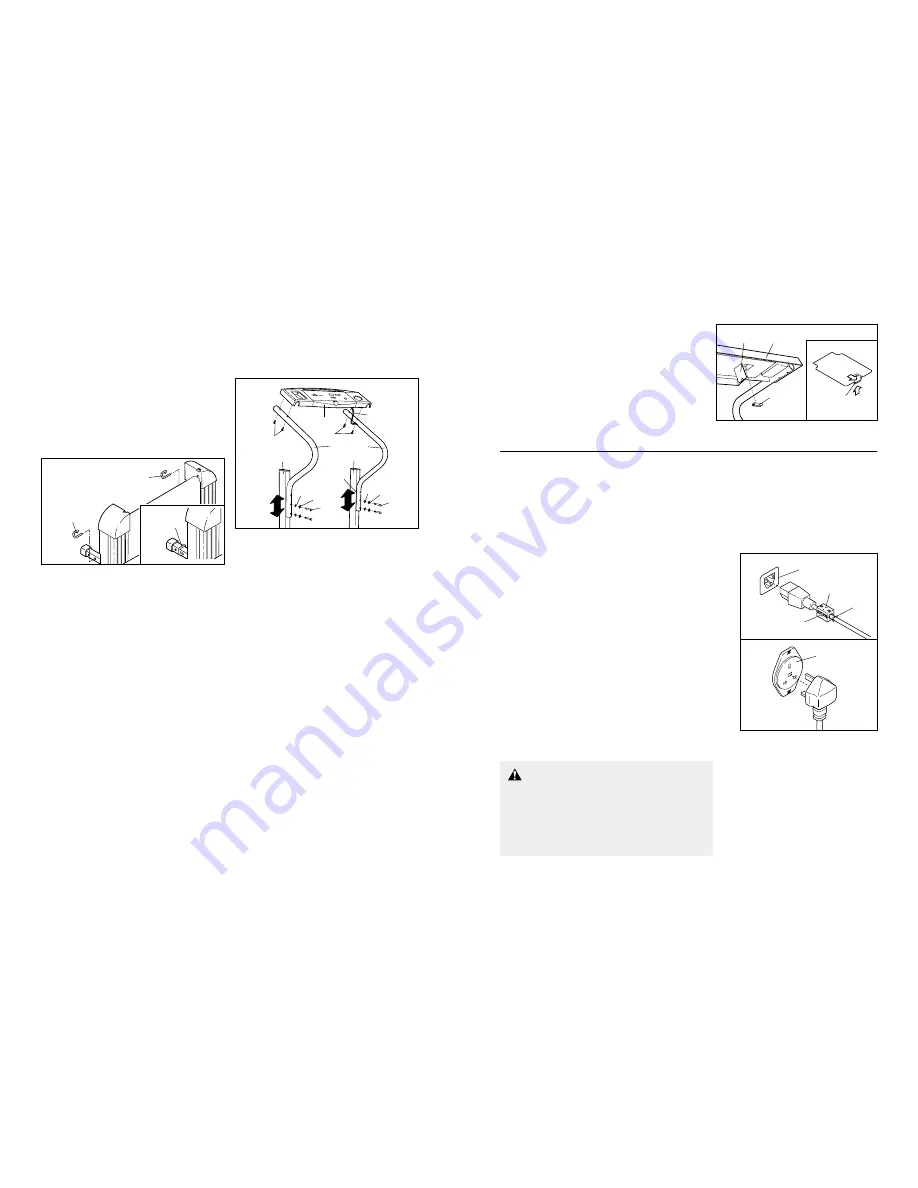
To change the incline, first remove the incline pin from
the right incline leg as shown below. Adjust the incline
leg to the desired height and fully reinsert the incline
pin. Make sure that the incline pin is in the locked
position shown in the inset drawing.
Adjust the left incline leg in the same manner. Make
sure that both incline pins are inserted from the
direction shown.
CAUTION: Before using the treadmill, make sure
that both incline pins are fully inserted at the same
height. Do not use the treadmill with the incline
pins removed. After you have adjusted the incline
legs, lower the treadmill (see HOW TO LOWER THE
TREADMILL FOR USE on page 12).
HANDRAIL HEIGHT ADJUSTMENT
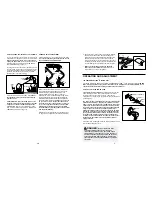
The Handrails (45, 65) can be adjusted to either of two
heights. Before adjusting the Handrails, remove the
key and UNPLUG THE POWER CORD.
Remove the four Console Screws (11). Whilst a sec-
ond person lifts the Console Base (52), remove the
Handrail Bolts (42), Handrail Washers (43), and
Handrail Star Washers (44). Raise or lower the
Handrails (45, 65) to the desired height, being careful
not to damage the Wire Harness (60). Reattach the
Handrails with the Handrail Bolts, Handrail Washers,
and Handrail Star Washers. Important: If you are 173
cm (5 ft. 8 in.) or taller, use the lower two holes in
the Handrail; if you are shorter than 173 cm (5 ft. 8
in.), use the upper two holes. Make sure that both
Handrails are at the same height. Do not tighten
the Handrail Bolts yet. Always attach each Handrail
with two Handrail Bolts.
Reattach the Console Base (52) (see assembly step 3
on page 6). Then, tighten the four Handrail Bolts (42).
44
43
46
11
11
52
60
60
65
45
46
43
42
44
42
Incline
Pin
Incline
Pin
Incline Pin
7. Make sure that all parts are properly tightened
before you use the treadmill. To protect the floor or
carpet, place a mat under the treadmill.
Batteries
54
57
Tab
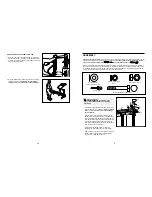
6. The Console (57) requires two 1.5 V batteries. Alkaline
batteries are recommended. Open the Battery Cover
(54) as shown. Press two batteries into the battery com-
partment, with the negative (–) ends of the batteries
touching the springs. Close the battery cover, push up on
the battery cover tab, and then push the tab forward (see
the inset drawing). Be sure that the tab locks into place.
6
OPERATION AND ADJUSTMENT
THE PERFORMANT LUBE
TM
WALKING BELT
Your treadmill features a walking belt coated with PERFORMANT LUBE
TM
, a high-performance lubricant. IMPOR-
TANT: Never apply silicone spray or other substances to the walking belt or the walking platform. Such
substances will deteriorate the walking belt and cause excessive wear.
HOW TO PLUG IN THE POWER CORD
This product must be earthed. If it should malfunction or break
down, earthing provides a path of least resistance for electric
current to reduce the risk of electric shock. This product is
equipped with a cord having an equipment-earthing conductor and
an earthing plug.
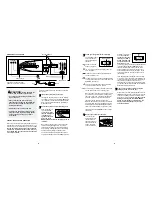
Two power cords are included. Select the one that will fit your
outlet. Refer to drawing 1, and plug the indicated end of the
power cord into the socket on the treadmill. Next, lift the indi-
cated tab on the ferrite box and clamp the ferrite box around
the power cord. The ferrite box should not be allowed to slide
along the power cord. Fasten the included plastic tie just
behind the ferrite box and cut off the excess plastic tie. Refer
to drawing 2. Plug the power cord into an appropriate outlet
that is properly installed and earthed in accordance with all
local codes and ordinances. Note: In Italy, an adaptor (not
included) must be used between the power cord and the out-
let. Important: The treadmill is not compatible with GFCI-
equipped outlets.
If the power cord is damaged, it must be replaced with a manufac-
turer-recommended power cord.
DANGER:
Improper connection of the
equipment-earthing conductor can result in an
increased risk of electric shock. Check with a quali-
fied electrician or serviceman if you are in doubt as to
whether the product is properly earthed. Do not modi-
fy the plug provided with the product—if it will not fit
the outlet, have a proper outlet installed by a qualified
electrician.
1
2
Socket on treadmill
Outlet
Tab
Ferrite Box
Plastic
Tie


