3
14. Never start the treadmill whilst you are
standing on the walking belt. Always hold the
handrails whilst using the treadmill.
15. The treadmill is capable of high speeds.
Adjust the speed in small increments to
avoid sudden jumps in speed.
16. The pulse sensor is not a medical device.
Various factors, including the user's move-
ment, may affect the accuracy of heart rate
readings. The pulse sensor is intended only
as an exercise aid in determining heart rate
trends in general.
17. Never leave the treadmill unattended whilst it
is running. Always remove the key and
unplug the power cord when the treadmill is
not in use.
18. Do not attempt to raise, lower, or move the
treadmill until it is properly assembled. (See
ASSEMBLY on page 5, and HOW TO FOLD
AND MOVE THE TREADMILL on page 11.) You
must be able to safely lift 20 kg (45 lbs.) in
order to raise, lower, or move the treadmill.
19. Do not change the incline of the treadmill by
placing objects under the treadmill.
20. When folding or moving the treadmill, make
sure that the storage latch is fully closed.
21. Inspect and tighten all parts of the treadmill
every three months.
22. Never insert or drop any object into any
opening.
23. The roller guards must be 3 mm (1/8 in.) from
the rear roller (see the drawing on page 4).
Remove the key and adjust the roller guards,
if necessary.
24.
DANGER:
Always unplug the power
cord immediately after use, before cleaning
the treadmill, and before performing the
maintenance and adjustment procedures
described in this manual. Never remove the
motor hood unless instructed to do so by an
authorised service representative. Servicing
other than the procedures in this manual
should be performed by an authorised ser-
vice representative only.
25. This treadmill is intended for in-home use
only. Do not use this treadmill in any com-
mercial, rental, or institutional setting.
WARNING:
Before beginning this or any exercise program, consult your physician.
This is especially important for persons over the age of 35 or persons with pre-existing health prob-
lems. Read all instructions before using. ICON assumes no responsibility for personal injury or prop-
erty damage sustained by or through the use of this product.
SAVE THESE INSTRUCTIONS
14
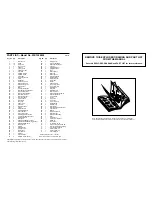
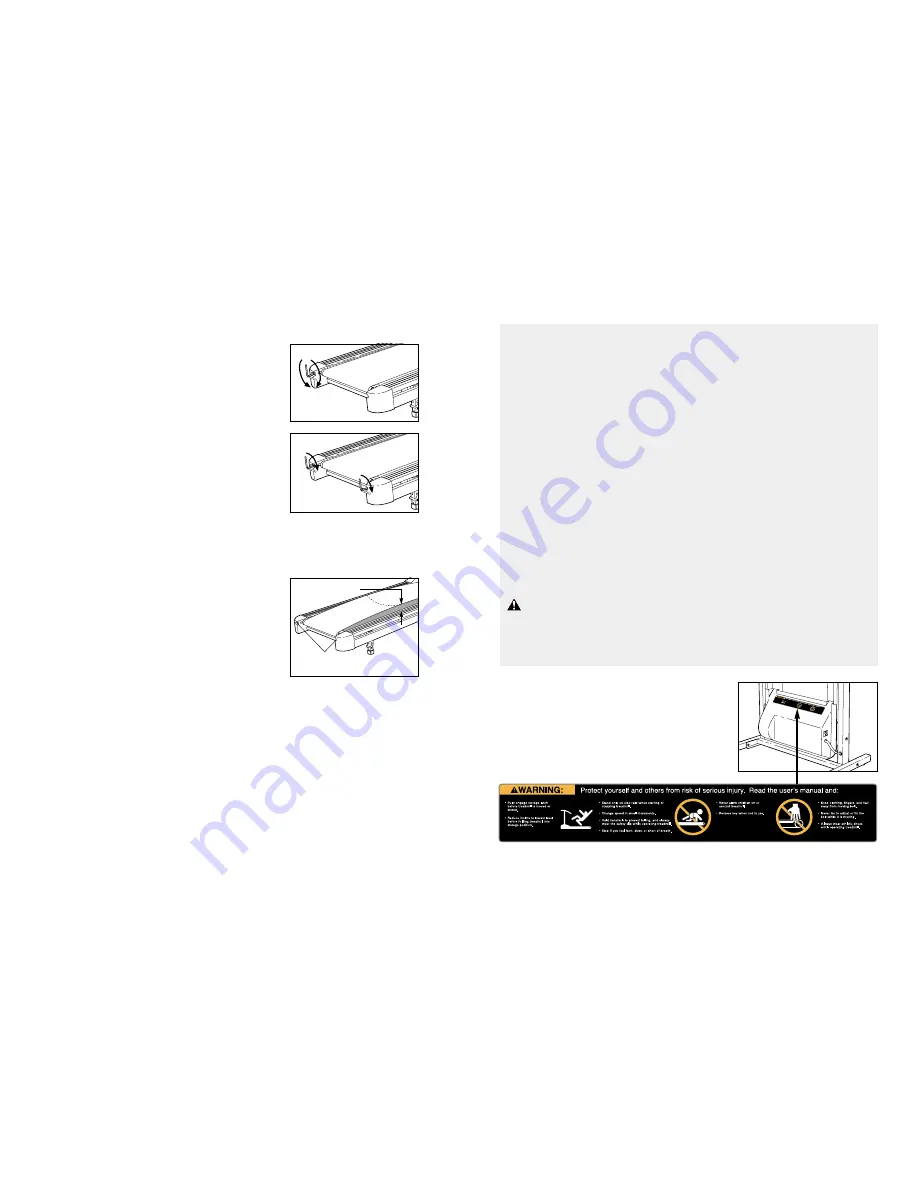
The decal shown below has been placed on your treadmill. If
the decal is missing or illegible, please call our Customer
Service Department, toll-free, to order a free replacement
decal (see ORDERING REPLACEMENT PARTS on the back
cover of this manual). Apply the decal in the location shown.
Note: This decal is shown at 38% of actual size.
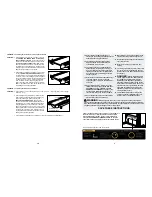
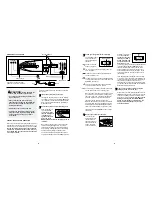
PROBLEM: The walking belt is off-centre or slips when walked on
SOLUTION: a. If the walking belt is off-centre, first remove the key
and UNPLUG THE POWER CORD. If the walking
belt has shifted to the left, use the allen wrench to
turn the left rear roller bolt clockwise 1/2 of a turn; if
the walking belt has shifted to the right, turn the
bolt counterclockwise 1/2 of a turn. Be careful not to
overtighten the walking belt. Plug in the power cord,
insert the key and run the treadmill for a few minutes.
Repeat until the walking belt is centred.
b. If the walking belt slips when walked on, first remove
the key and UNPLUG THE POWER CORD. Using
the allen wrench, turn both rear roller bolts clockwise,
1/4 of a turn. When the walking belt is correctly tight-
ened, you should be able to lift each side of the walk-
ing belt 7 to 10 cm (3 to 4 in.) off the walking plat-
form. Be careful to keep the walking belt centred.
Plug in the power cord, insert the key and carefully
walk on the treadmill for a few minutes. Repeat until
the walking belt is properly tightened.
PROBLEM: The walking belt slows when walked on
SOLUTION: a. If an extension cord is needed, use only a 3-conductor, 1 mm
2
(14-gauge) cord that is no longer
than 1.5 m (5 ft.).
b. If the walking belt is overtightened, treadmill perfor-
mance may decrease and the walking belt may be
permanently damaged. Remove the key and
UNPLUG THE POWER CORD. Using the allen
wrench, turn both rear roller adjustment bolts coun-
terclockwise, 1/4 of a turn. When the walking belt is
properly tightened, you should be able to lift each
side of the walking belt 7 to 10 cm (3 to 4 in.) off the
walking platform. Be careful to keep the walking belt
centred. Plug in the power cord, insert the key and
run the treadmill for a few minutes. Repeat until the
walking belt is properly tightened.
c. If the walking belt still slows when walked on, call our Customer Service Department.
b
a
Rear Roller
Adjustment Bolts
7–10 cm
b


