7
ASSEMBLY
WARNING:
To avoid injury from accidental startups, turn switch OFF and remove the plug from
the power source outlet before making any adjustments.
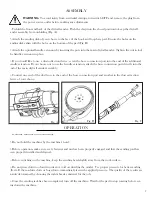
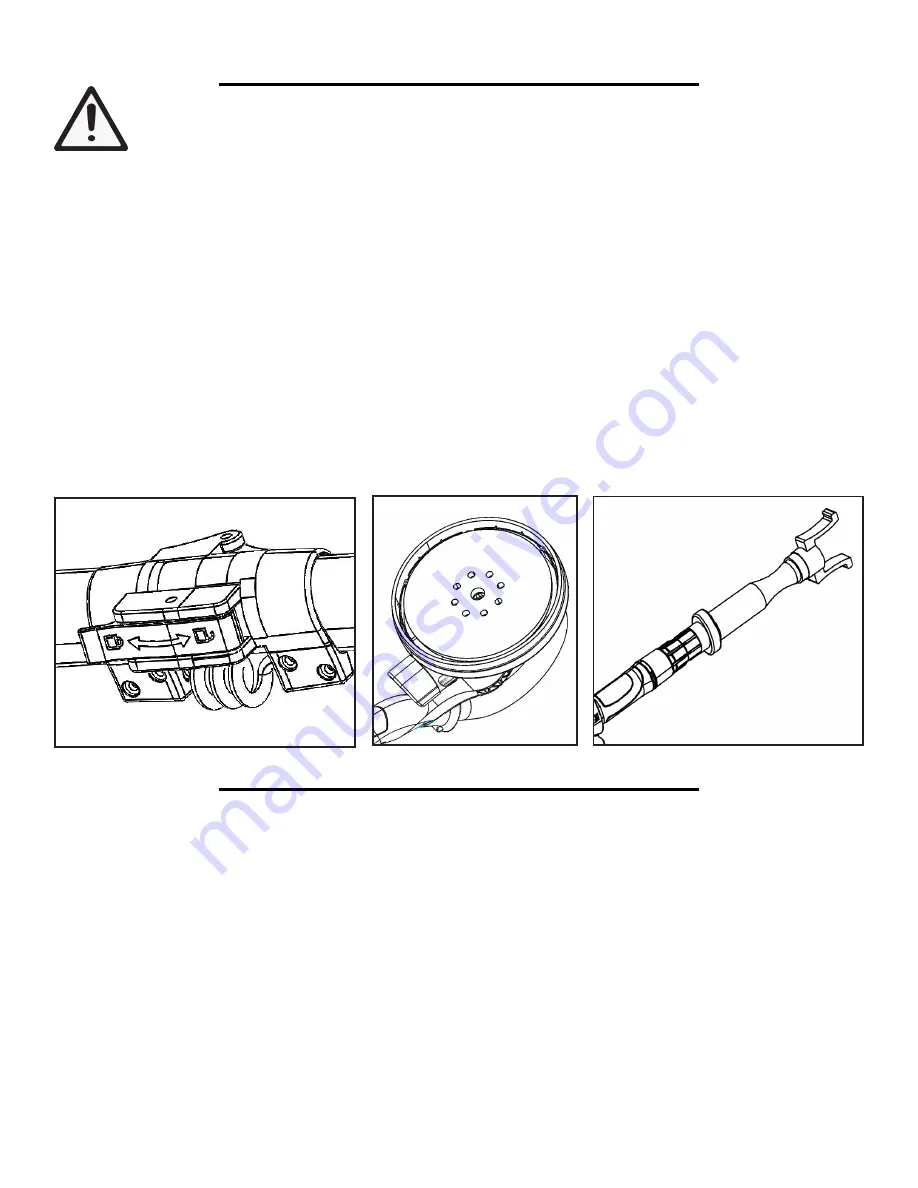
1. Unfold the front and back of the drywall sander. Push the clasp into the closed position to keep the drywall
sander assembly from unfolding (Fig. A).
2. Attach the sanding disk of your choice to the face of the hook and loop base pad. Ensure the holes on the
sanding disks align with the holes on the bottom of the pad (Fig. B).
3. Attach the optional handle extension by inserting the pole into the main drywall sander. Tighten the nut to lock
the handle extension in place.
4. If you would like to use a dust collection device, screw the hose connection port into the end of the additional
handle extension. If you choose not to use the handle extension, attach the hose connection port directly into the
end of the main drywall sander assembly.
5. Connect one end of the dust hose to the end of the hose connection port and another to the dust extraction
device of your choice.
Fig. A
Fig. B
OPERATION
1. Hold the machine with both hands.
2. Do not hold the machine by the machine’s head.
3. Before operation, make sure every fastener and nut has been properly engaged and that the sanding pad has
been properly installed and aligned.
4. Before switching on the machine, keep the sanding head slightly away from the work surface.
5. Do not press down too hard in order to avoid overloading the sander. Use proper pressure for better sanding
effects. If the machine slows or bogs down, immediately lessen the applied pressure. The quality of the results are
mainly determined by choosing the right abrasive material for the job.
6. Once the sanding task has been completed, turn off the machine. Wait for the pad to stop rotating before set-
ting down the machine.
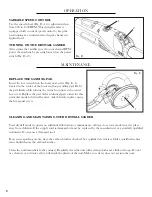
Fig. C
Содержание 6369
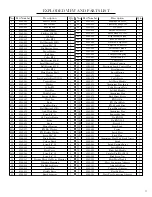
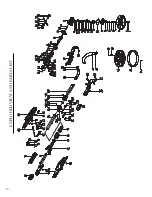
Страница 10: ...10 EXPLODED VIEW AND PARTS LIST...
Страница 12: ...Thanks for remembering...


