3
http://support.weathermatic.com
Setting Up Your SmartLink Network Account 2.0
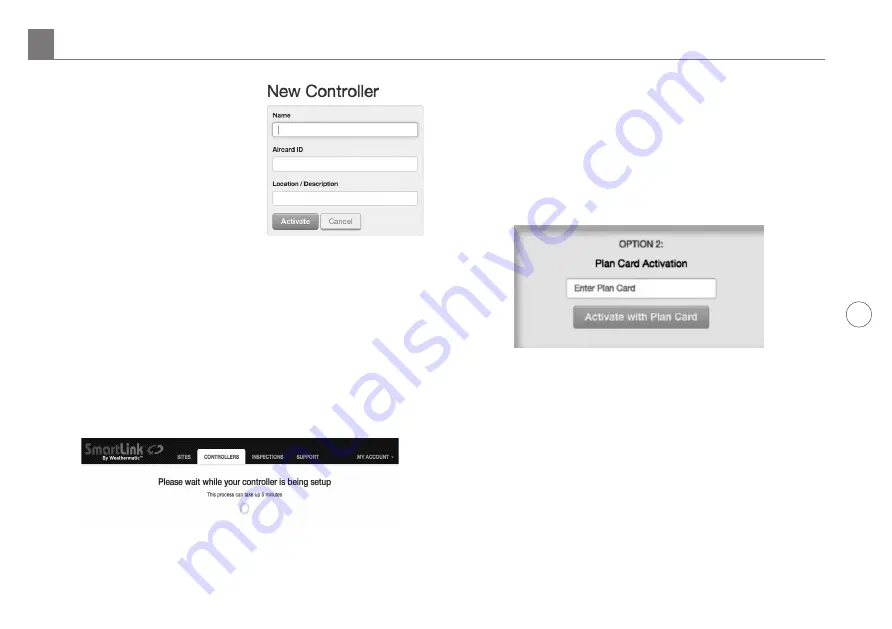
9. Locate the label on the
outside of the Aircard’s box
or on the right side of the
Aircard. There you will find
a 19-digit ID number. Enter
this number under "Aircard
ID".
10. Finish by entering the
SmartLine controller’s
location information.
11. Verify the information is correct.
12. Click the Activate button to activate your new Aircard.
Only click the Activate button once.
13. The SmartLink Network will now attempt to
communicate with the Aircard as shown by the Update
window in the middle of the screen. If the installation is
correct, and the activation occurred, the newly added
controller’s information will populate the programming
fields.
Note:
An Aircard must be installed in order to be
activated. Once activated, the Aircard can be moved
and connected to any SmartLine controller Version 3.1
or higher. If the Aircard has yet to be installed, please
see: 1.0 Installing the SmartLink Flow Aircard.
14. If any errors occur after installation and activation on
the SmartLink Network, see Step 5.0 Troubleshooting,
or contact our Help Desk for further assistance.
15. Once the Aircard is activated, you will be taken to the
Subscription page.
16. To activate your access to your new controller, enter the
9-digit subscription plan number found on the PLAN
CARD from the Aircard box or on the sticker on the
FRONT of the Aircard.
17. If you do not have a subscription plan, you have the
option of entering credit card information to charge
the subscription or using the 30-day temporary access
activation. Note: If a subscription plan or credit card
info is not entered prior to the expiration of the 30-day
access, you will lose the ability to access the controller
from SmartLink.


