- 22 -
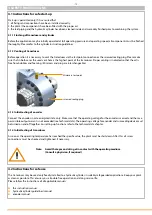
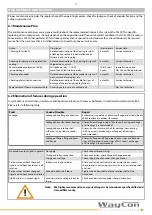
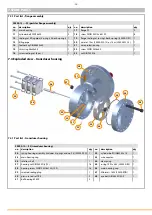
Secure with 3 screws and nuts against release of main housing cap (torque 30
Nm). Mount the encoder protection cap temporary to prevent any damaging or
bending of the rotation shaft. Check axial shaft clearance and ease of rotation.
Note:
Take care that you are not bending or damaging the rotation shaft while fixing
the screws of the main housing. Use encoder protection cap.
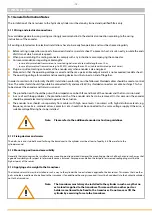
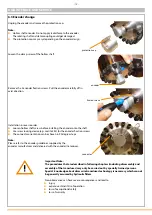
Install the springs one by one onto the rotating shaft. Keep the wire rope lightly
tightened (wire rope is fully extracted at this point).
Note:
Only by transducer specific trained persons. The stored energy of the spring may
lead to injuries when being mishandled. Avoid guiding the rope over edges or
corners.
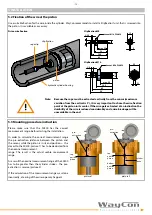
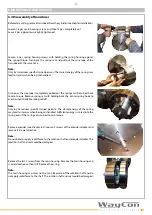
Turn slowly clockwise. Let the wire rope run into the transducer and turn the
spring set at same time (two persons are necessary). If the wire rope is fully drawn
into the transducer, apply 3 pre-load turns to the spring set. Fix the spring set
with screws (use screw locking device and apply lacquer). Check measurement
range and rope forces.
Note:
Don‘t let the rope snap back. If the rope is retracted freely, this may lead to injuries
and the transducer may be damaged.
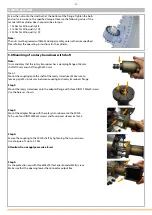
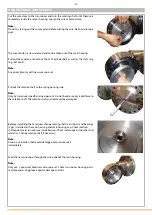
Install and fix the main housing screws (16 pcs.) crosswise. Tighten the screws in
3 steps. First up to 100 Nm, second to 200 and at last to 300 Nm. Screws and nuts
greased with MoS2.
Note:
Last step to 300 Nm only with torque spanner. Impact wrench only for first and
second step.
6 MAINTENACE AND SERVICE


