


IS-HF-M100+-29293 Rev 4
6
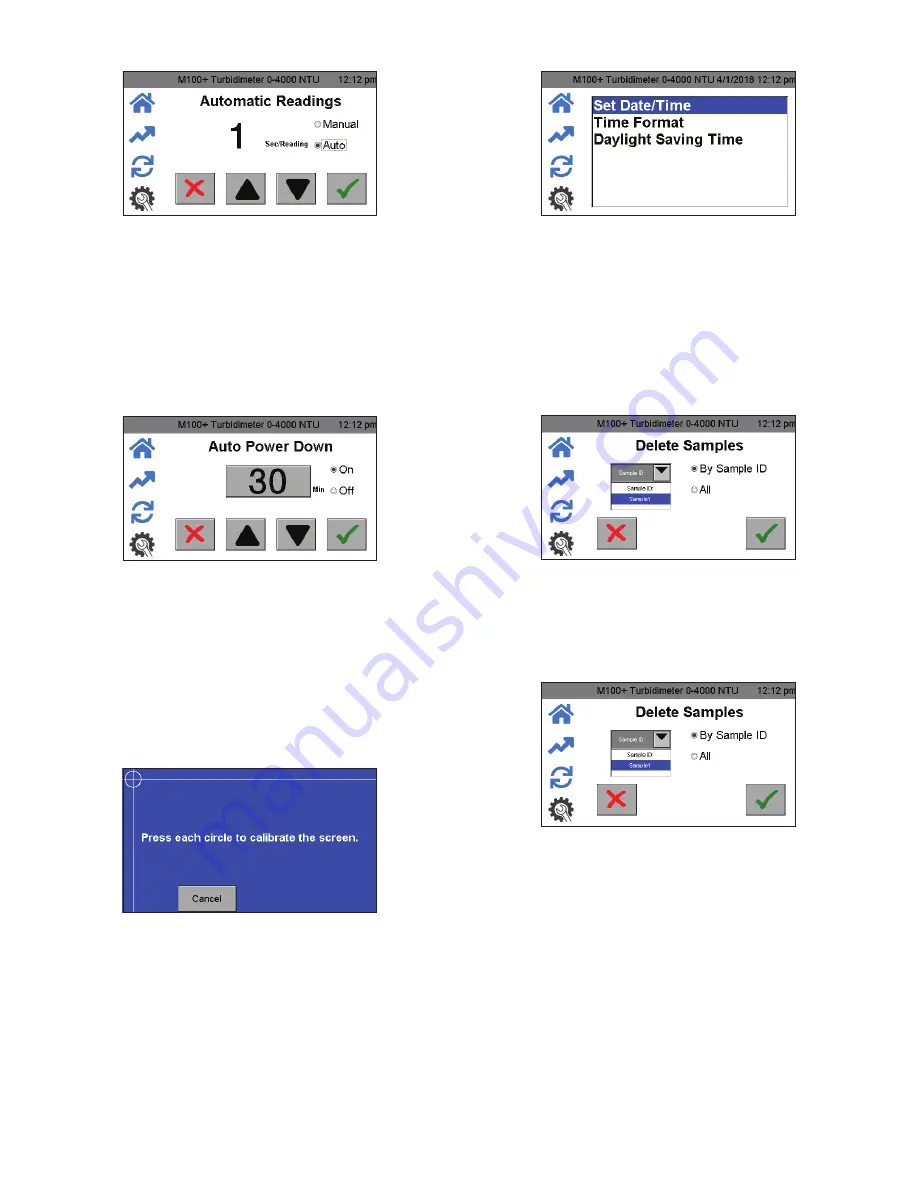
Auto/Manual Readings
1. Press the
Setup
icon. Select Auto/Manual Readings.
2. In this screen, a selection can be made for continuous readings
(Auto) or for a single reading (Manual).
3. If Auto is selected, the rate of updates can be selected from 1 to 60
seconds using the
and
buttons.
If Manual is chosen, a button will appear in the Home icon to take
readings. (Manual readings take approximately 10 seconds to
display. It will say “capturing” to indicate that it is processing.)
4. Push
to save and confirm.
Auto Power Down
The M100+ can be set to power down automatically. The
factory setting is to power down after 30 minutes. This setting is
recommended to save lamp life. There is also an option to manually
power off the instrument.
1. Press the
Setup
icon. Select Auto Power Down.
2. If setting Auto Power Down to On, the time before automatically
powering down can be adjusted using the
and
buttons.
3. Set the Auto Power Down to Off if you need to keep the instrument
on. To turn the M100+ off when this setting is set to Off, press the
power button on the Home screen.
Touch Screen Calibration
The screen has been factory adjusted but can be adjusted if the
alignment is off. The screen may need to be calibrated if new software
has been downloaded. It is a 5 position setup.
1. Press the
Setup
icon. Select Touch Screen Calibration.
2. If this calibration fails, restart the instrument by unplugging and
reinserting the power plug.
3. Press the top screen time banner for 5 seconds to reset to factory
default screen setting.
4. Then attempt the calibration again.
Set Date/Time
1. Press the
Setup
icon. Select Set Date/Time.
2. Set the date and time by using the
and
buttons.
3. Set the Time Format to either 12 or 24 hour time by using the
and
buttons. This menu will change slightly if the 24-hour
format is selected.
4. Enable or disable the Daylight Savings Time setting by using the
and
buttons.
5. When complete, press the
to save the setting and return to
Setup
menu.
Delete Samples
1. Press the
Setup
icon. Select Delete Samples.
2. Select either All or By Sample ID.
3. If Sample ID is selected, select sample.
4. Press
to delete sample.
Data Resolution
1. Press the
Setup
icon. Select Data Resolution.
2. Set the resolution or number of digits after decimal point shown in
Home
screen.
3. Use the
and
buttons to set the resolution. The screen shows a
representation.
4. Press
to save and return to
Setup
menu.


