


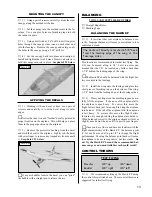
6
❑
8)
Using a couple of paper towels, wipe off the ex-
cess motor spray and oil.
❑
9)
Slowly turn on the motor. Position the throttle
lever to about 1/3 throttle and let the motor run. While
the motor is running, apply a light spray of motor spray
inside the motor openings once every minute, followed
by a small drop of Break-In Drops on each of the bush-
ings. Do this until the battery is fully discharged.
☛
If you have chosen to use an on-off only motor con-
troller, complete the same process but only run the motor
in two-minute intervals, letting the motor cool between
each interval.
❑
10) After the battery has discharged and the motor
has stopped, spray motor spray through the motor open-
ings until the fluid runs clear. Apply a couple of drops of
Break-In Drops to the bushings and wipe away all of the
excess using paper towels.
❑
1)
Test fit the wing panels together. They should
fit together with few or no gaps between the two, and the
leading edges and trailing edges should line up evenly.
☛
If the wing panels don't fit together properly, care-
fully sand the ends of the wing panels straight using 220
grit sandpaper with a sanding block. Be careful not to
change the dihedral angle.
❑
2)
Mix a generous amount of Kwik Bond 5 Minute
Epoxy. Apply a thin layer to the ends of both wing pan-
els, making sure that you cover all of the gluing surfaces.
❑
3)
Fit the wing panels back together and realign
them. Remove any excess epoxy using a paper towel and
rubbing alcohol. Hold the wing panels together firmly
until the epoxy cures.
APPLYING THE WING REINFORCEMENT
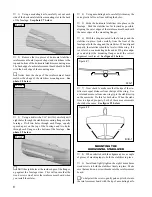
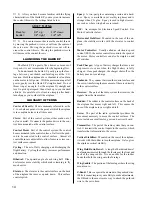
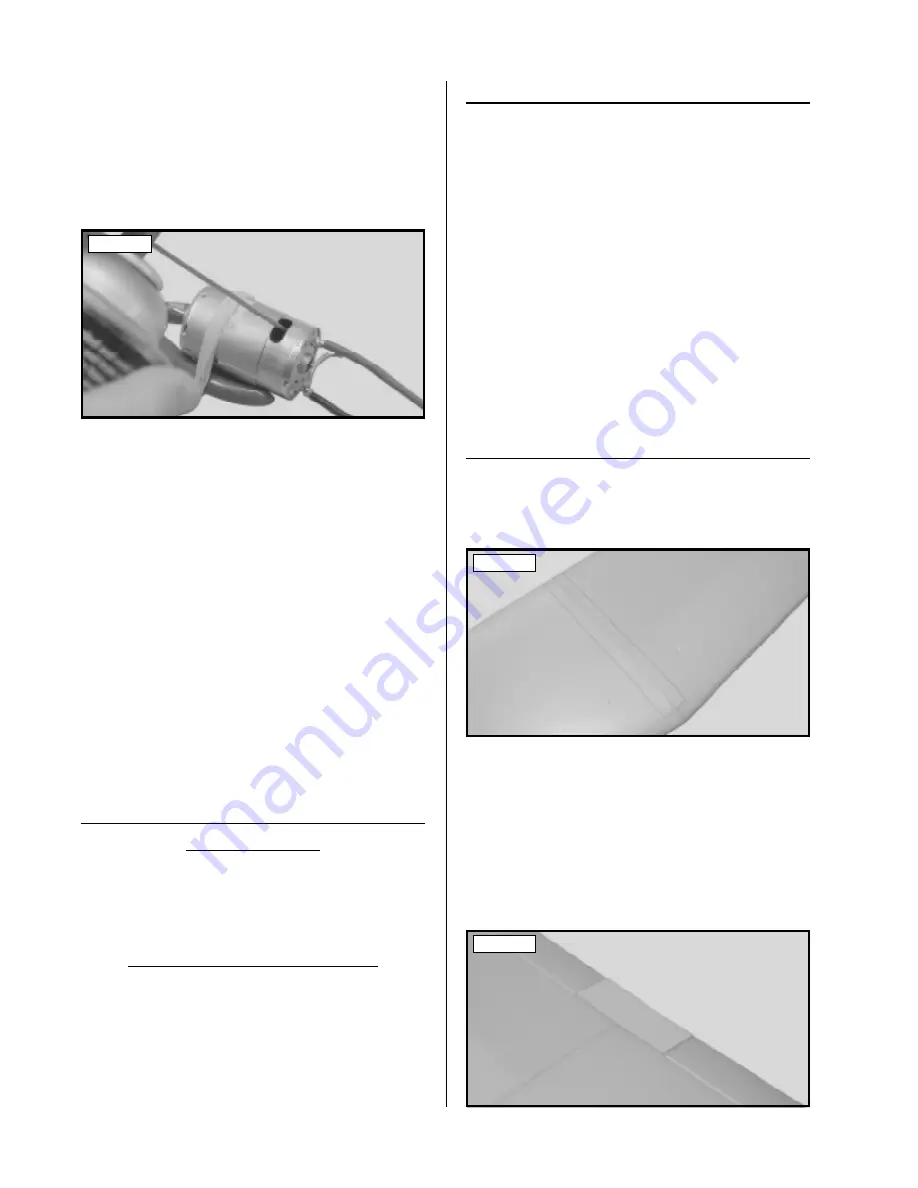
❑
4)
After the epoxy has fully cured, apply a strip of
heavy duty Scotch tape to the bottom of the wing, over
the center section joint, from the leading edge to the trail-
ing edge. See photo # 3 below.
❑
5)
Apply one long strip of heavy duty Scotch tape
to the bottom of the wing. Apply the tape down the middle
of the wing, parallel with the trailing edge, from wing tip
to wing tip.
❑
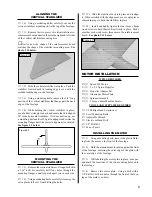
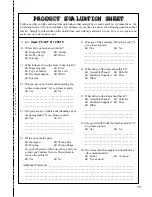
6)
Fold the wing trailing edge reinforcement board
in half lengthwise. Remove it from its protective back-
ing and carefully stick the reinforcement board over the
trailing edge of the wing at the center section. See photo
# 4 below.
❑
6)
With the motor turned off, test the operation of
the two servos. Both servos should move when you move
the control stick.
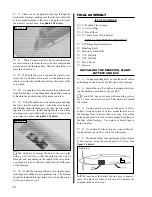
❑
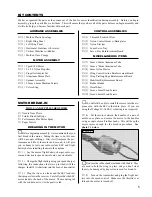
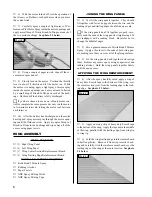
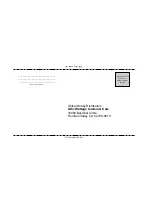
7)
Carefully spray a couple of light sprays of Per-
formance Plus Motor Spray inside the motor openings and
apply a small drop of Trinity Break-In Drops onto each of
the two motor bushings. See photo # 2 below.
WING ASSEMBLY
TOOLS AND SUPPLIES REQUIRED
❑
Kwik Bond 5 Minute Epoxy
❑
Rubbing Alcohol
❑
Paper Towels
❑
NHP Epoxy Mixing Sticks
❑
NHP Epoxy Mixing Cups
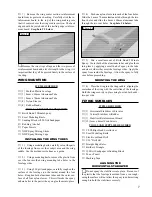
JOINING THE WING PANELS
ITEMS REQUIRED
❑
{1} Right Wing Panel
❑
{1} Left Wing Panel
❑
{1} Wing Center Section Reinforcement Board
❑
{1} Wing Trailing Edge Reinforcement Board
Photo # 2
Photo # 3
Photo # 4


