Doc. P/N:
WSP-009-005
Version: V1.5
Issue Date:
October 2013
www.wassp.com
Page 26 of 73
Installation Manual
1
Start up WASSP Application
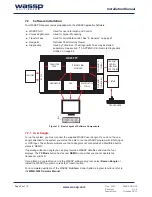
a. The WASSP Processor Application software
self loads on system start up.
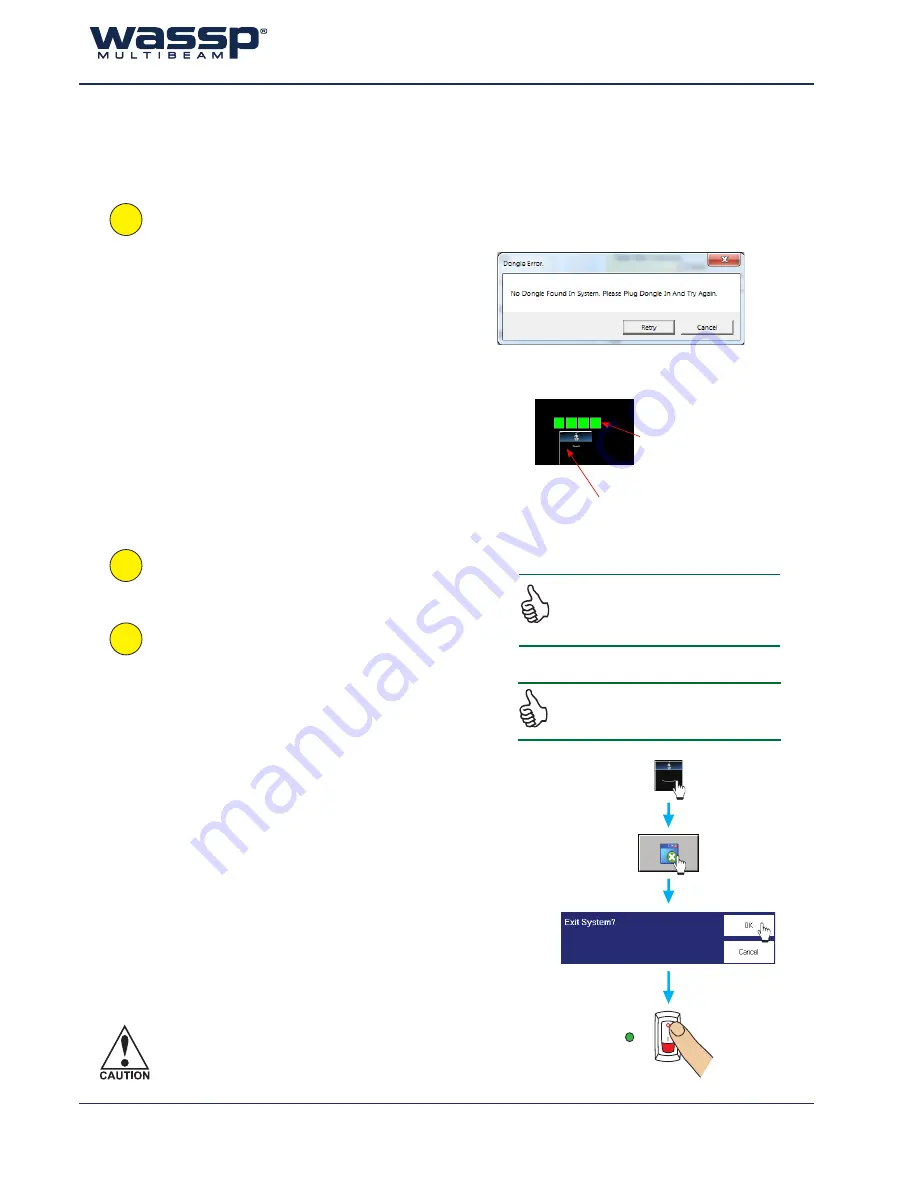
If no dongle is found, a
Dongle Error
box
appears on the screen.
Ensure a dongle has been plugged into the
computer’s USB port and click
Retry
.
b. Verify that the BTxR and appropriate sensors
are switched on.
c. Check the connection status for Processing
Module, Transfer Task, BTxR and Navigator.
Connection Status icons will appear green
when connected. If red, refer to
“7. Frequently Asked Questions (FAQs)” on
page 49 in the Operators Manual.
You can click
Cancel
and run a demo file from the System
Configuration Utility.
2
Perform the set up and commissioning
operations you require
. See Sections “10.
Commissioning” on page 38 .
3
Quit the WASSP GUI program
:
a. Click the
Transmit Mode
button to set the
BTxR to standby.
b. Click
Close
on the task bar.
The
Exit System
box appears.
c. Click
OK
.
All files opened by the system are closed
automatically and the program shuts down.
d. Shut down the computer following standard
Windows procedure.
e.
Turn the BTxR OFF using the POWER button
on the faceplate.
f. Turn off the sensors according to the
manufacturer’s instructions.
The WASSP system is now shut down
.
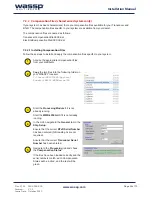
Connection status icons will appear
green if connected, red if not.
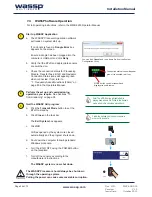
MODE button controls transmit and
displays transmit status.
Note: The MODE button is disabled while
playing back a demo file. While in the transmit
mode, a demo file cannot be played back.
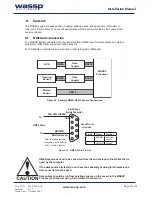
STATUS
POWER
Follow the defined shut down procedure in
order not to lose data
7.4 WASSP Software Operation
For full operating instructions, refer to the WMB-3250 Operator Manual.
The WASSP Processor should always be shut down
through the operating system.
Pulling the power can cause unrecoverable corruption.

