6
7
7
6
Styrene Strips
.010x.050 x8
Styrene Strips
.010x.050 x2
Styrene Strips
.010x.070 x4
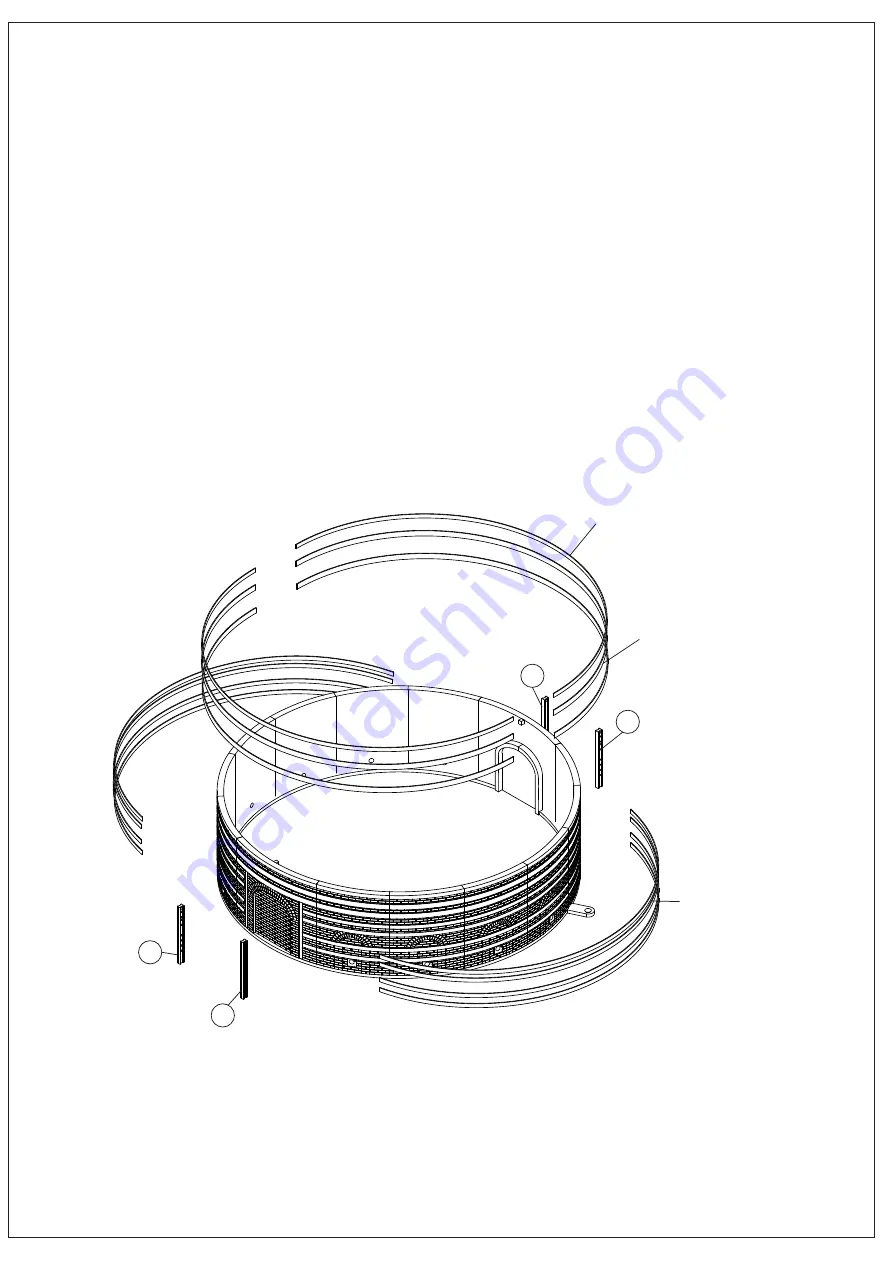
3) PLEASE NOTE: Be sure the Right (6) and Left (7) Door Braces are aligned as shown: with the round opening at the
top and the molded bolt details facing inward on both pieces. Glue Braces (one each #6 and #7) to the flat inset areas
alongside the arches on each Portal Wall.
4) PLEASE NOTE: Two different sizes of styrene strip are provided to model the steel expansion bands. For ease of
assembly, we suggest painting just the outside surfaces of these pieces before installation. When dry, these will be glued
to the flat areas molded on each of the Curved Wall sections; remember, these bands are very thin plastic, so use glue
sparingly or use a water-base adhesive that allows some time to position parts and prevent damage. Working from top to
bottom, the correct sequence is:
2 strip: 010 x .050" Length 7 1/8" (182mm)
4 strips: .010 x .070" Length 7 1/8" (182mm)
8 strips: 010 x .050" Length 6 3/32" (155mm)
Begin by gluing the end of each strip alongside the Door Braces - work slowly and check the alignment of each strip until
you reach the door at the opposite end. Repeat this assembly for the bands on the opposite side of your kiln.


