


36
Section 2
How to fit the power loom
1) The NDR is compatible DC8V~32V. The included DC fuse
power cable can be connected directly to the battery(perma-
nent power connection for recording 24/7) or to the ignition
(the device will record only when the vehicle is on).
2) The power loom consists of a b and an Earth connec-
tion. The red wire will be b and the black wire will be
the earth connection and white wire will be the ignition(ACC)
connection.
3) Please remember that all connections must be within the track-
ing unit specs as per industry related connections.
4) Run the cable (power loom) via the A pillar into the roof lining
and let it meet up close to the main unit.
5) Plug the loom into the main unit and then give it a bit of slack
so that there is no tension on the power loom or the plug area
of the unit.
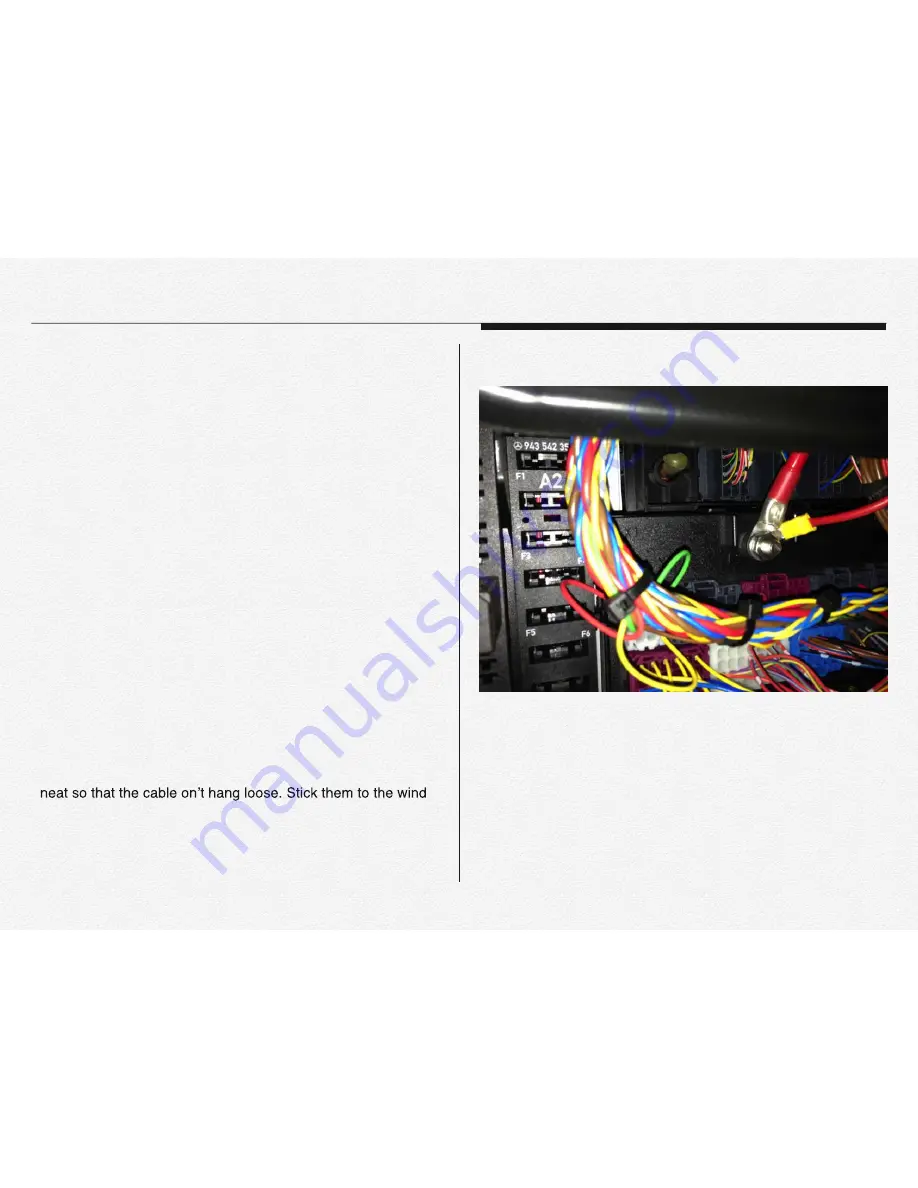
6) Use the management clip to tie up the cable and make if look
-
screen and cable tie the cable to the management clip or slide
them in the opening slots.
Содержание FPRO300
Страница 1: ...User Manual Rev 1 2 2 EN Network Drive Recorder FPRO300...
Страница 2: ...Inde Index...
Страница 8: ...2 Gettingtoknowthenetworkdrive recorder...
Страница 15: ...14 GPS IN module receiver VIDEO OUT or backward view Section 4 Terminal ports...
Страница 19: ...All the devices are must be connected to each port before supply the power to main NDR...
Страница 20: ...3 Please read this chapter for basic operation of NDR Gettingreadytostartrecording...
Страница 25: ...24 3 Select removable memory card erase by MS MOS FAT 4 Click to Erase button 5 Format completed...
Страница 30: ...4 Please read carefully for safety install the NDR Installation...
Страница 35: ...34 PIN Assignment 1 3rd Camera Jack CAMERA IN SOS Panic Button Jack VIDEO OUT...
Страница 36: ...35 PIN Assignment 2 Y Type Cable Jack VIDEO OUT Video Out Cable Jack VIDEO OUT...
Страница 40: ...5 The NDR has LED lamps for operating signals LED Signals...
Страница 44: ...6 Features...
Страница 56: ...7 File MemoryStructure...
Страница 67: ...66 5 Installing 6 to Next 7 Installation complete 8 Click to PC icon at your desktop and running the program...
Страница 68: ...67 1 Click to PC manager in control panel 2 3 Section 3 Uninstall PC Manager...
Страница 69: ...68 Section 4 User Interface Front View InCabin View File List Map or 3rd camera view Control Panel...
Страница 72: ...71 Playback Speed Slow Level Default Fest Level Brightness Control Normal Brighter Darkly...
Страница 74: ...73 Flip the video degrees for movie analysis Reverse video Enlarge Zoom...
Страница 91: ...9 Specification...
Страница 95: ...94 Dimension...
Страница 97: ...10 Warranty...
Страница 100: ...11 Glossary...


