


7
To
Begin
Using
the
Princess
Digital
Camera
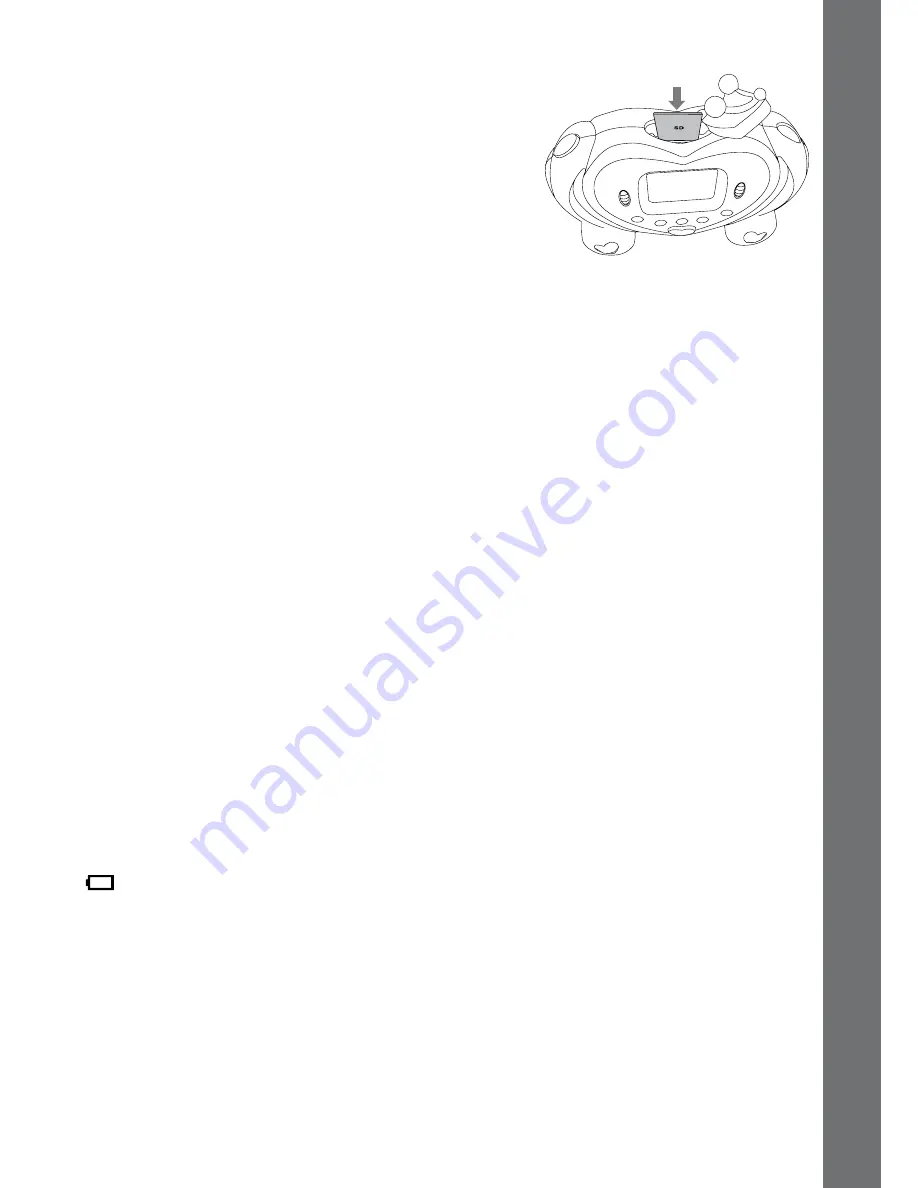
sD CaRD INseRTION
• Make sure the camera is turned OFF.
•
Locate the SD card slot at the top of the
camera.
• Pull up the rubber cover.
• Insert the SD card (not included) as illustrated
on the right.
TO BeGIN UsING THe PRINCess DIGITaL
CaMeRa
•
Press the ON/OFF Button to turn on the camera.
• If it’s the first time you have powered on the
Princess Digital Camera
,
you will need to select the language you want to use. Scroll the Up/Down
Wheel and press the Shutter/OK button to select the language. If you want
to select a different language later, please go to Tools & Settings Mode,
select the language menu, and then choose the language you want.
• After turning on, the
Princess Digital Camera
will go directly to the
Camera Mode.
• To go to Movie Mode, press the Movie Mode button. To access the Tools
& Settings Mode, hold down the Play button and Flash button together for
approximately 2 seconds.
• To connect to a TV or PC, follow the instructions in the ‘Connecting to a TV’
or ‘Connecting to a PC’ illustrations.
• Press the ON/OFF Button again to turn the unit off.
BaTTeRy sTaTUs
When the batteries are running out, the low battery symbol will be displayed
.
aUTOMaTIC sHUT-OFF
To preserve battery life, the
Princess Digital Camera
will automatically
turn off after several minutes without input. The camera can be turned on
again by pressing the ON/OFF Button.
Содержание Kidizoom Princess Digital Camera
Страница 1: ...2011 91 009626 007 000 Disney Princess Digital Camera ...
Страница 2: ......