


INSTALLATION OF KIDILOOK™ PHOTO
MANAGER
Insert the CD-ROM that comes with the
Kidilook
™. It should
be able to run installation automatically. If it doesn’t run setup
automatically, open the CD-ROM disk and click Setup.exe to run
the installation.
TO BEGIN USING KIDILOOK™
• Press the ON/OFF Button
to turn on the
Kidilook
™
.
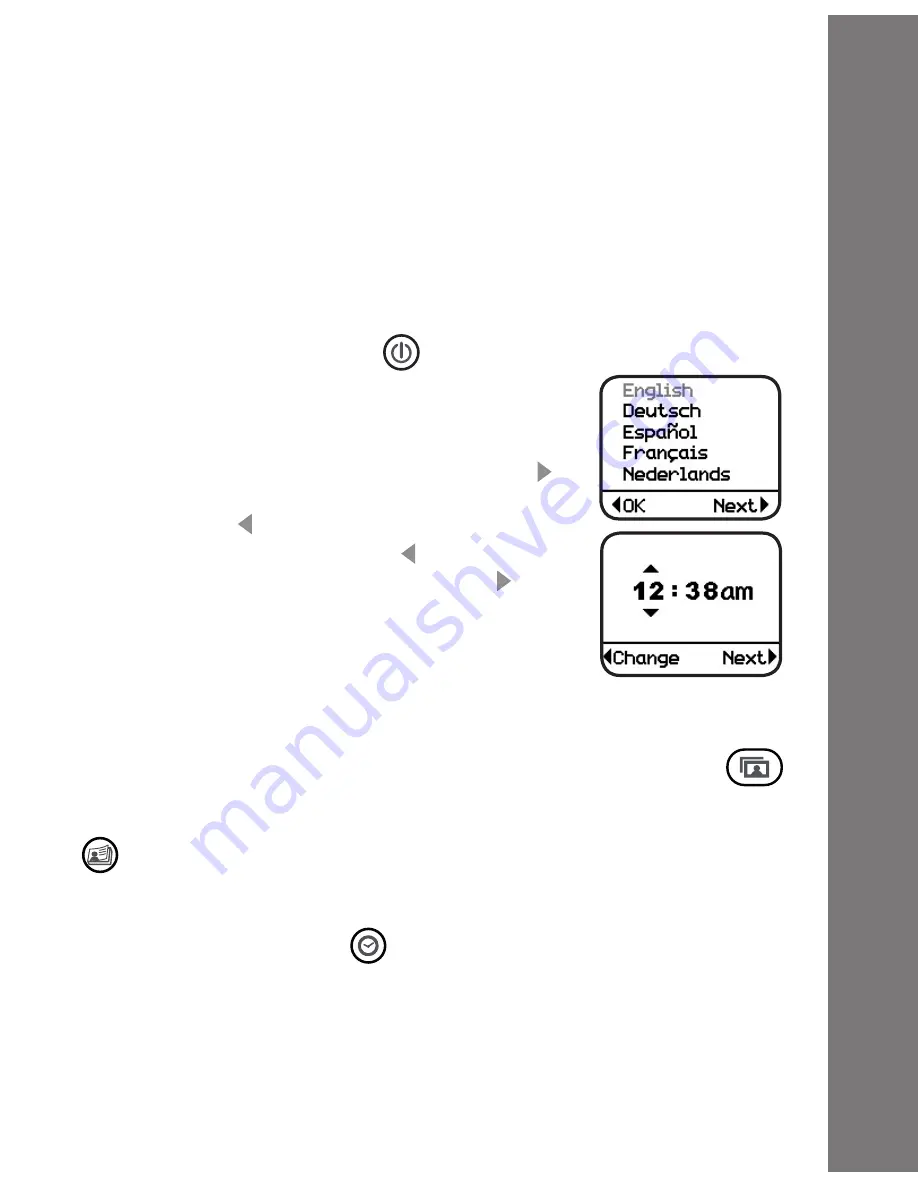
• If it is the first time turning on the
Kidilook
™
,
it will prompt you to choose the language
and then set the correct time. To select the
language, press the Right arrow button to
show the next selection, and press the Left
arrow button to confirm. To set the time,
press the Left arrow button to change the
time. Press the Right arrow button to go
to the next item. When finished, press the
photo album button to start viewing photos.
• After the initial setup, each time you turn on
the
Kidilook
™
it will go directly into Photo Album mode for
photo viewing.
• If it is in the other modes, press the Photo Album button
to switch back to the Photo Album mode.
• To switch to Photo Story mode, press the Photo Story button
and use the arrows to scroll through the story. (Photo story
needs to be created and downloaded from the PC application
Kidilook
™ Photo Manager)
• Press the Clock Button
to show the time.
• To change settings on the
Kidilook
™
, press and hold the Left
arrow and Right arrow buttons at the same time for 2 seconds
to enter the setup mode. For detailed setup instructions, please
refer to the setup section shown in the manual.
• Press the On/Off Button again for 2 seconds to turn the unit
off.
To Begin Using Kidlook
™
7
Содержание KidiJamz Studio
Страница 1: ...2008 91 002348 000 KIDILOOK TM ...
Страница 2: ......


